

Do you want to have flowers that will last for weeks, months, and even years? This week’s craft can help you do that! I am going to show you how to craft two different easy-to-make types of flowers. You can use these flowers as decorations around your house or even for a summer party!
At camp, we work hard to “leave no trace” of humans in nature. When we see a pretty wildflower on a trail, we want to leave it there so the next person can see nature’s beauty as well. Here are the rules we follow:
- Plan ahead and prepare
- Hike and camp on durable surfaces
- Dispose of waste properly
- Take pictures, leave only footprints
- Minimize campfire impacts
- Respect wildlife
- Be considerate of other visitors
Making paper flowers is one way you can leave nature outside, while being reminded of nature’s beauty inside.
Supplies needed
-scissors
-glue stick
-stapler
-tape
-paper: construction, printer, magazine
Steps
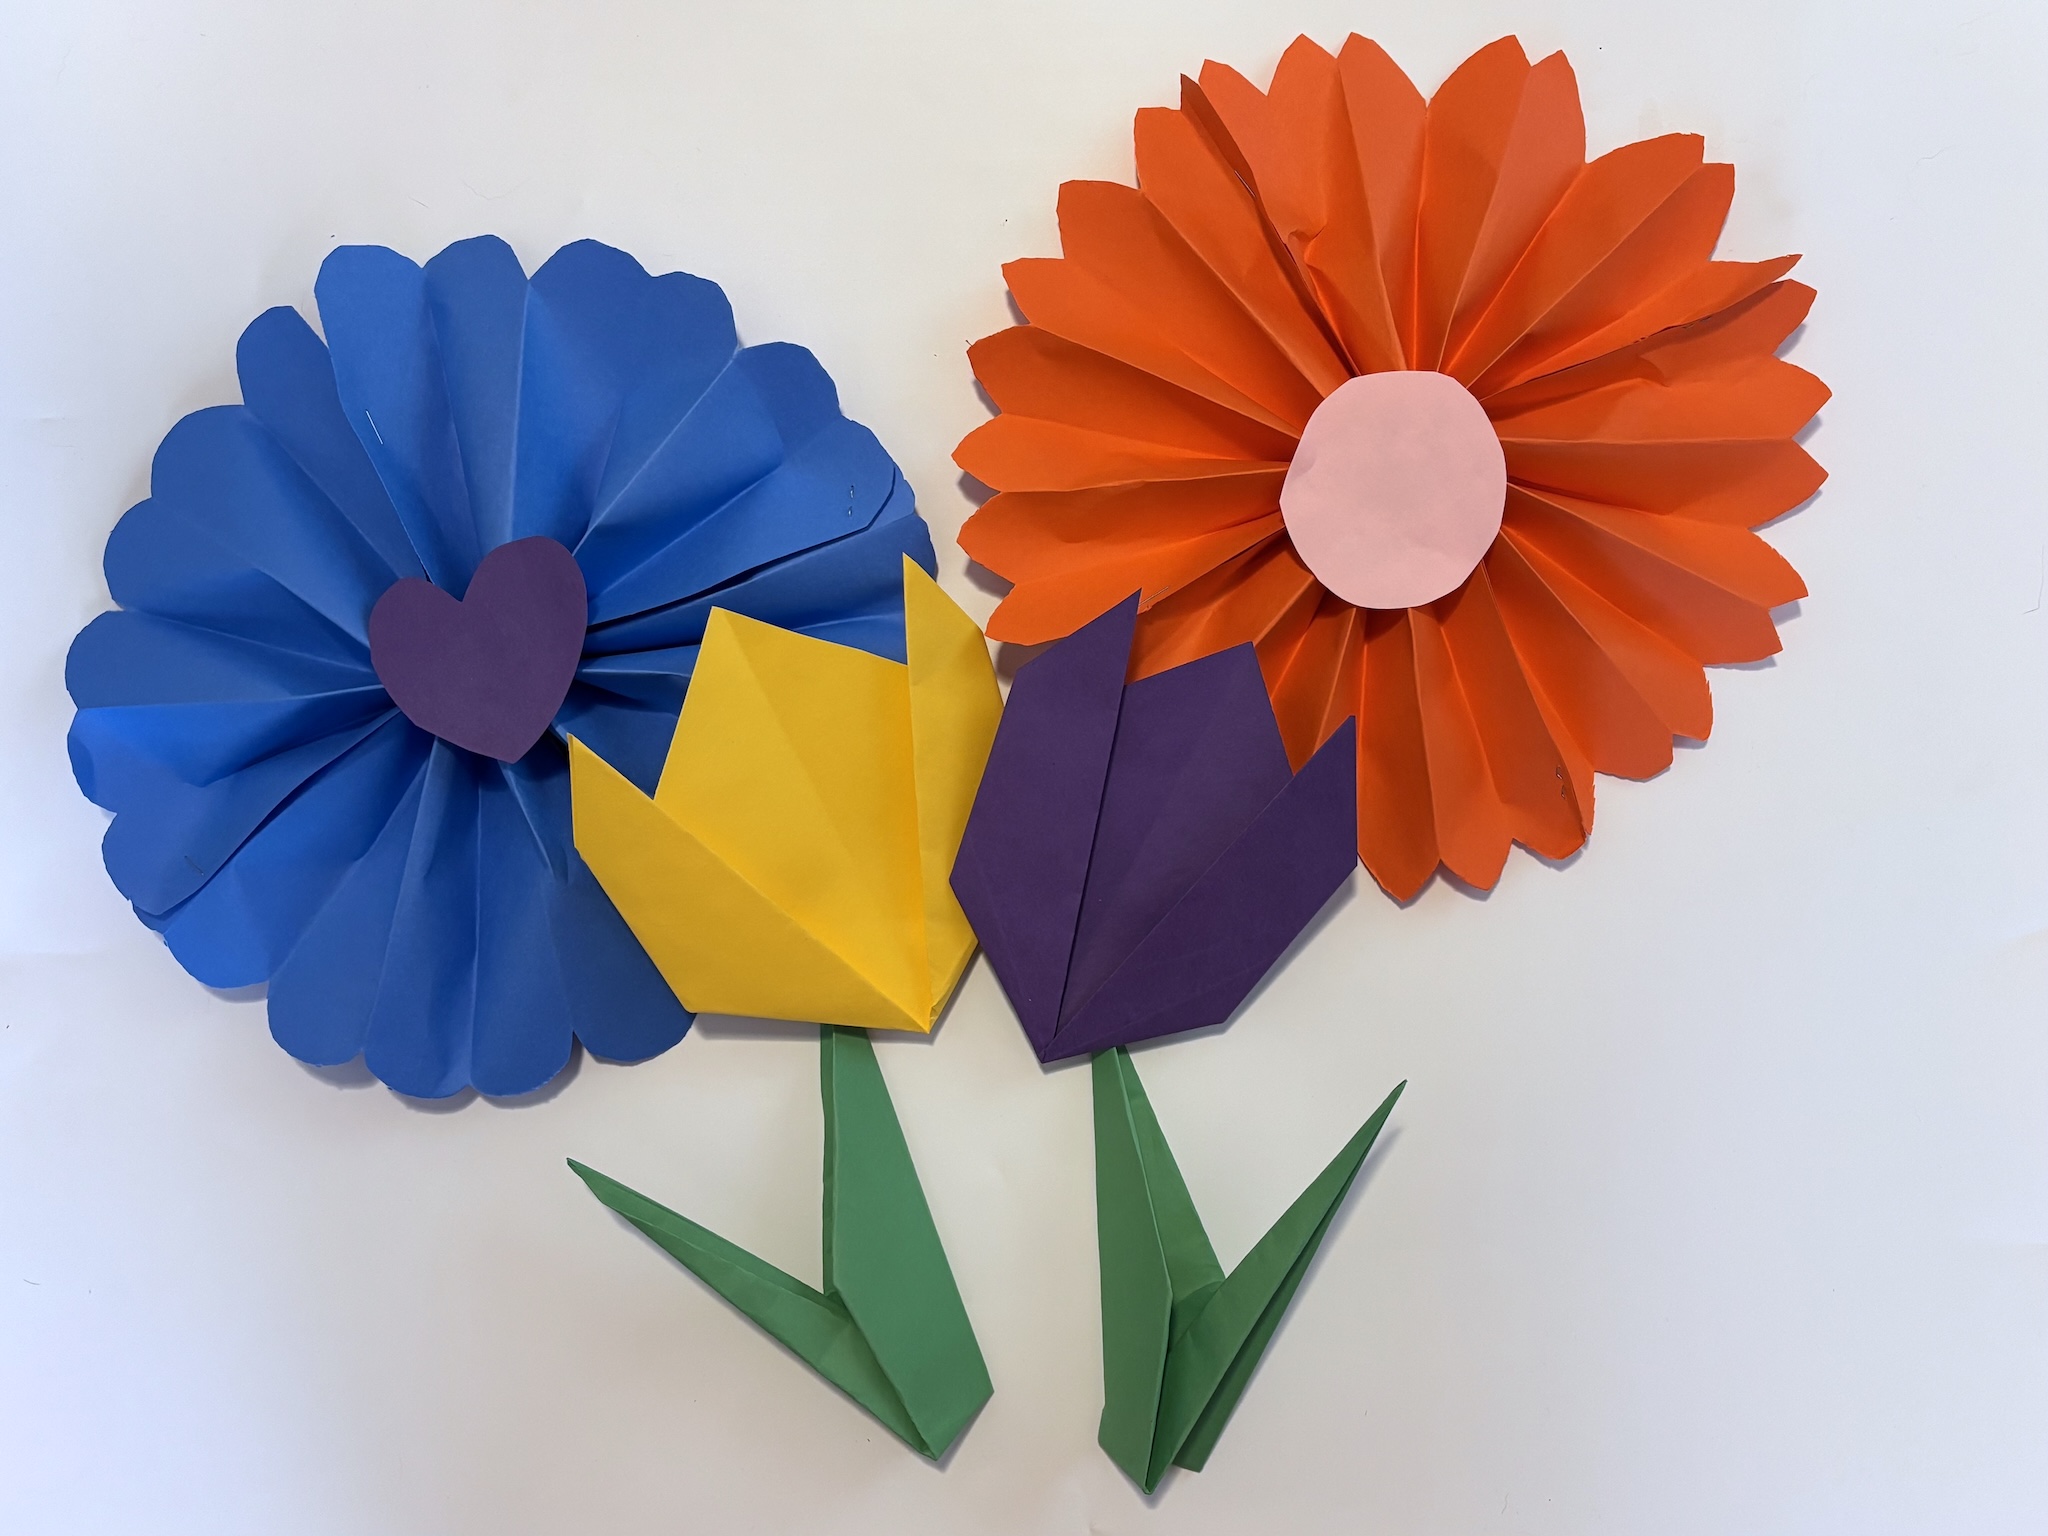
Flower Option 1
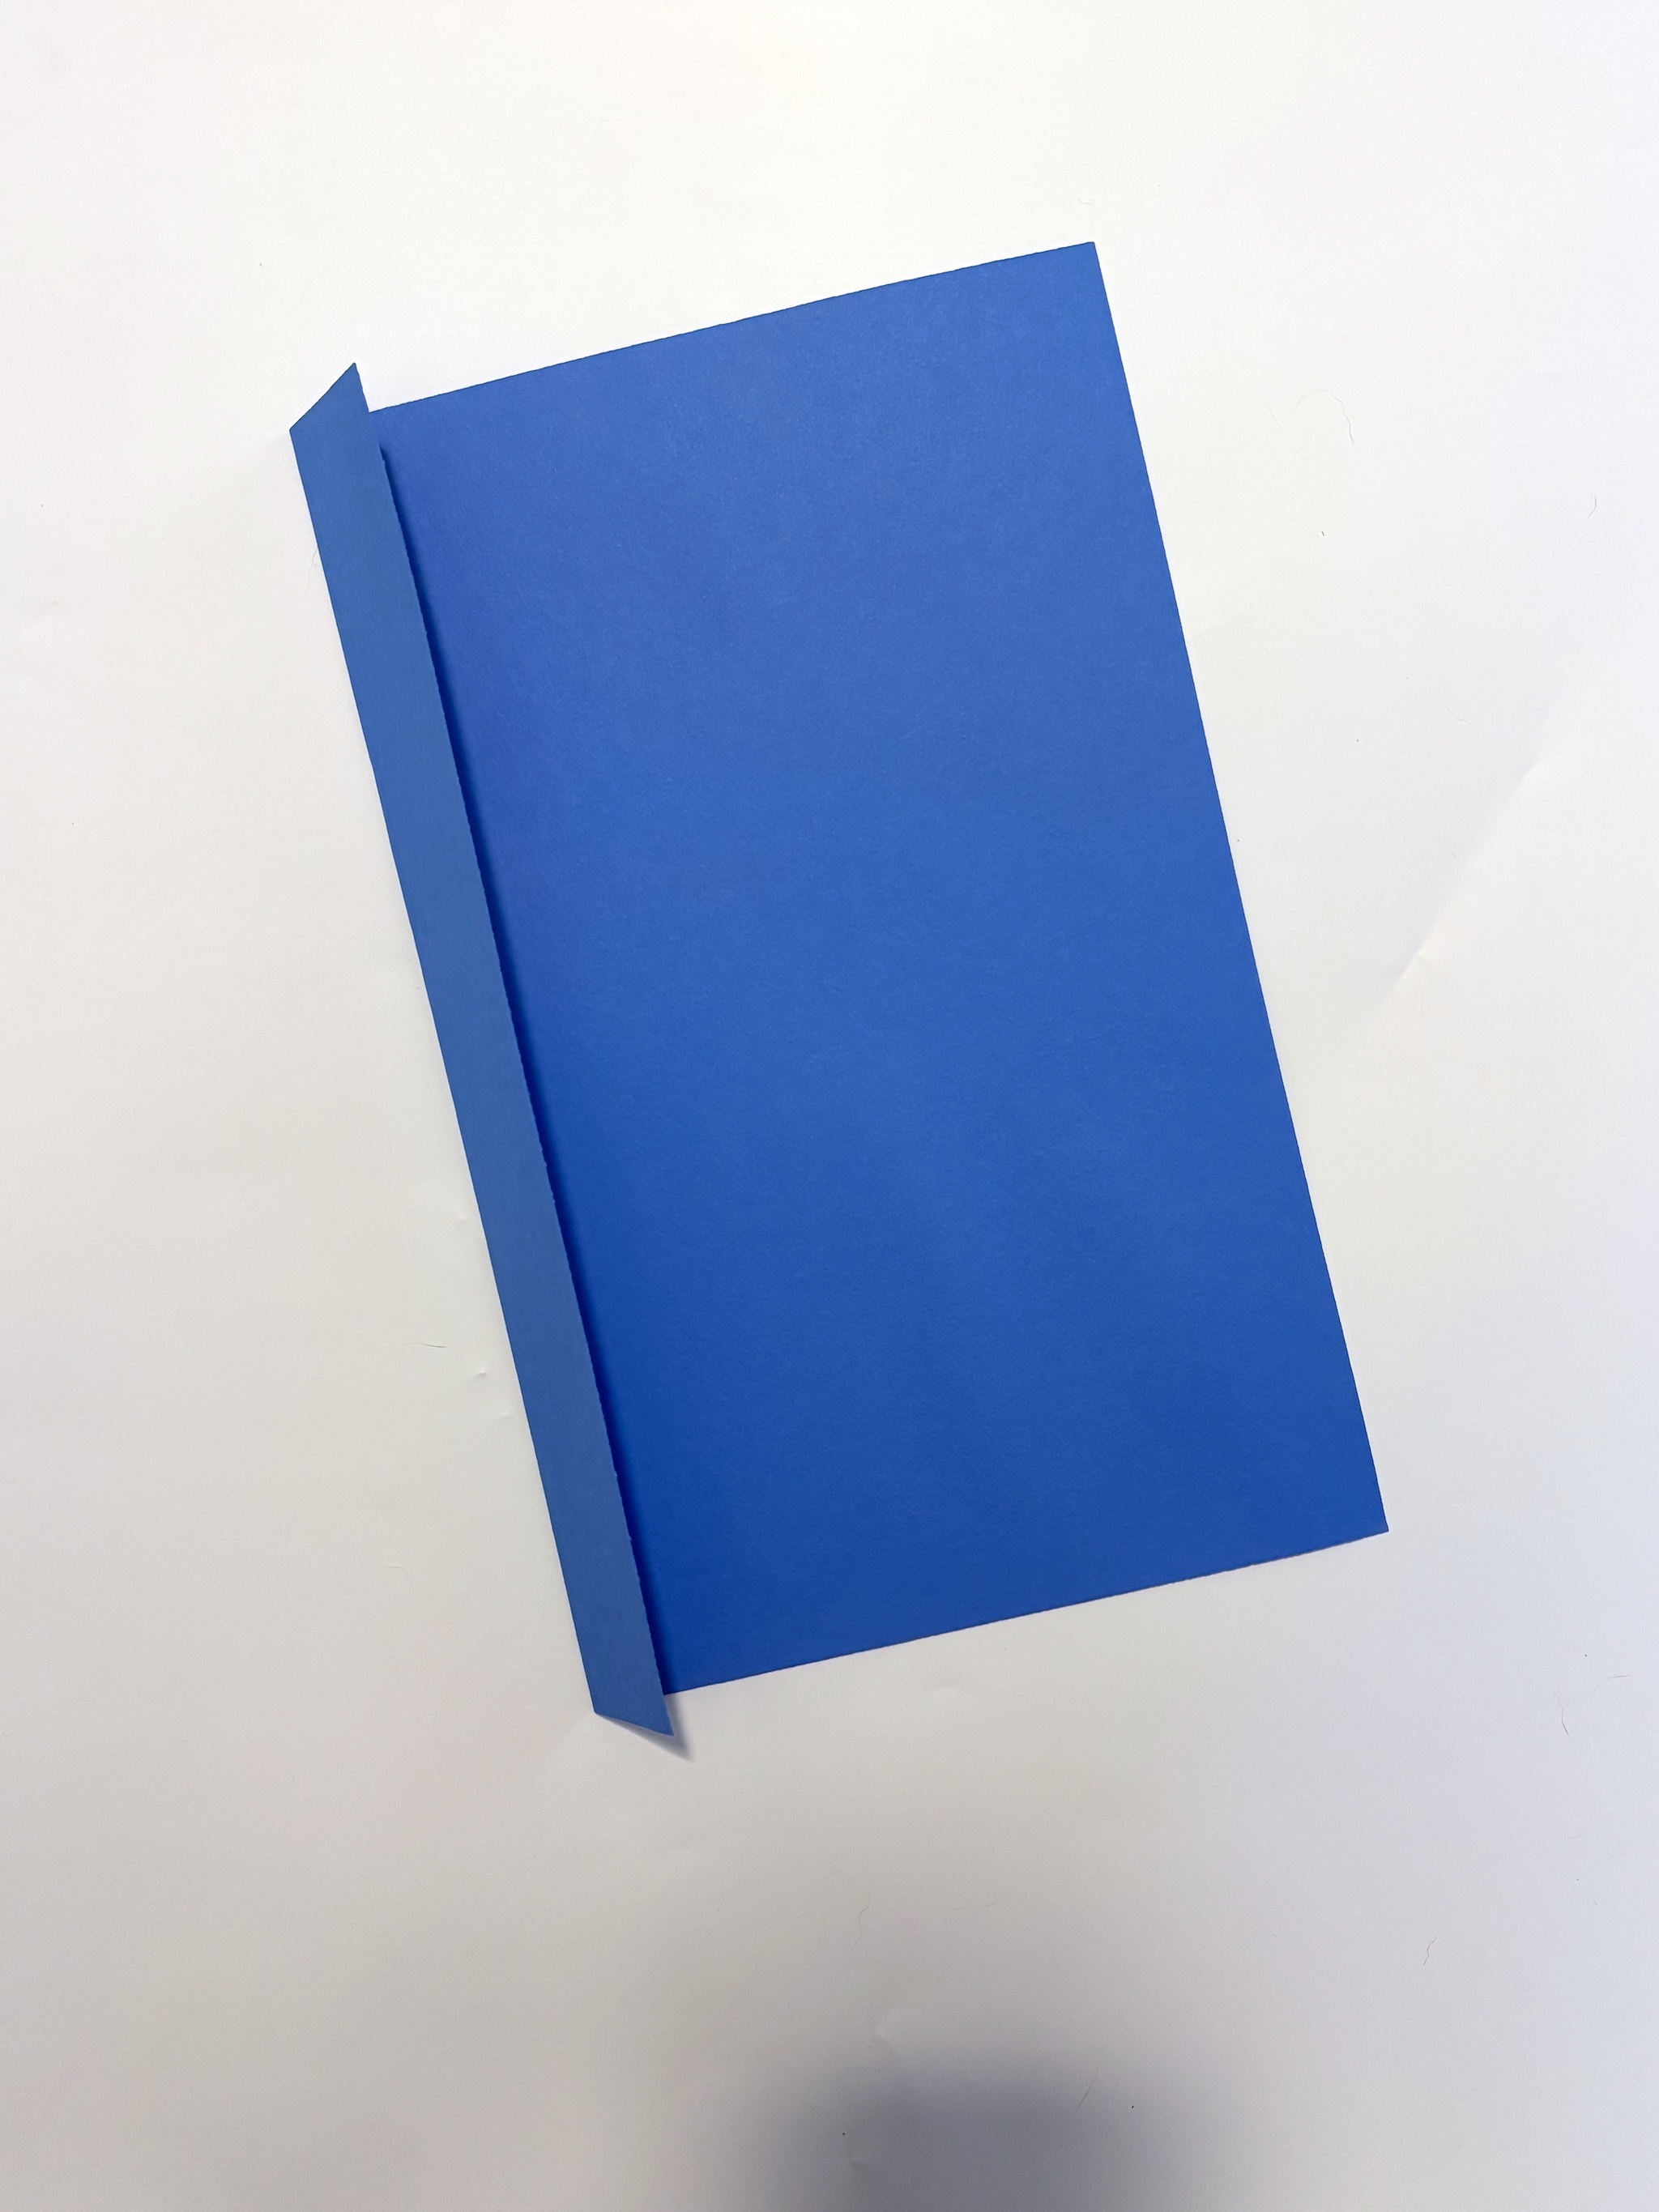
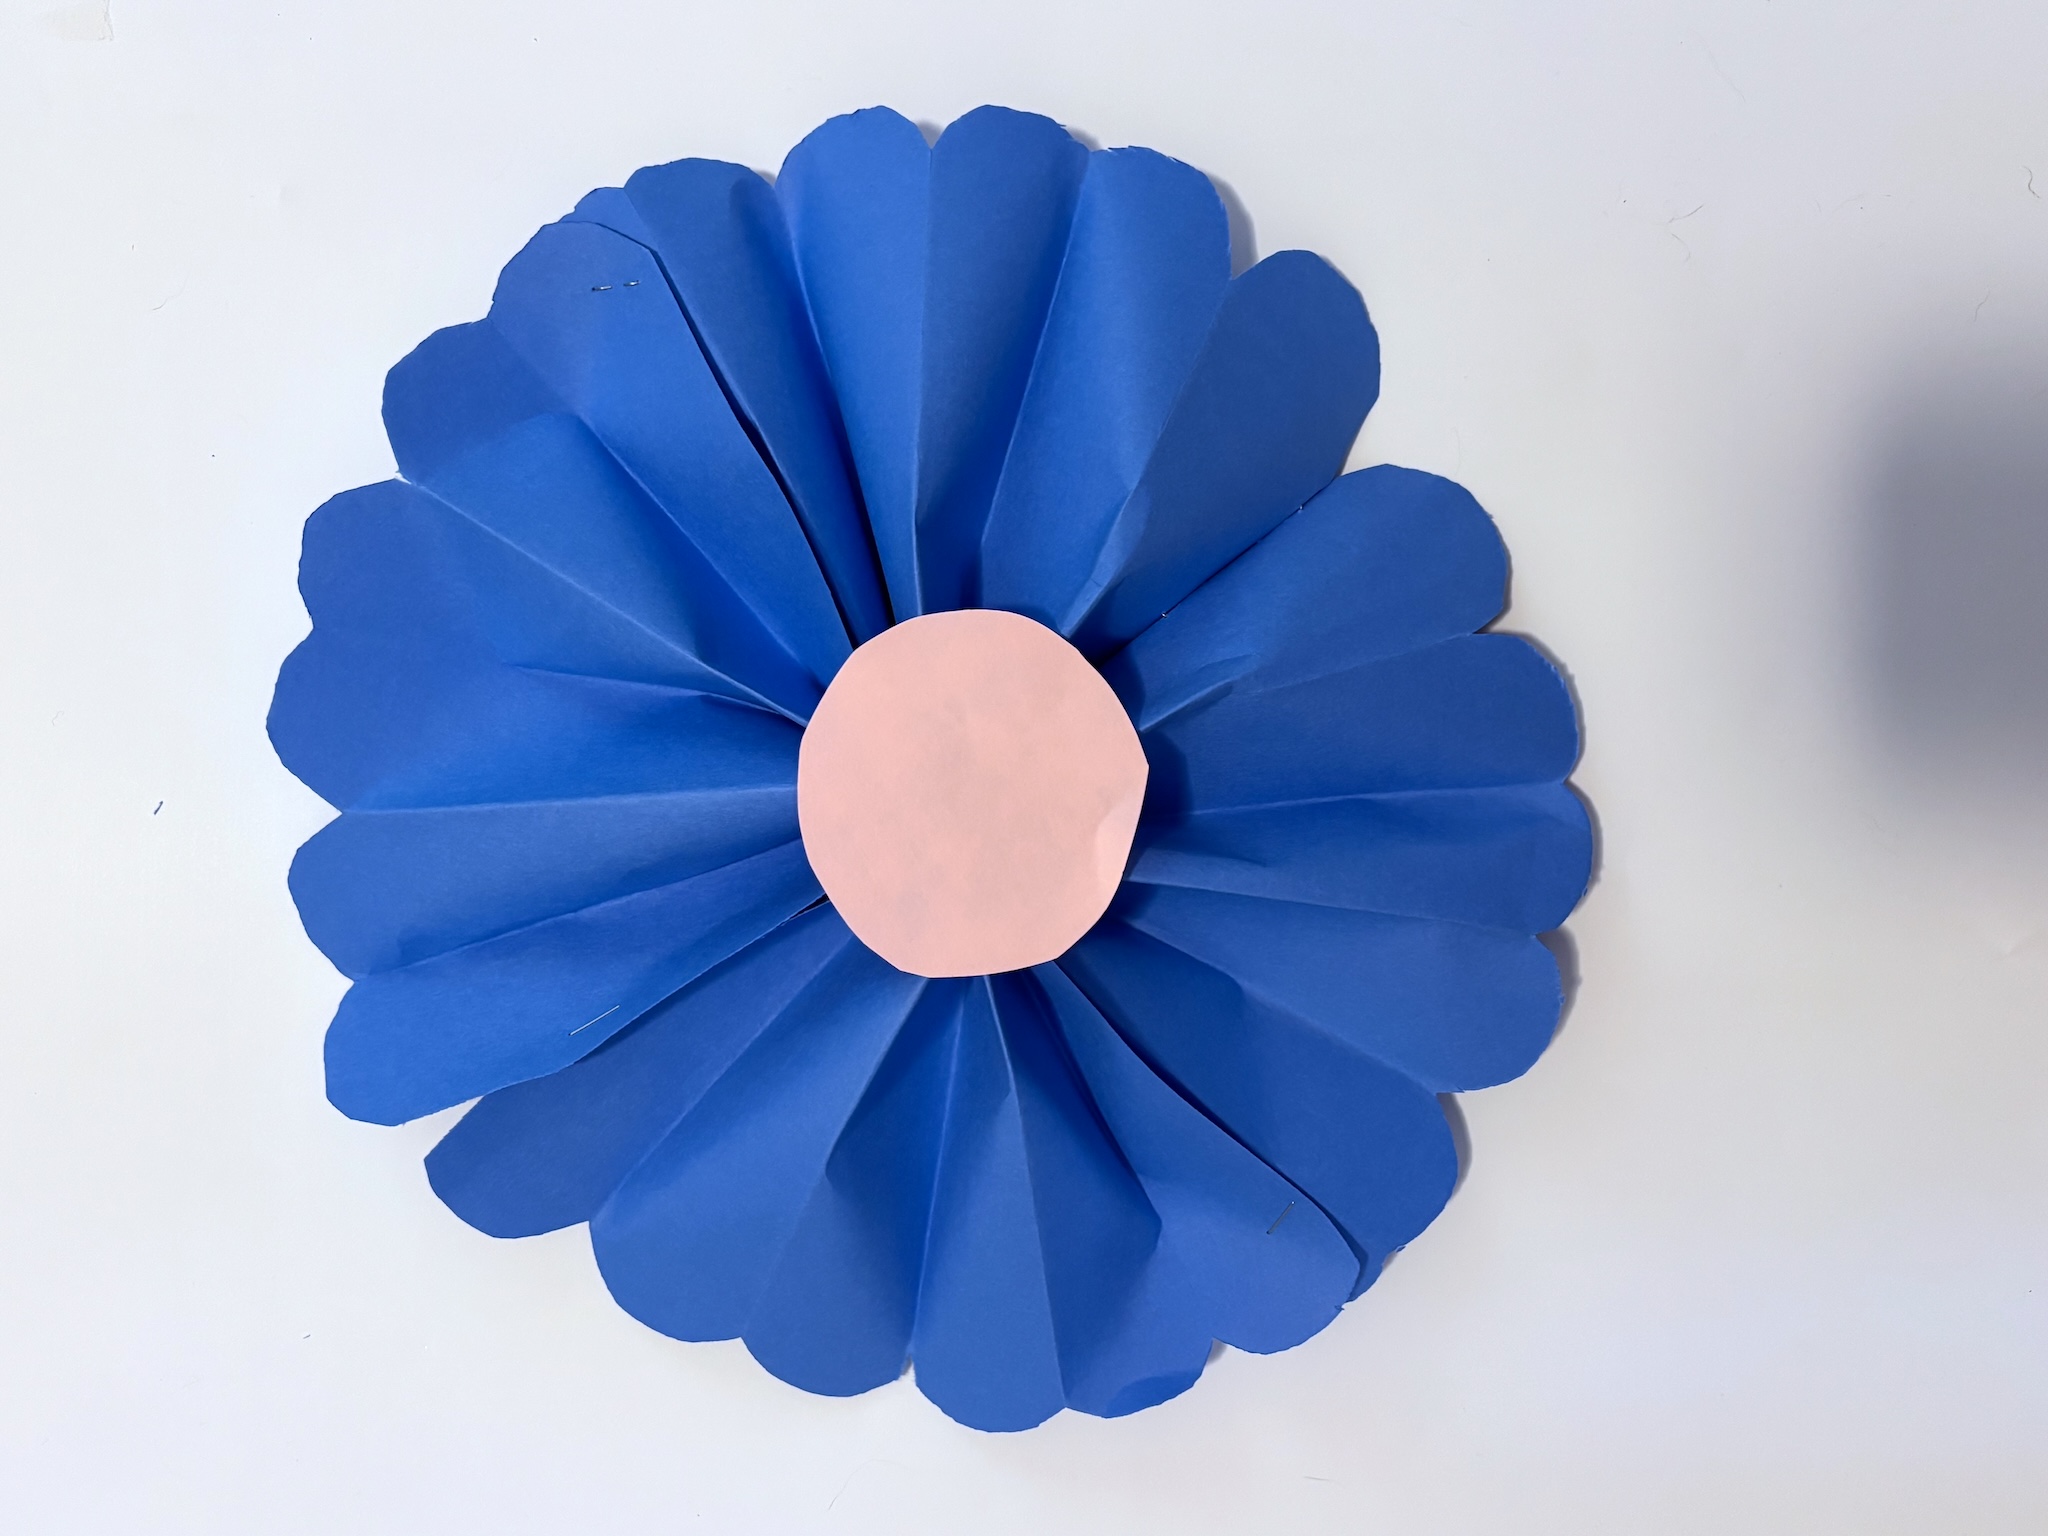
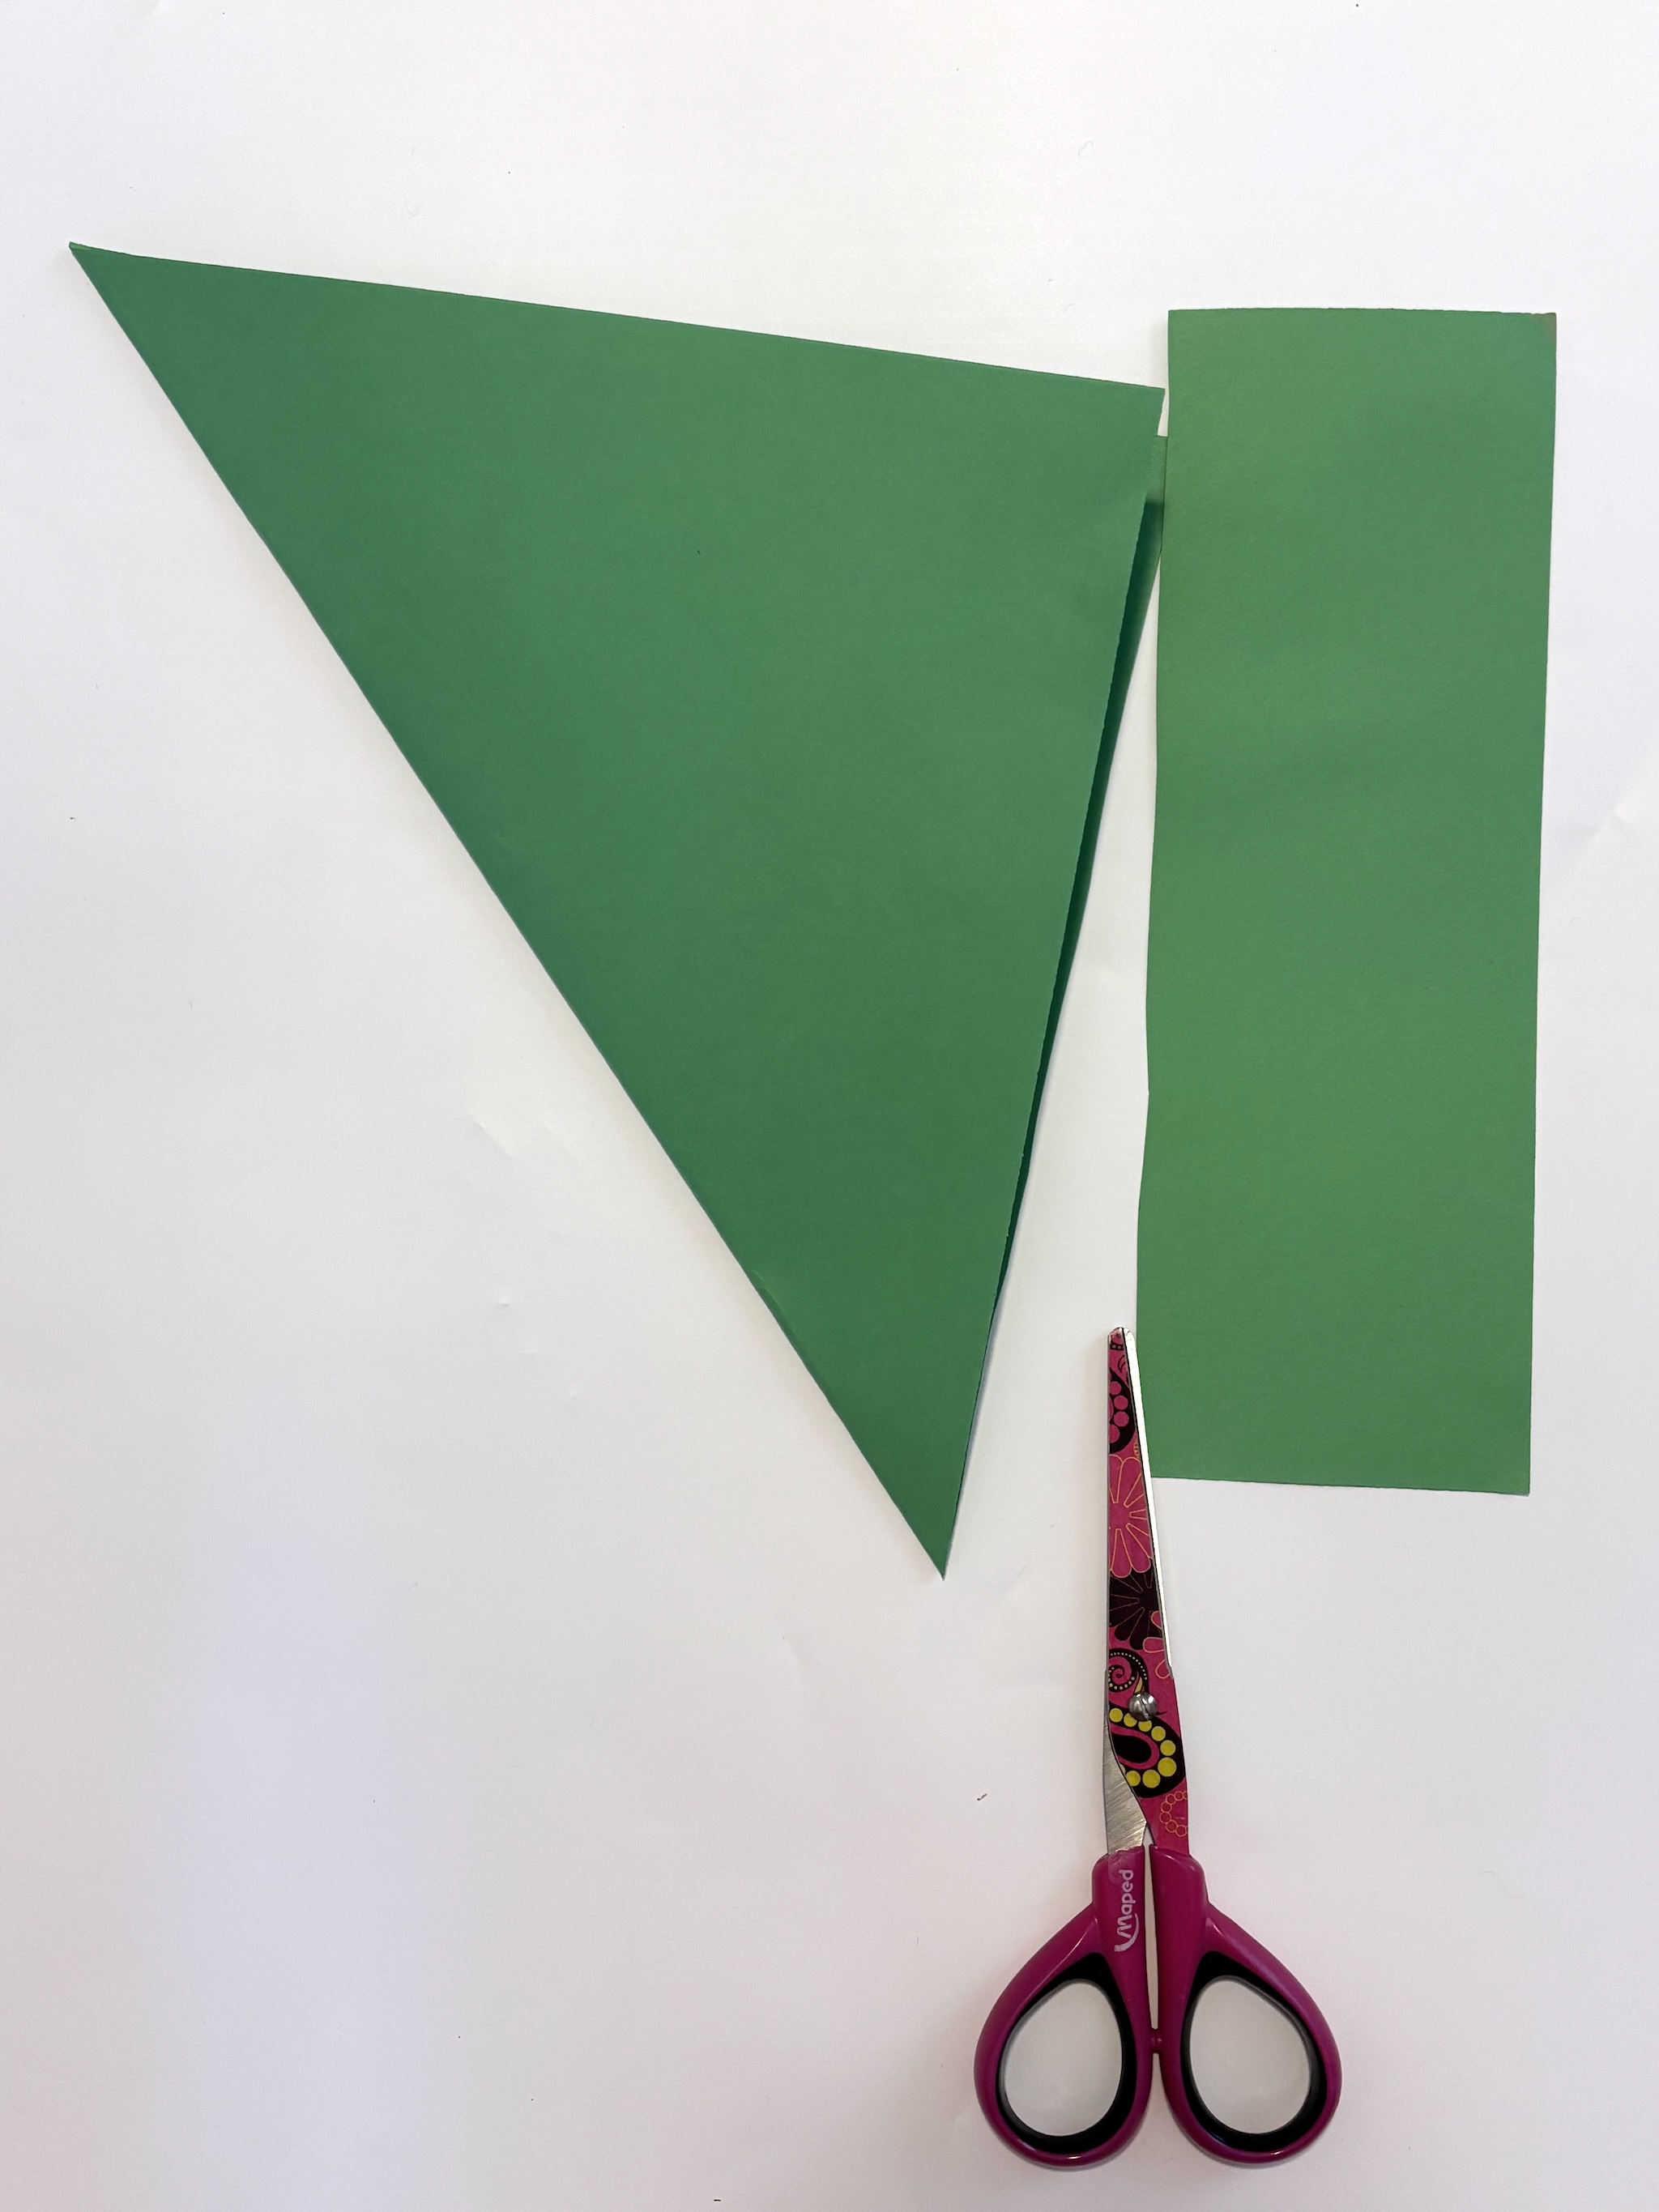
1. Decide what paper color you would like to use for your first flower. Get two pieces of paper.
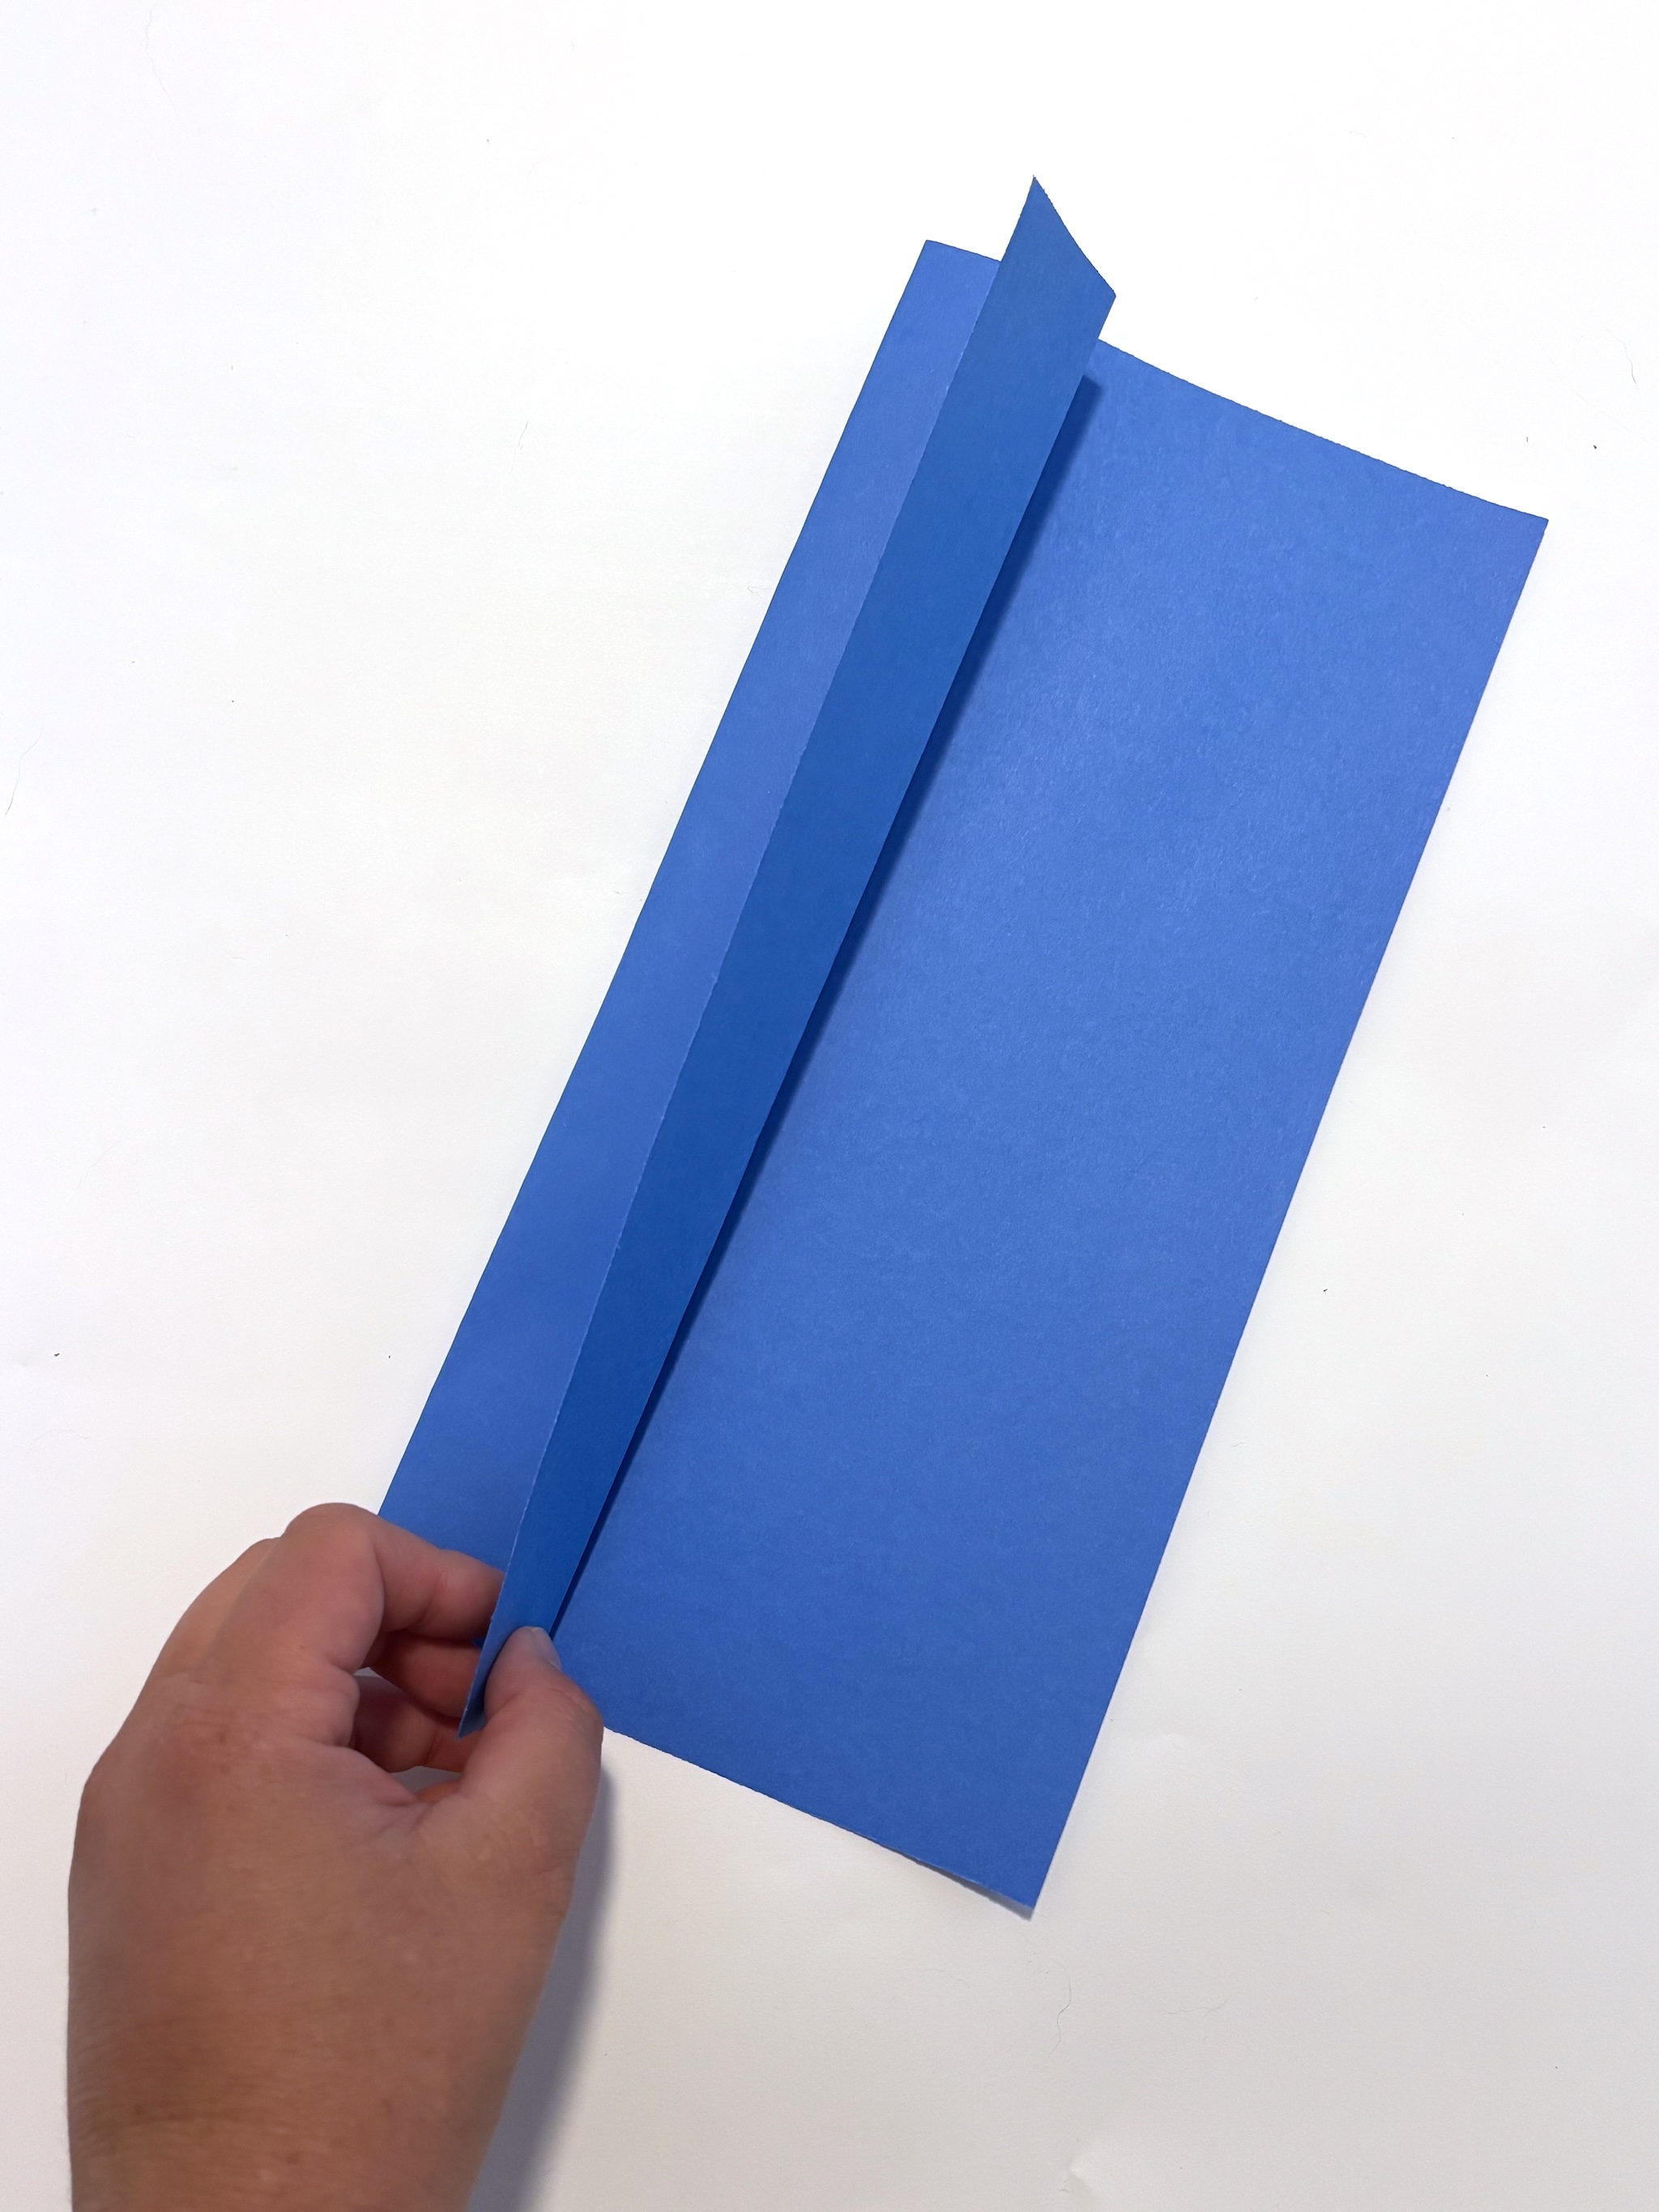
2. Accordion fold your paper. This means fold one inch of your paper vertically. Then repeat this step in the opposite direction. Continue to do this until you reach the end of the paper. Do this with both pieces.
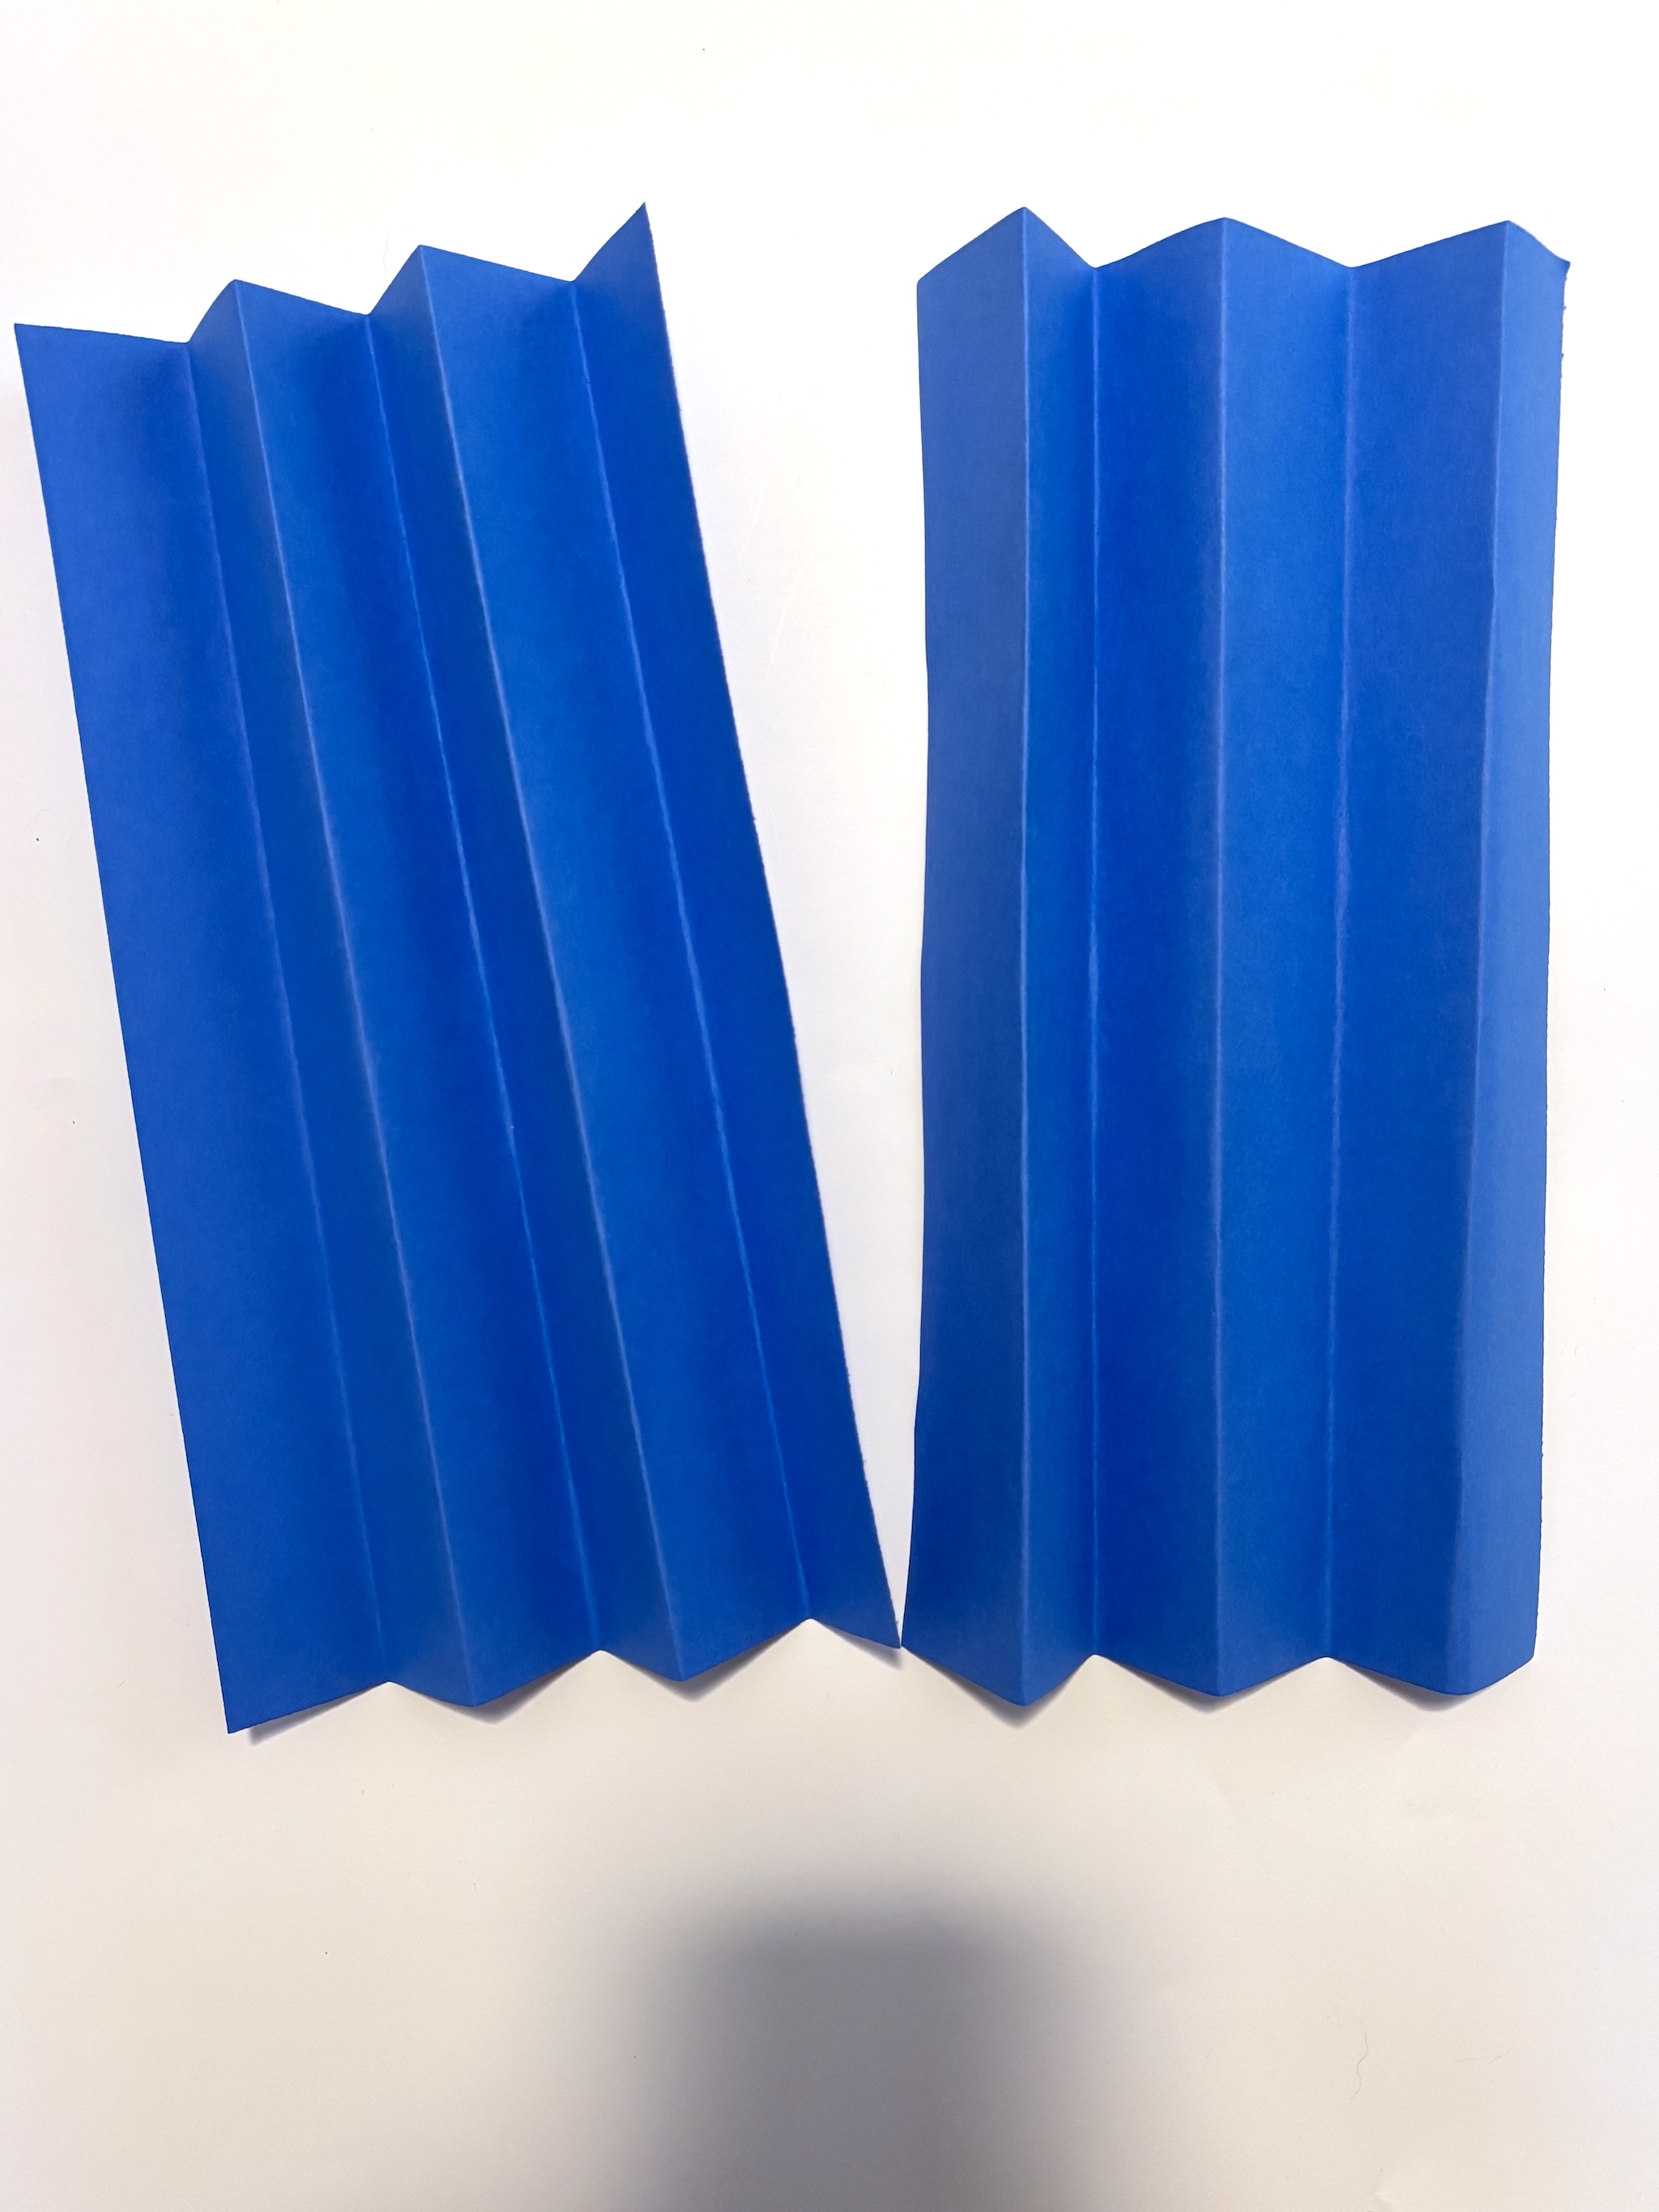
3. Fold both of your papers in half horizontally, creating what looks like a fan. Lay the pieces together side to side. Staple the two pieces together in the middle.
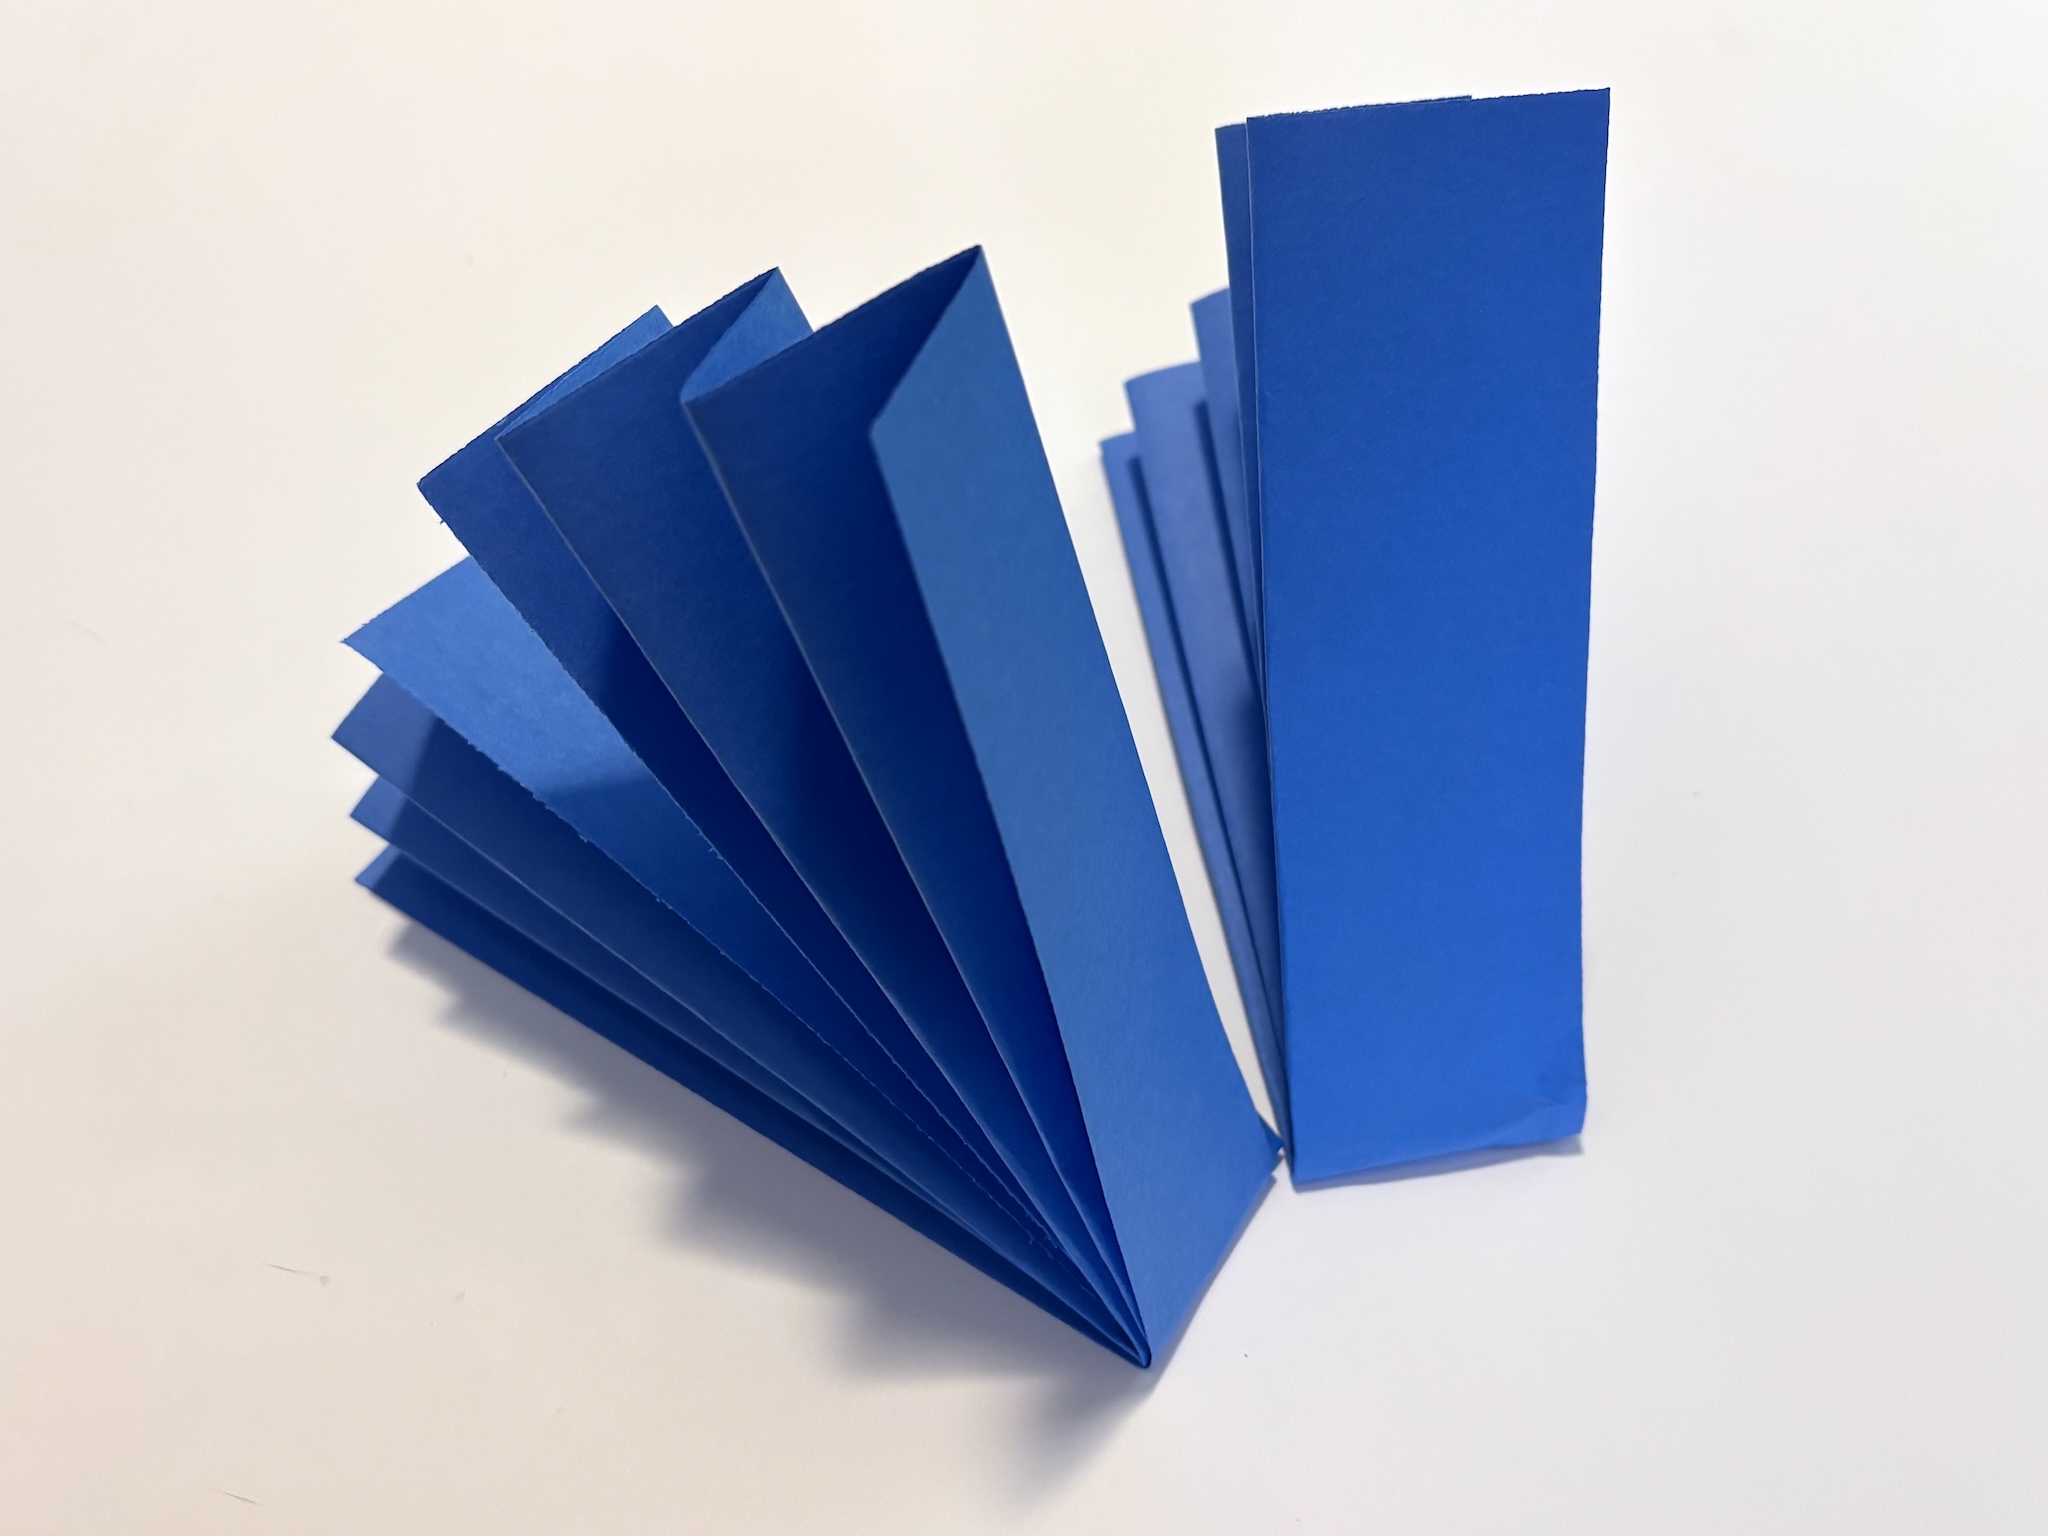
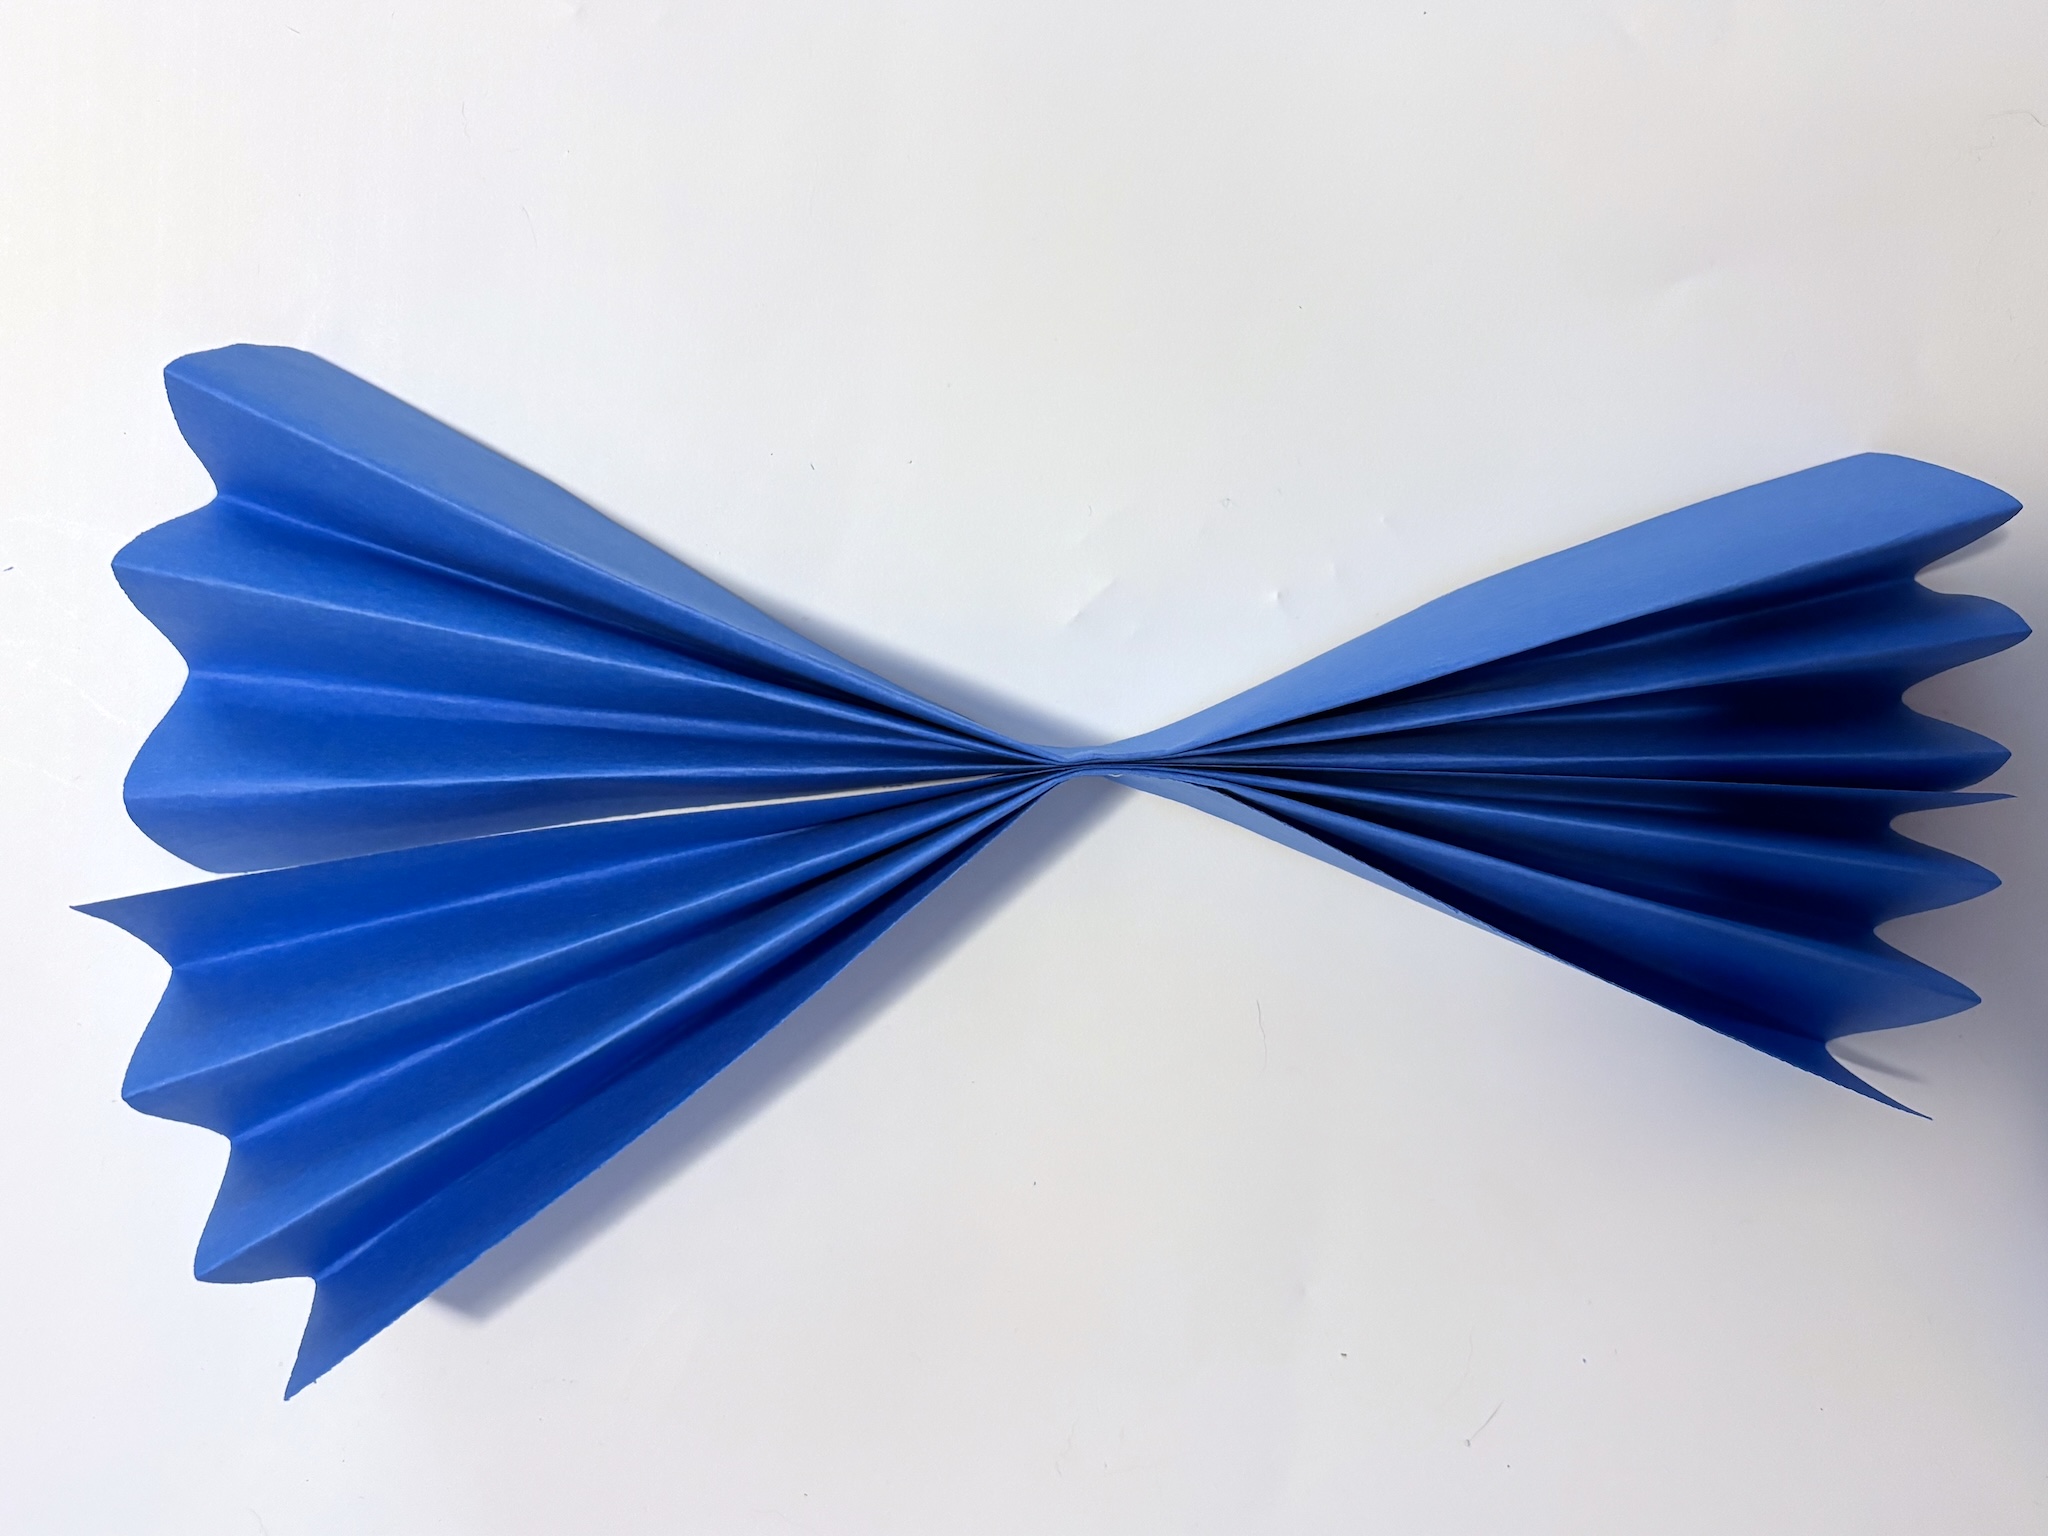

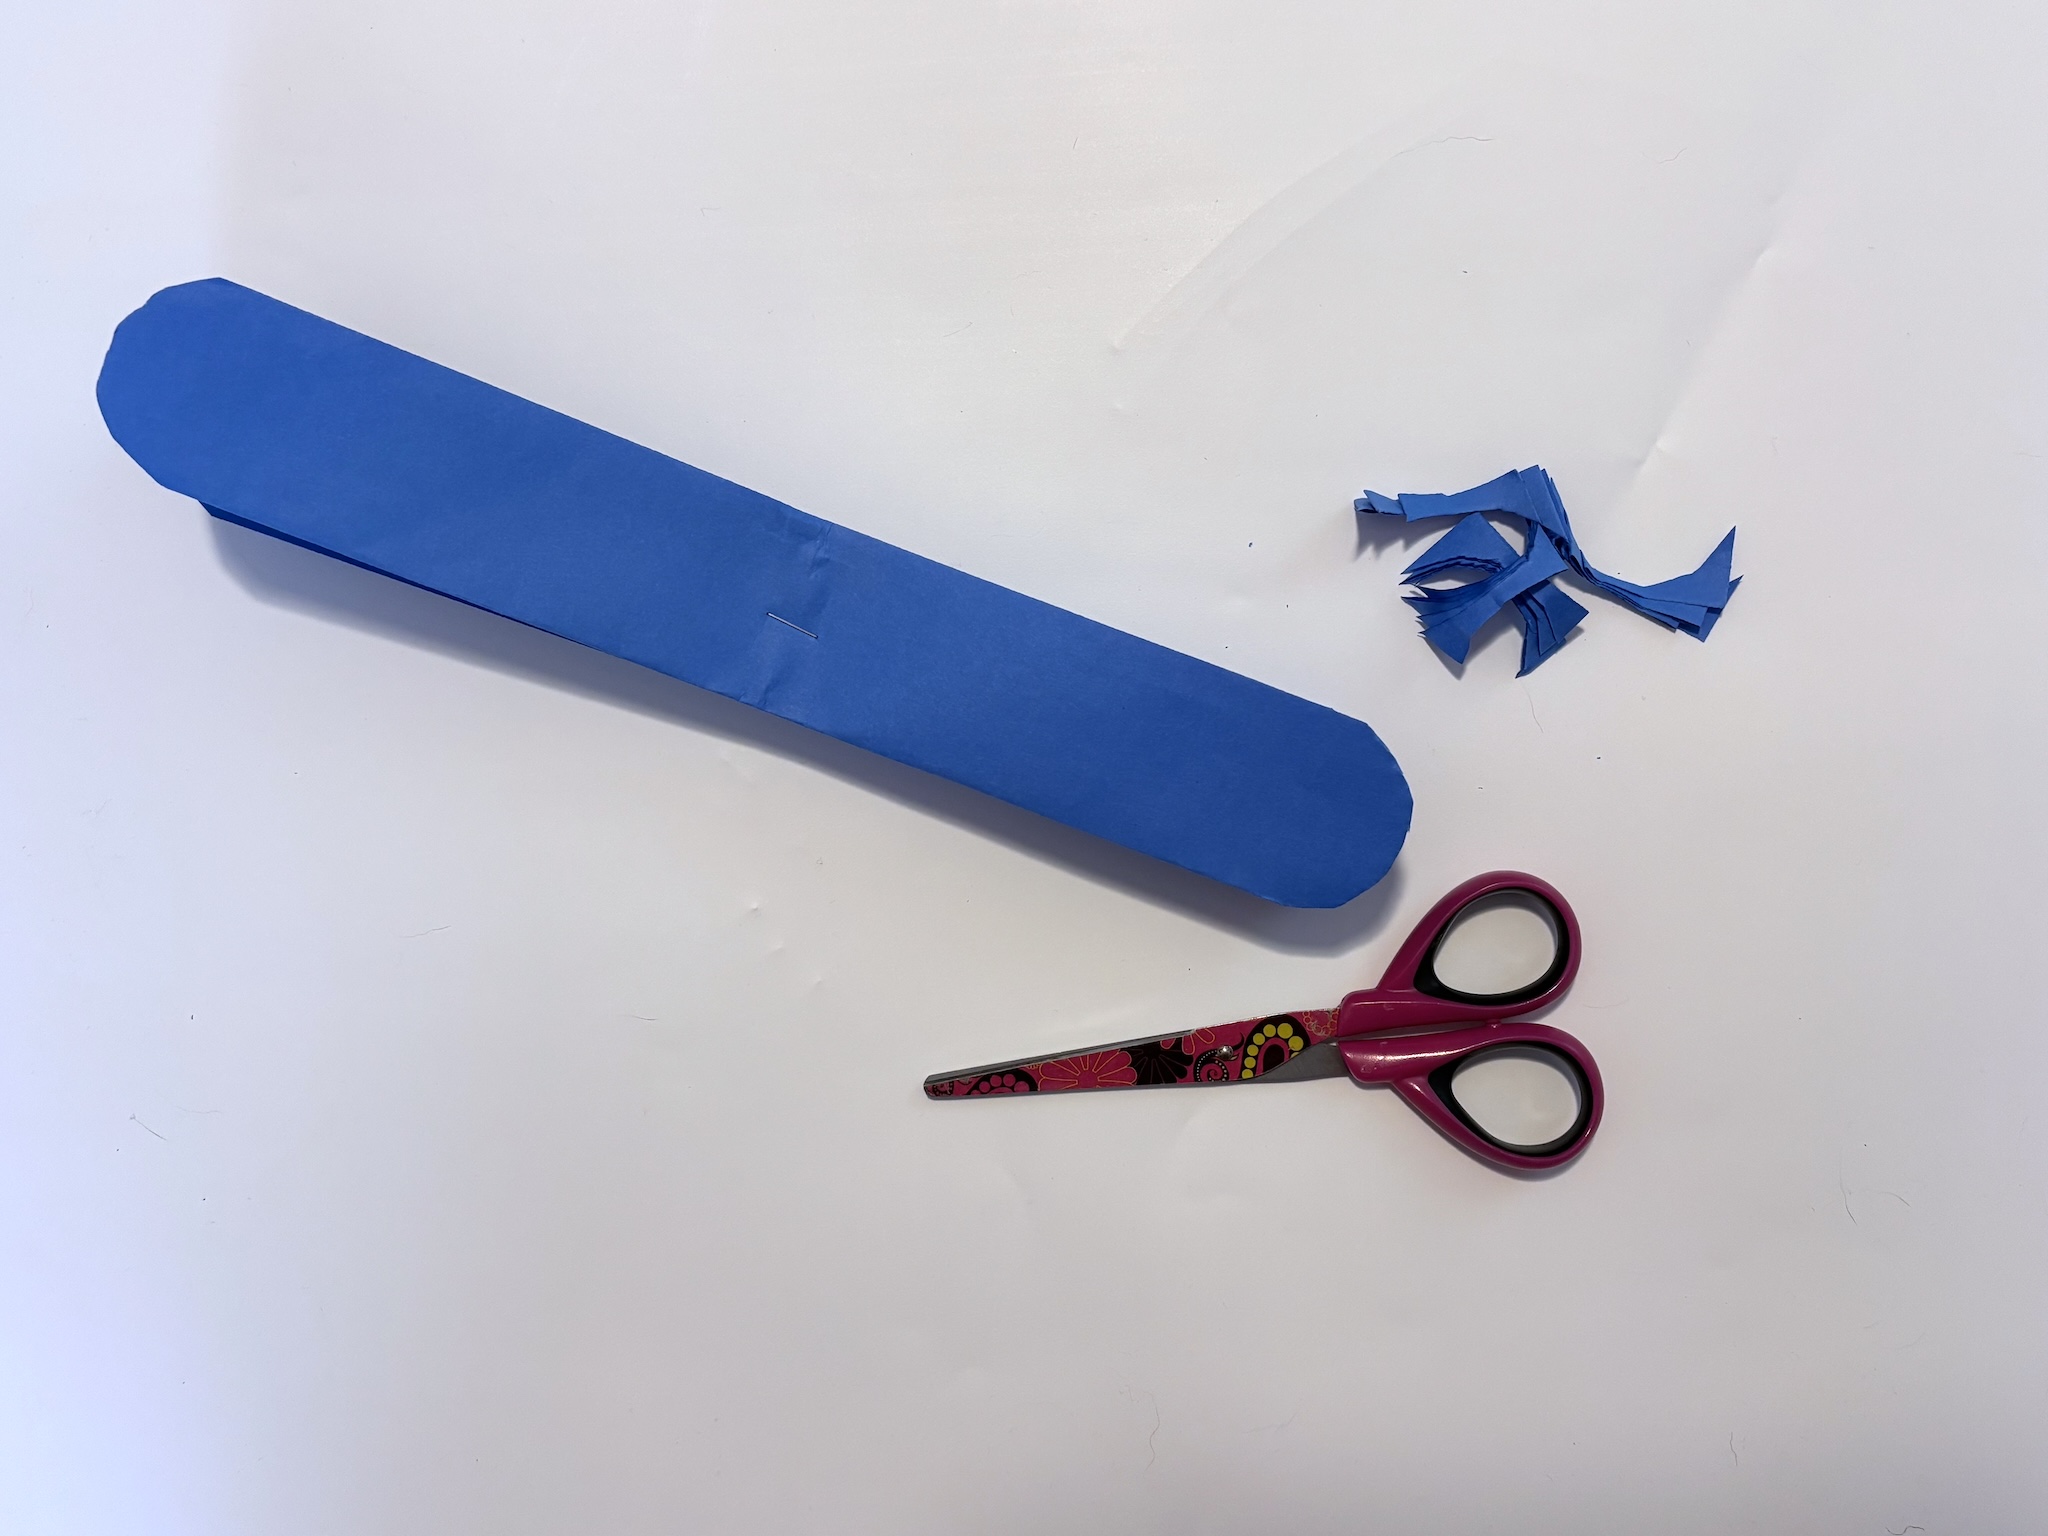
4. Hold the ends together, cut the shape of what you want the flower petal to look like. You can cut a curve or a triangle tip. Whatever you like!
5. Bring the folds together to make your flower. Using tape or staples, connect the different sides together.
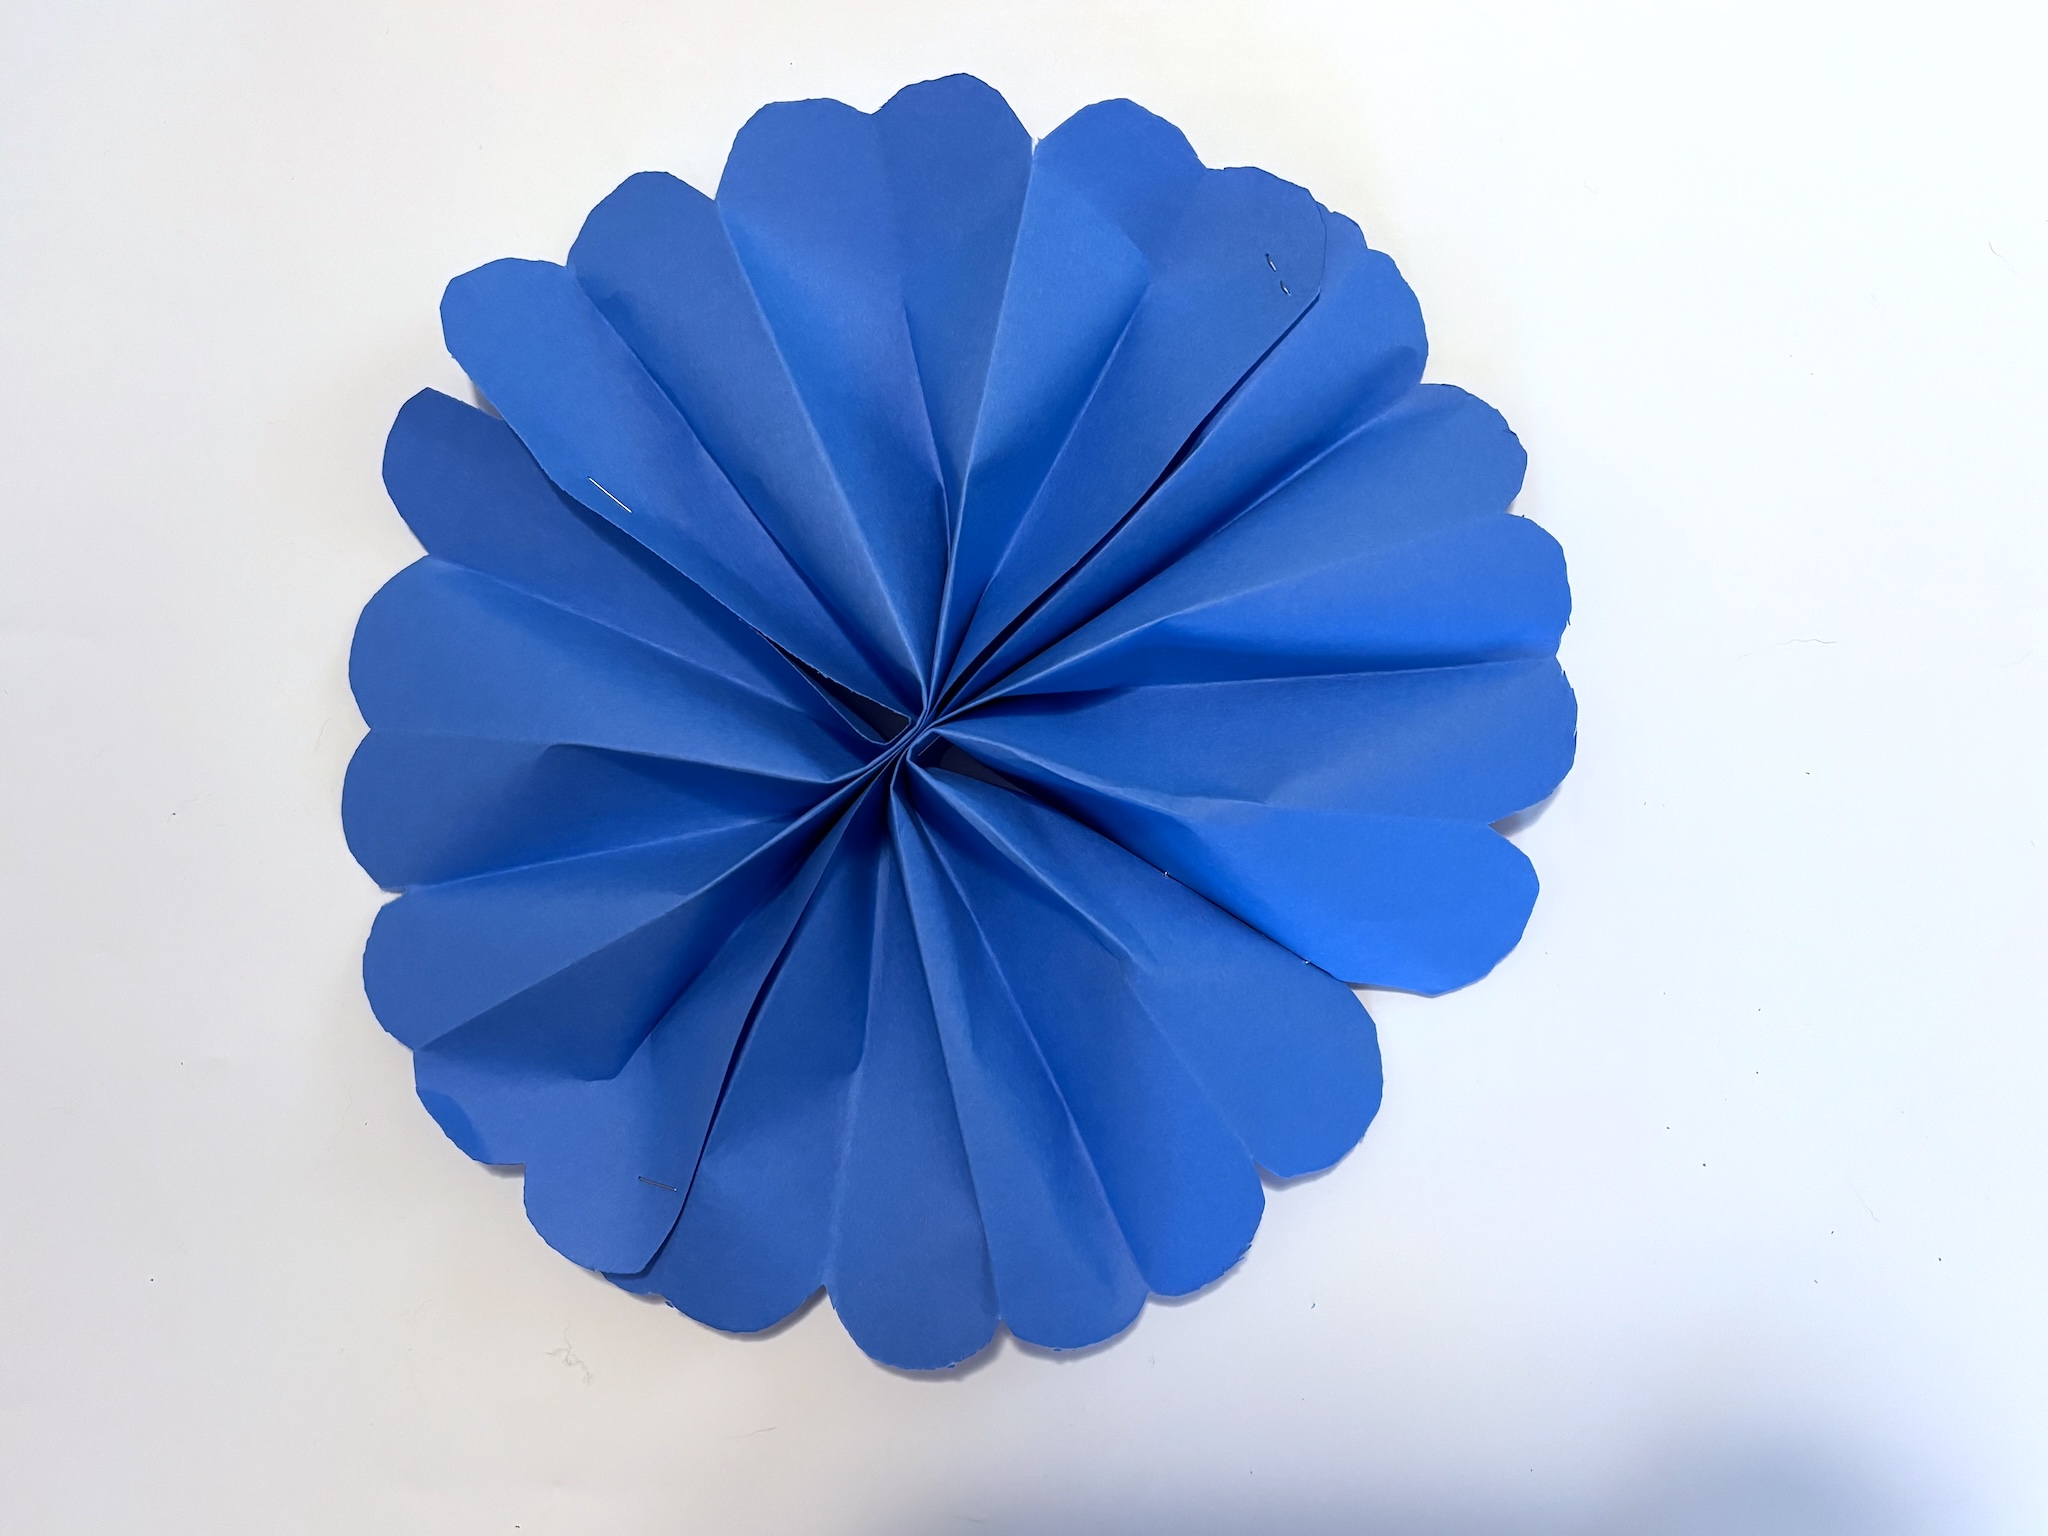
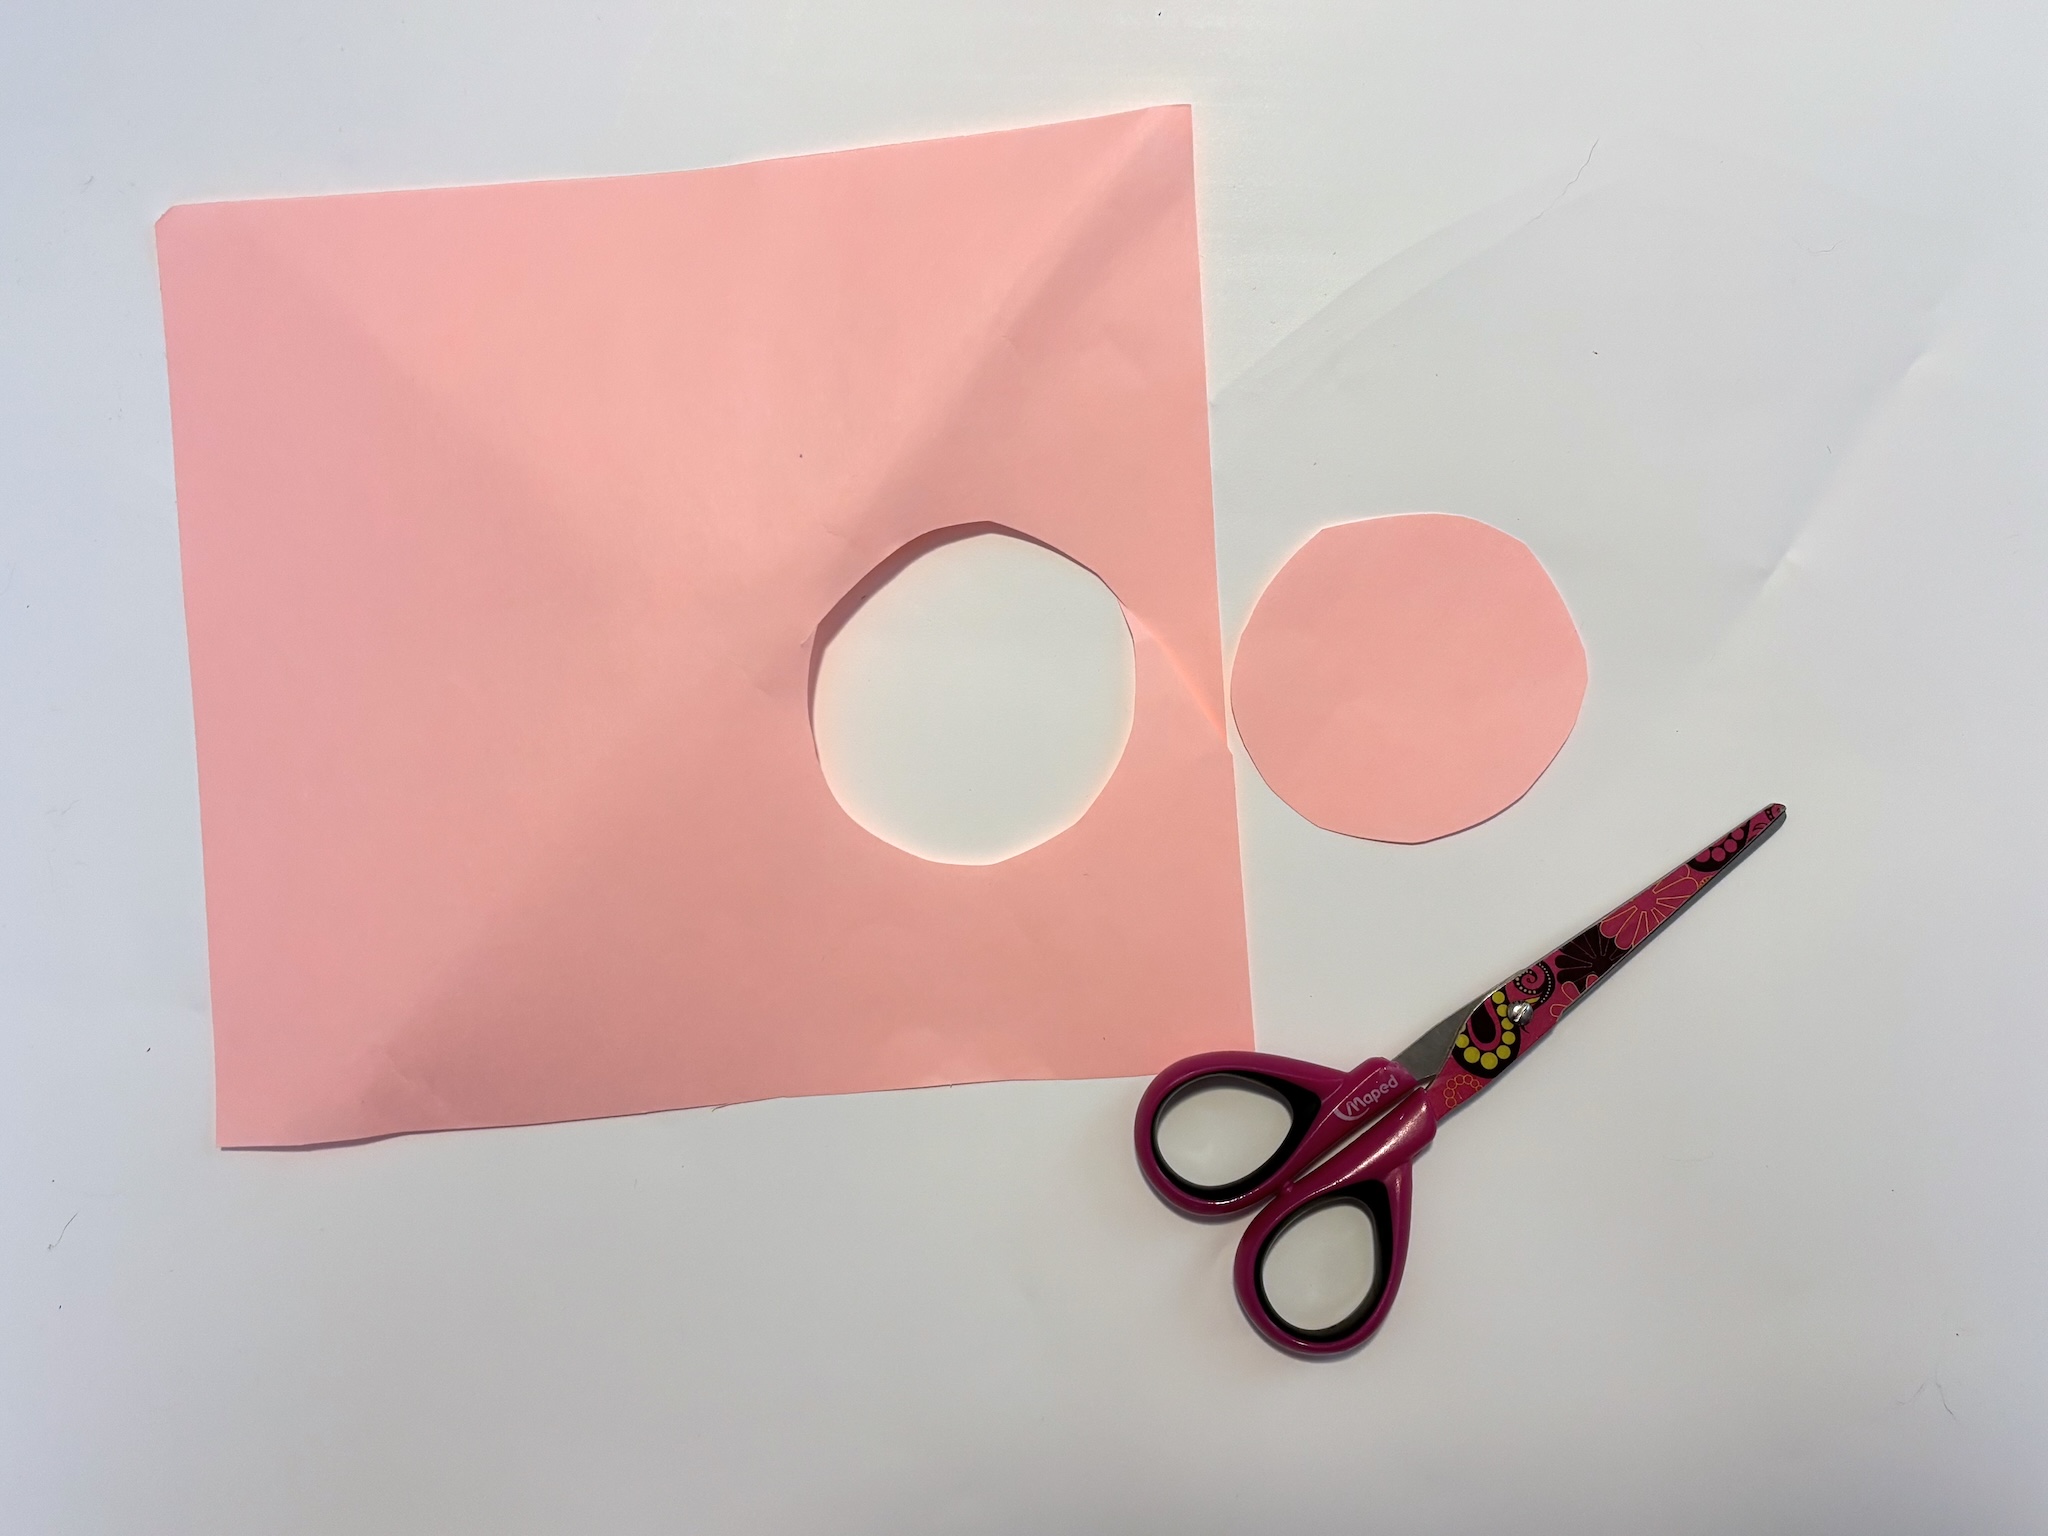
6. Using another sheet of paper, cut out a circle or another shape to make the middle of the flower. Tape the shape onto the middle of your flower.
Flower Option 2
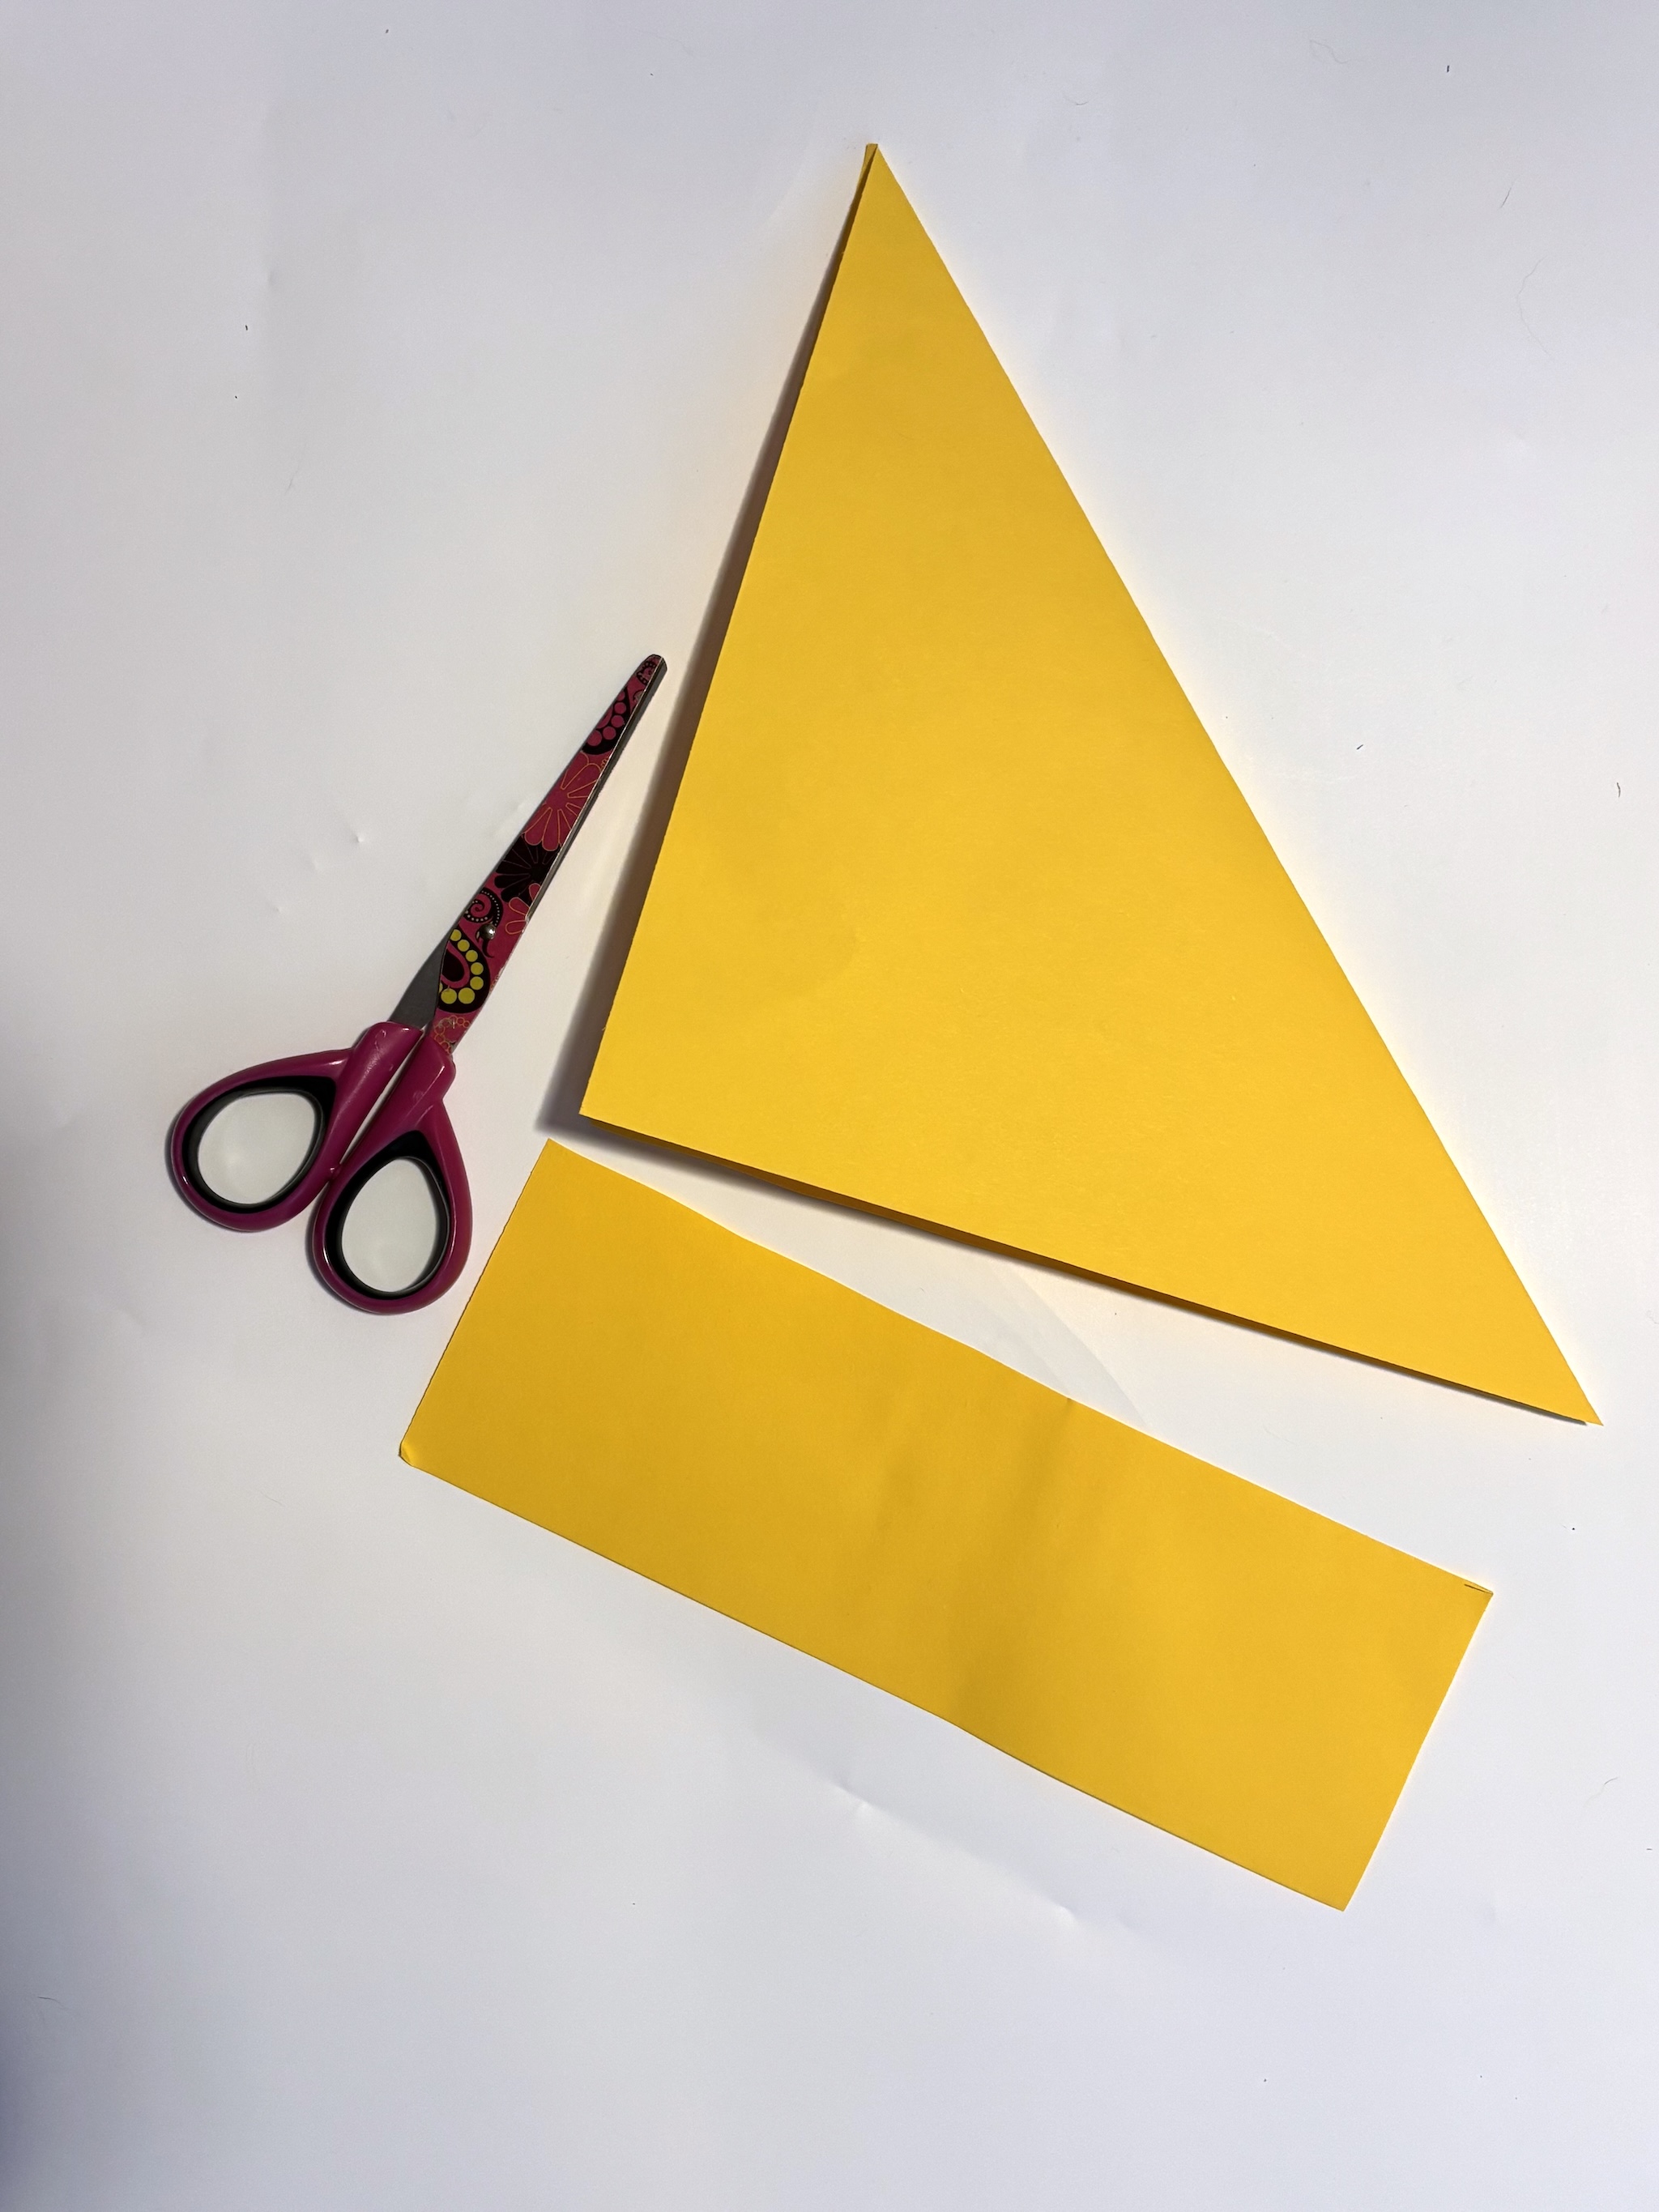
1. Pick out a piece of paper for the stem and one for the flower.
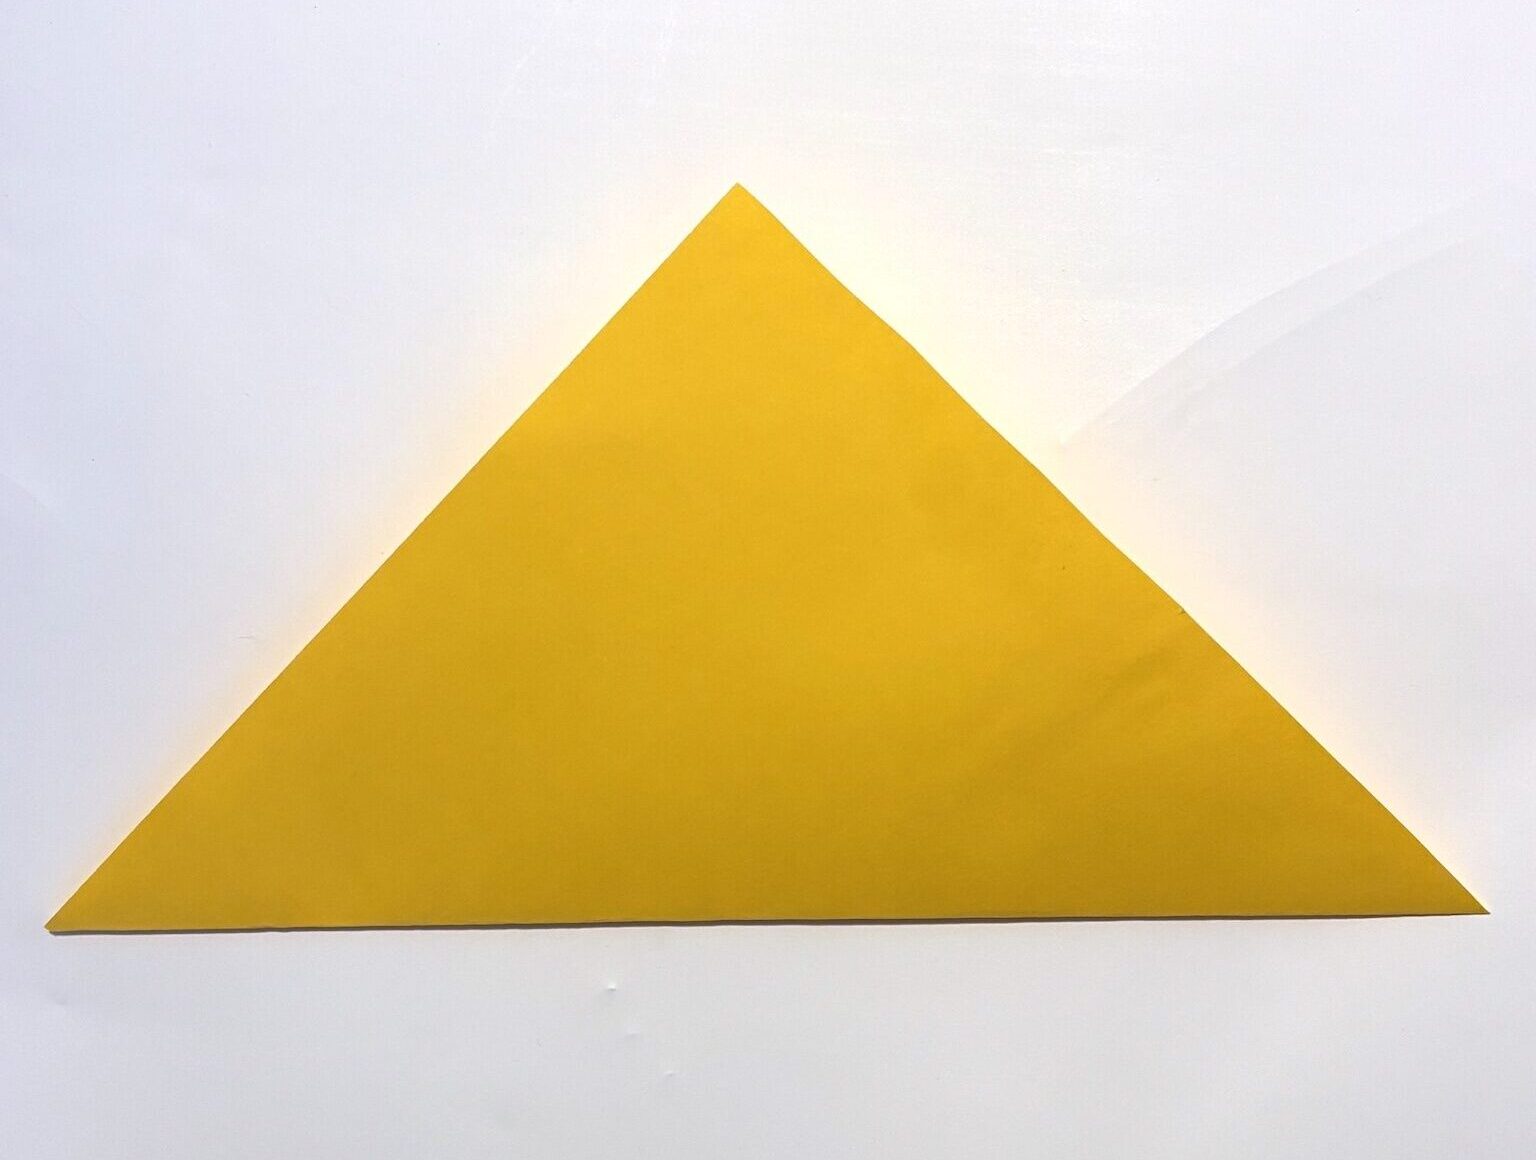
2. Cut the paper you chose for the flower into a square.
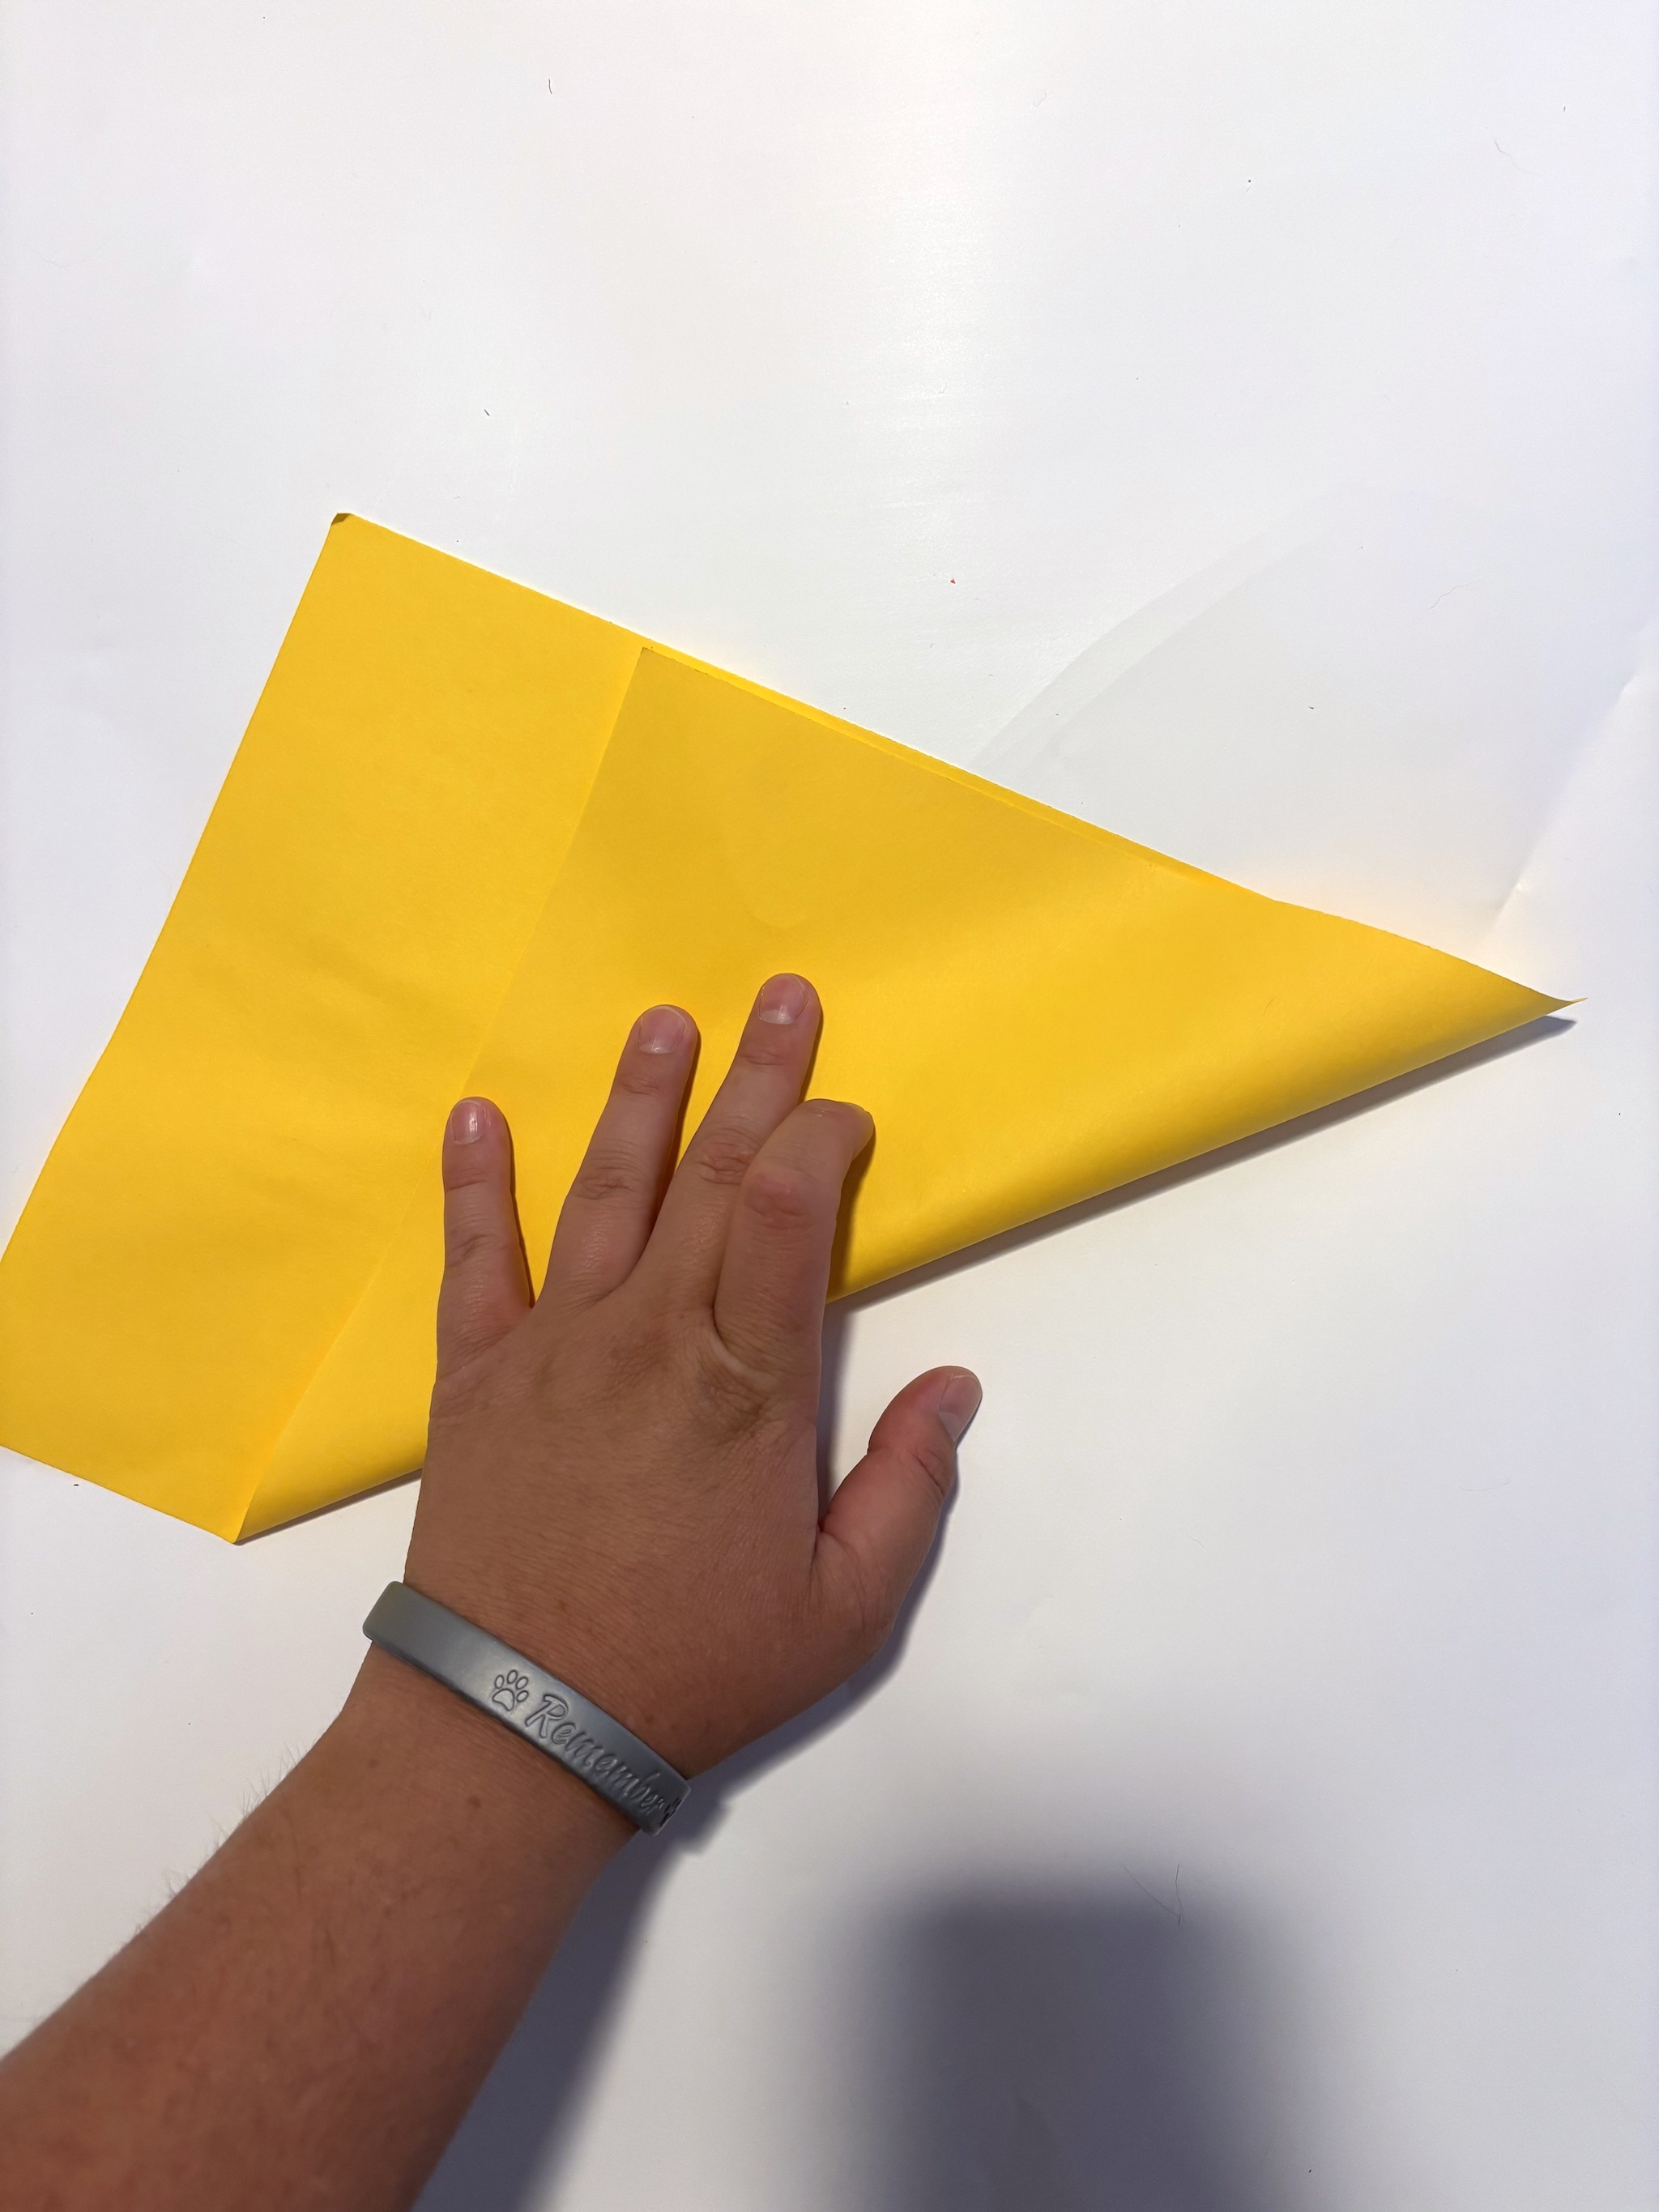
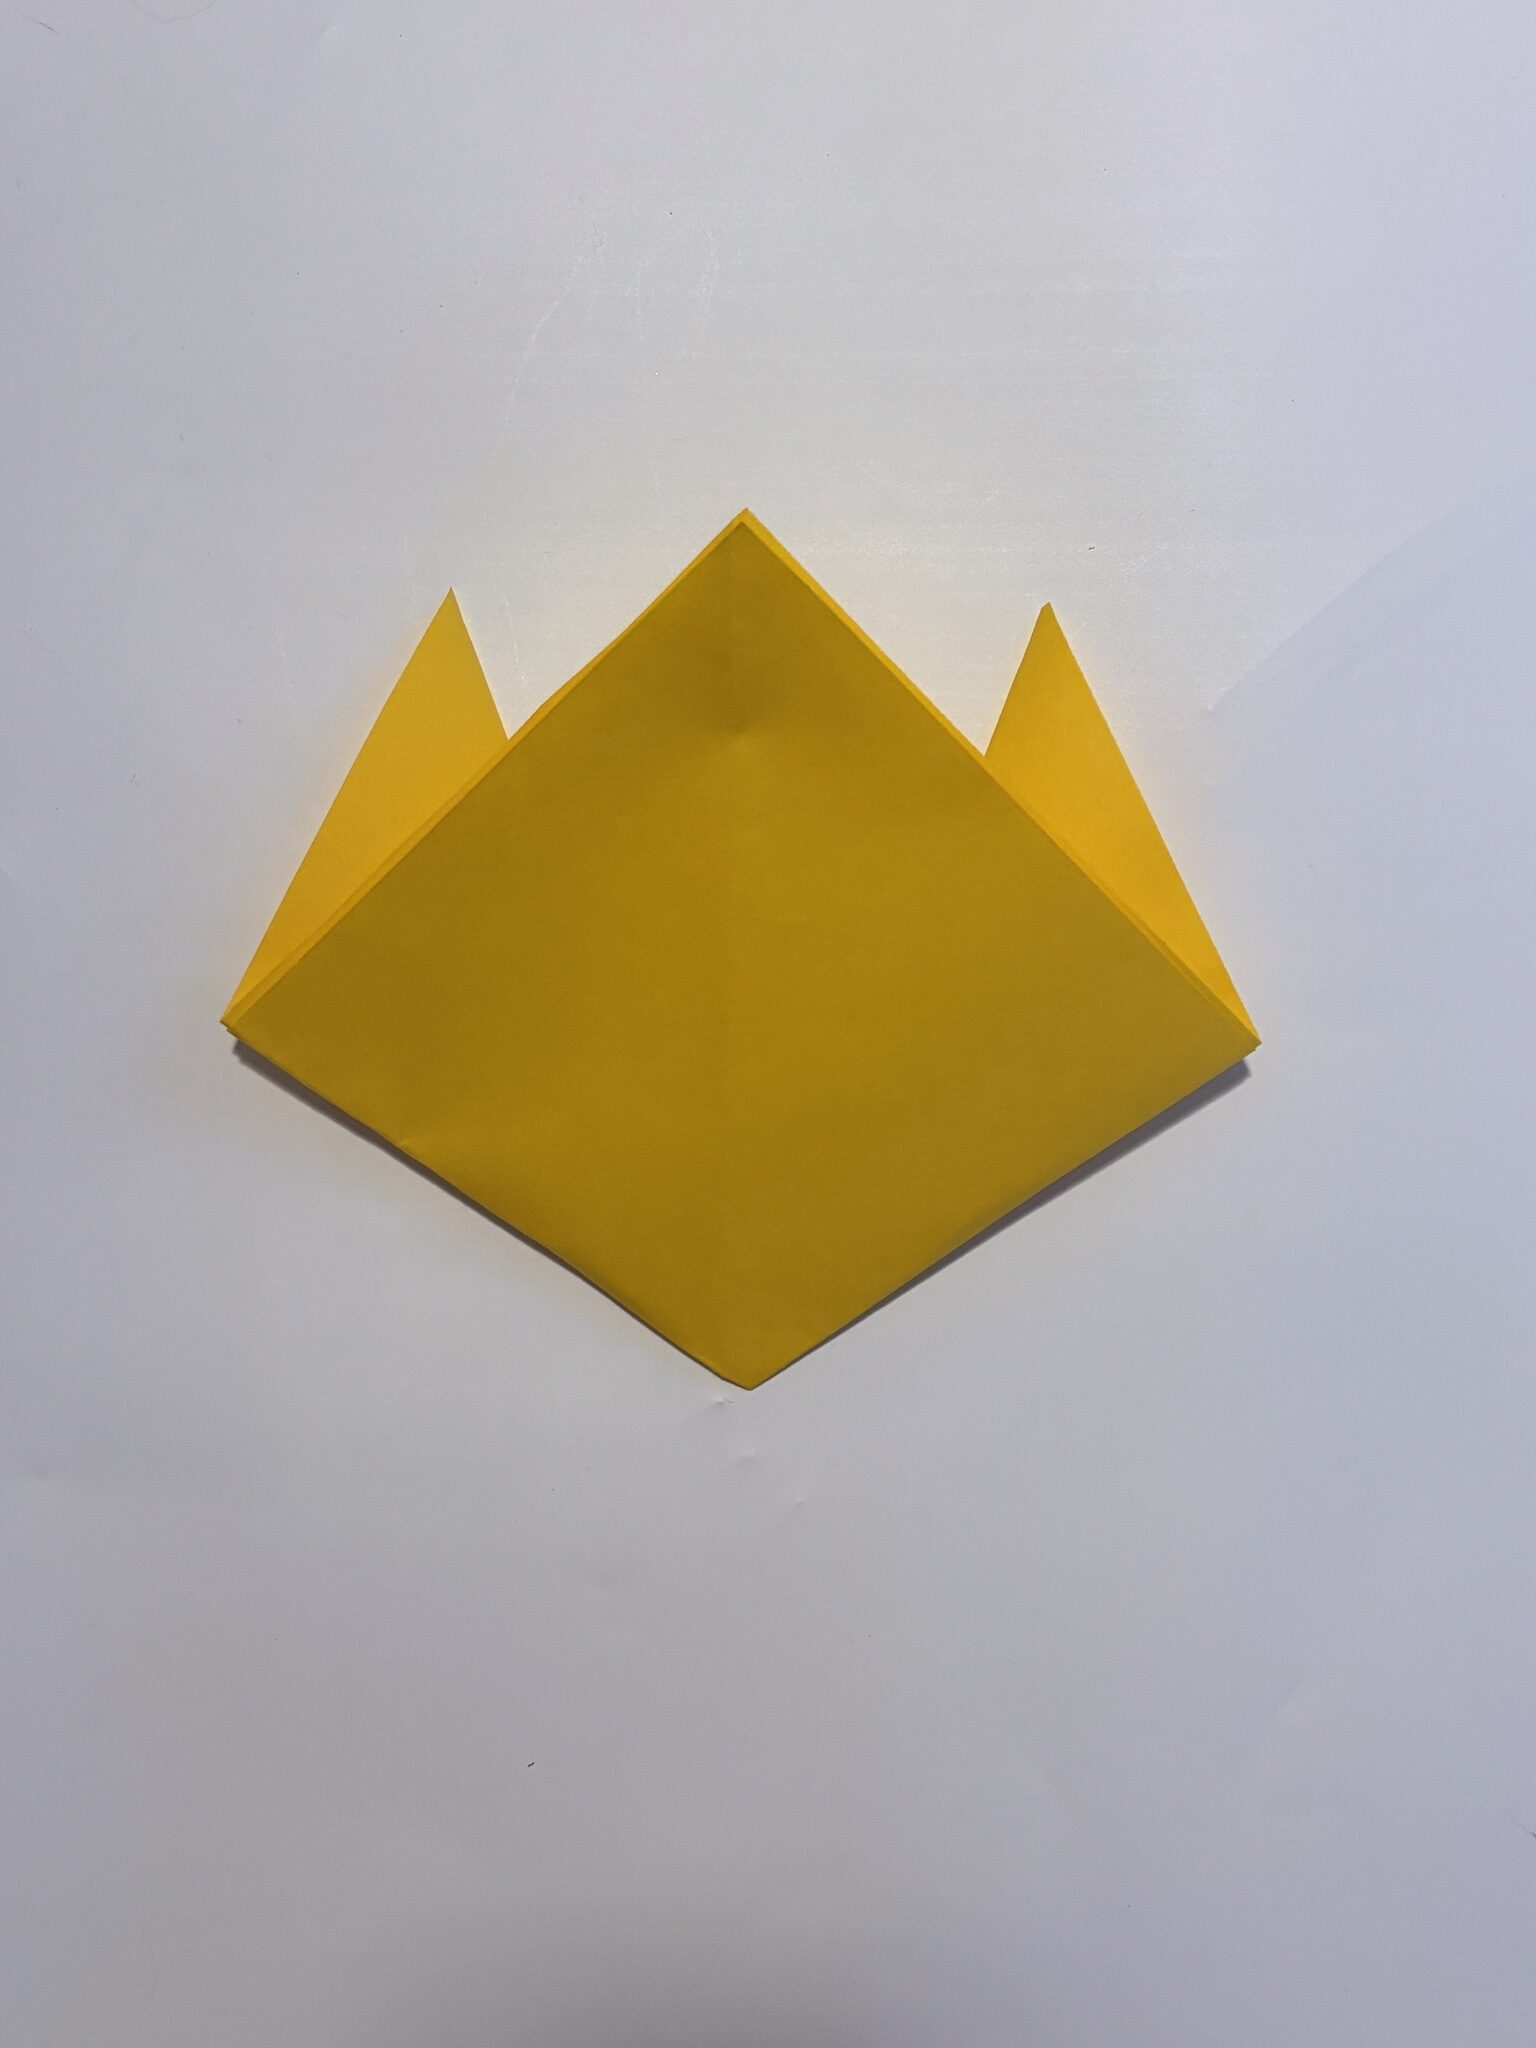
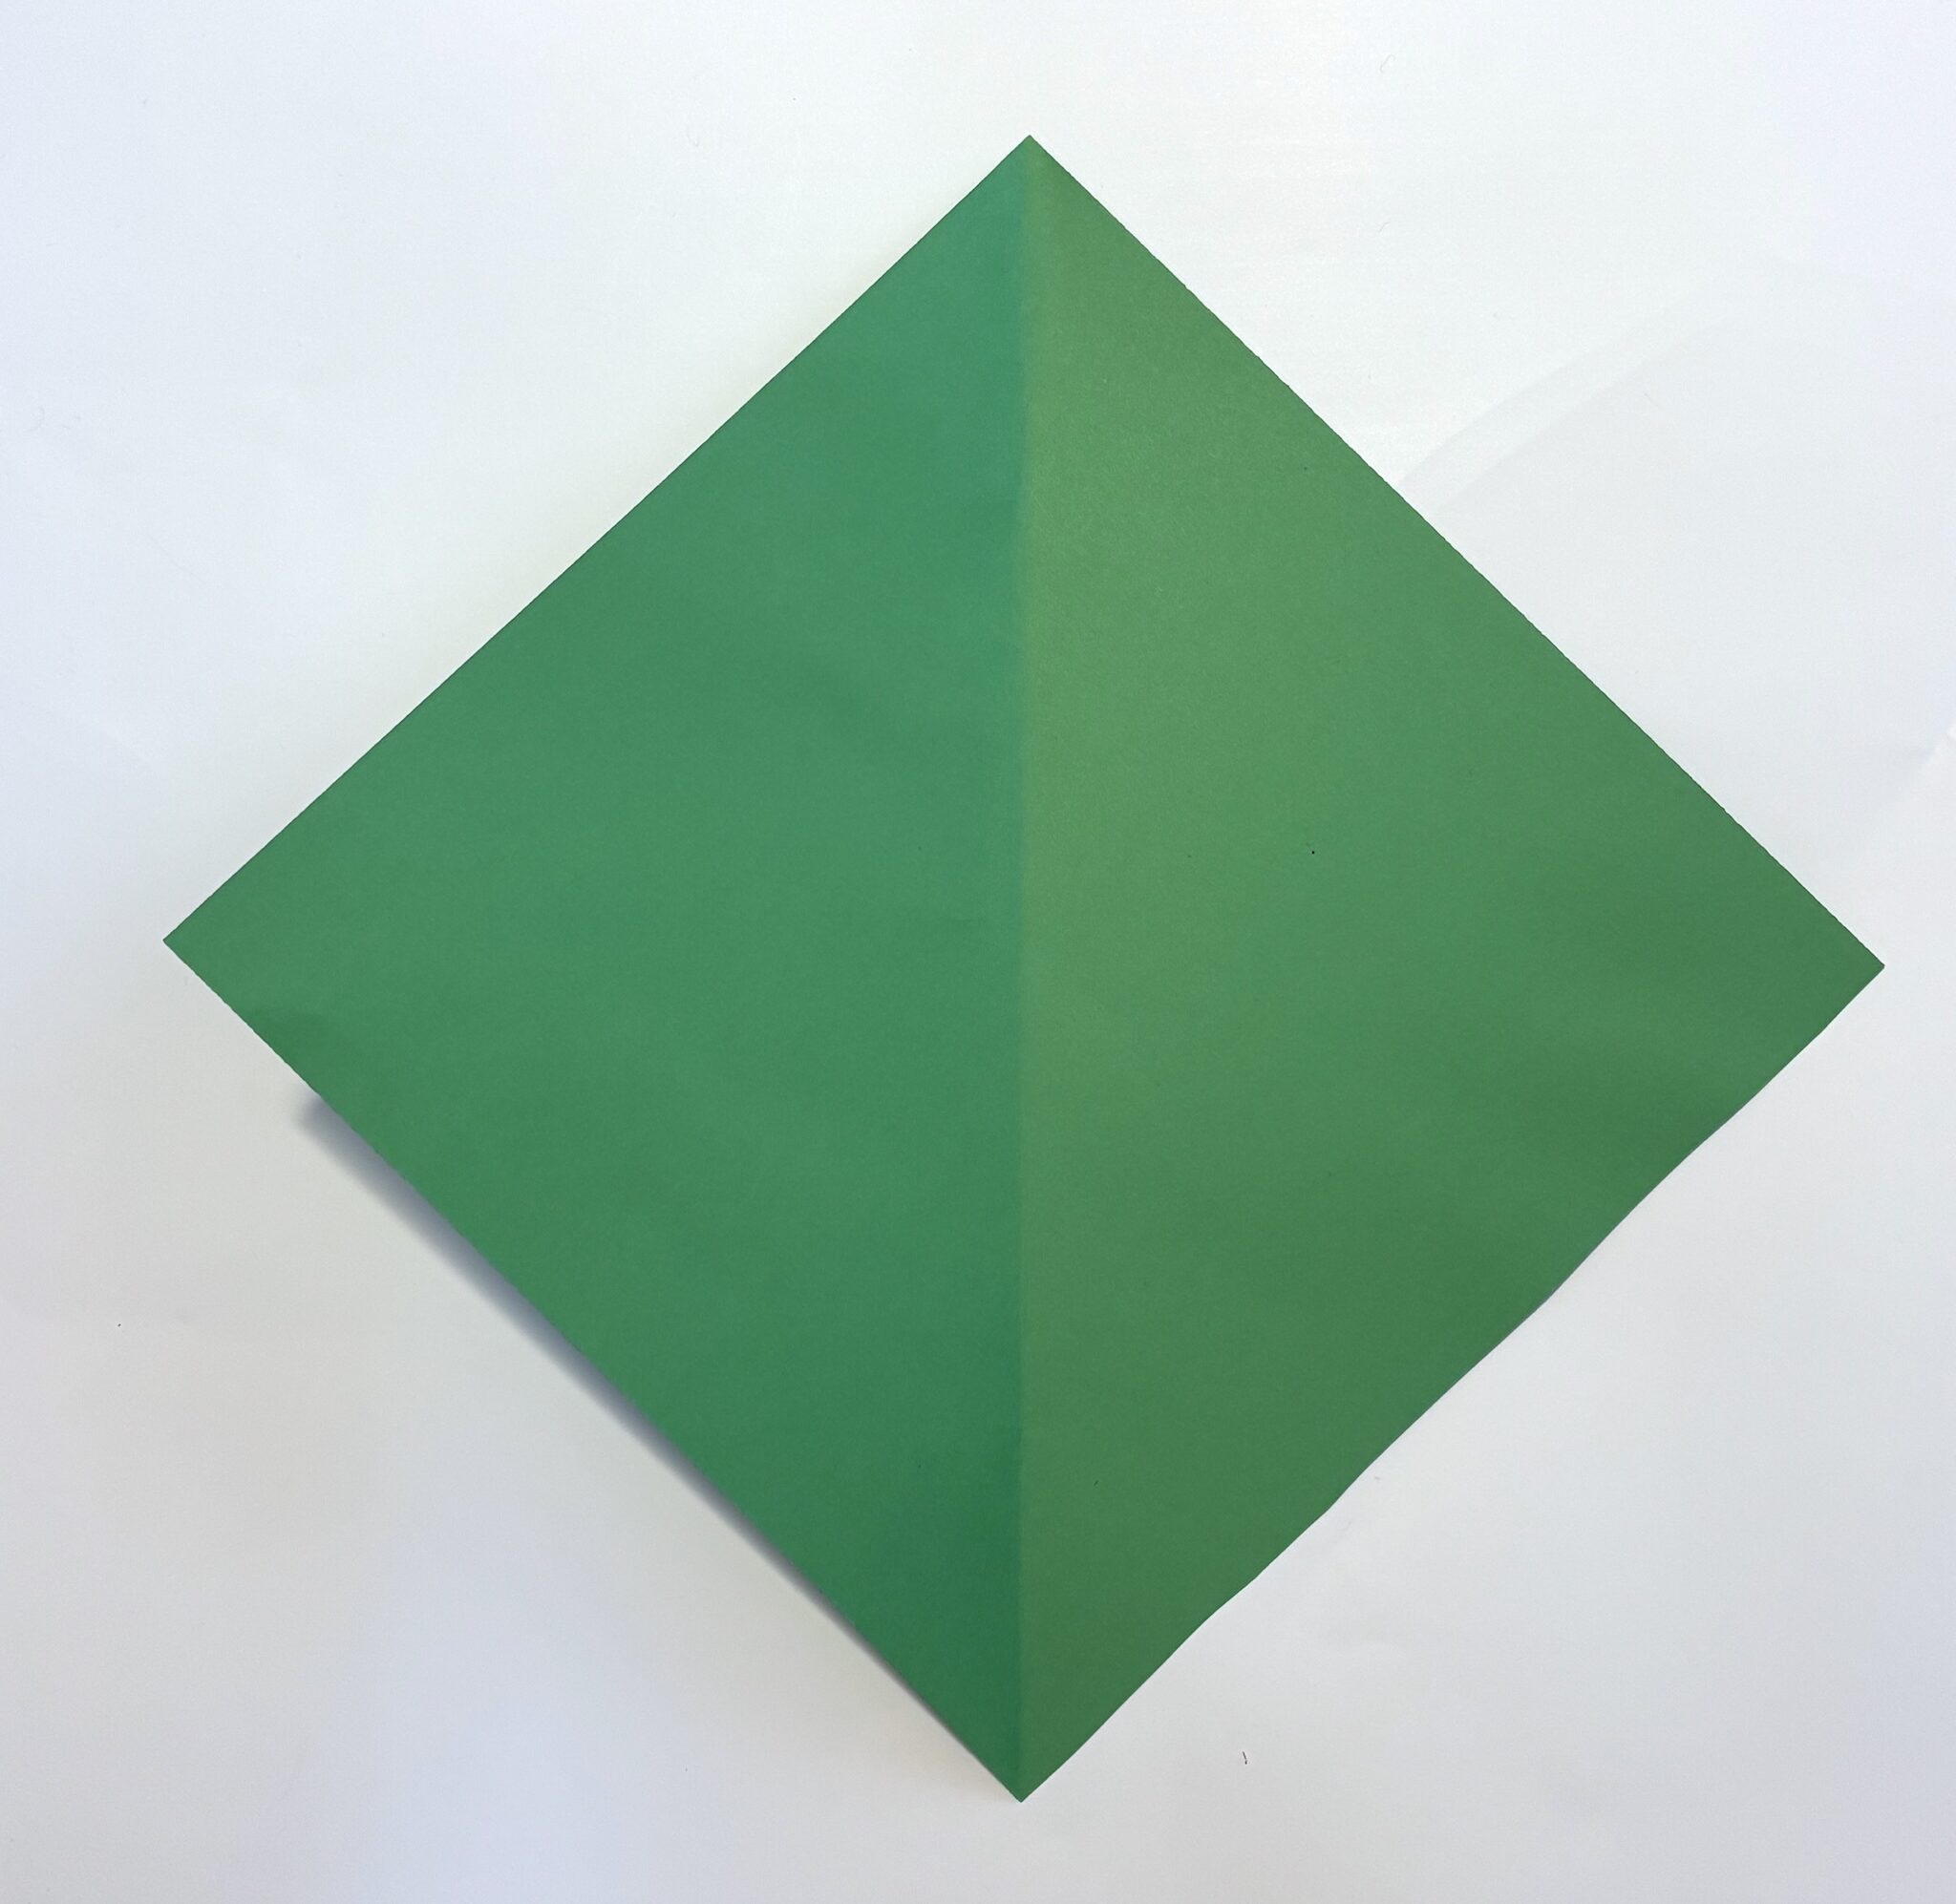
3. Turn the paper into a triangle by folding one corner diagonally to another corner.
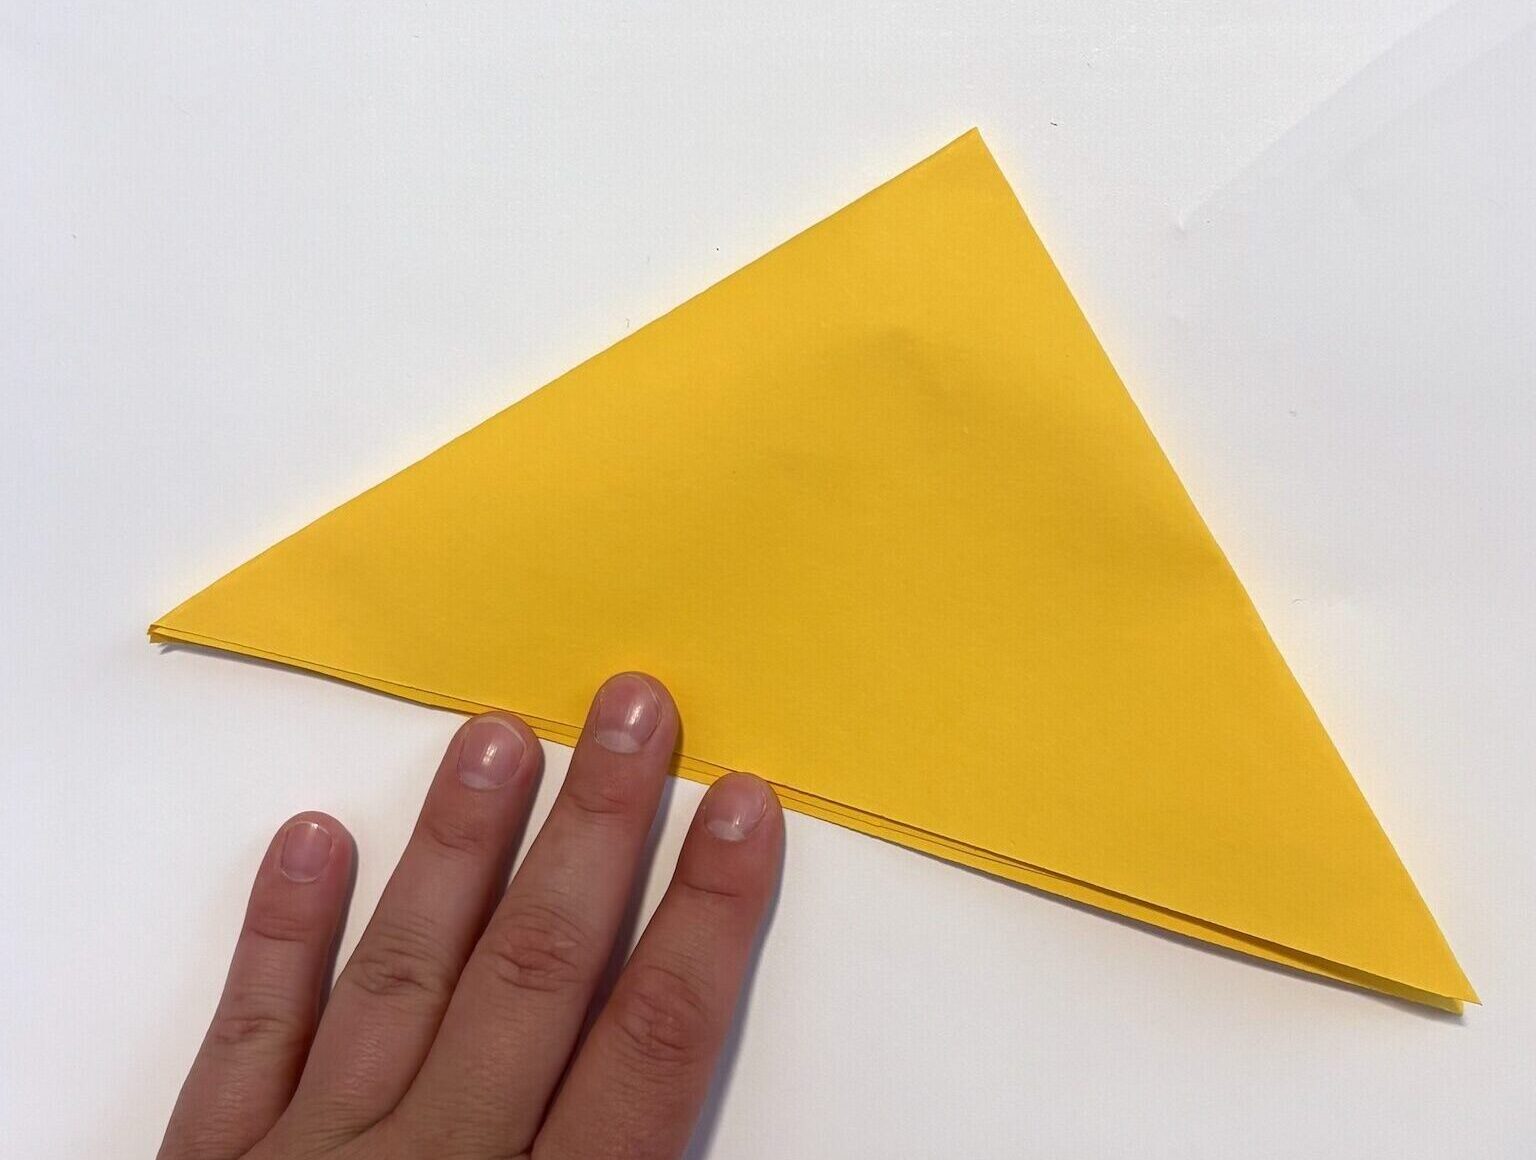
4. Fold the triangle in half creating a crease from the top point down.
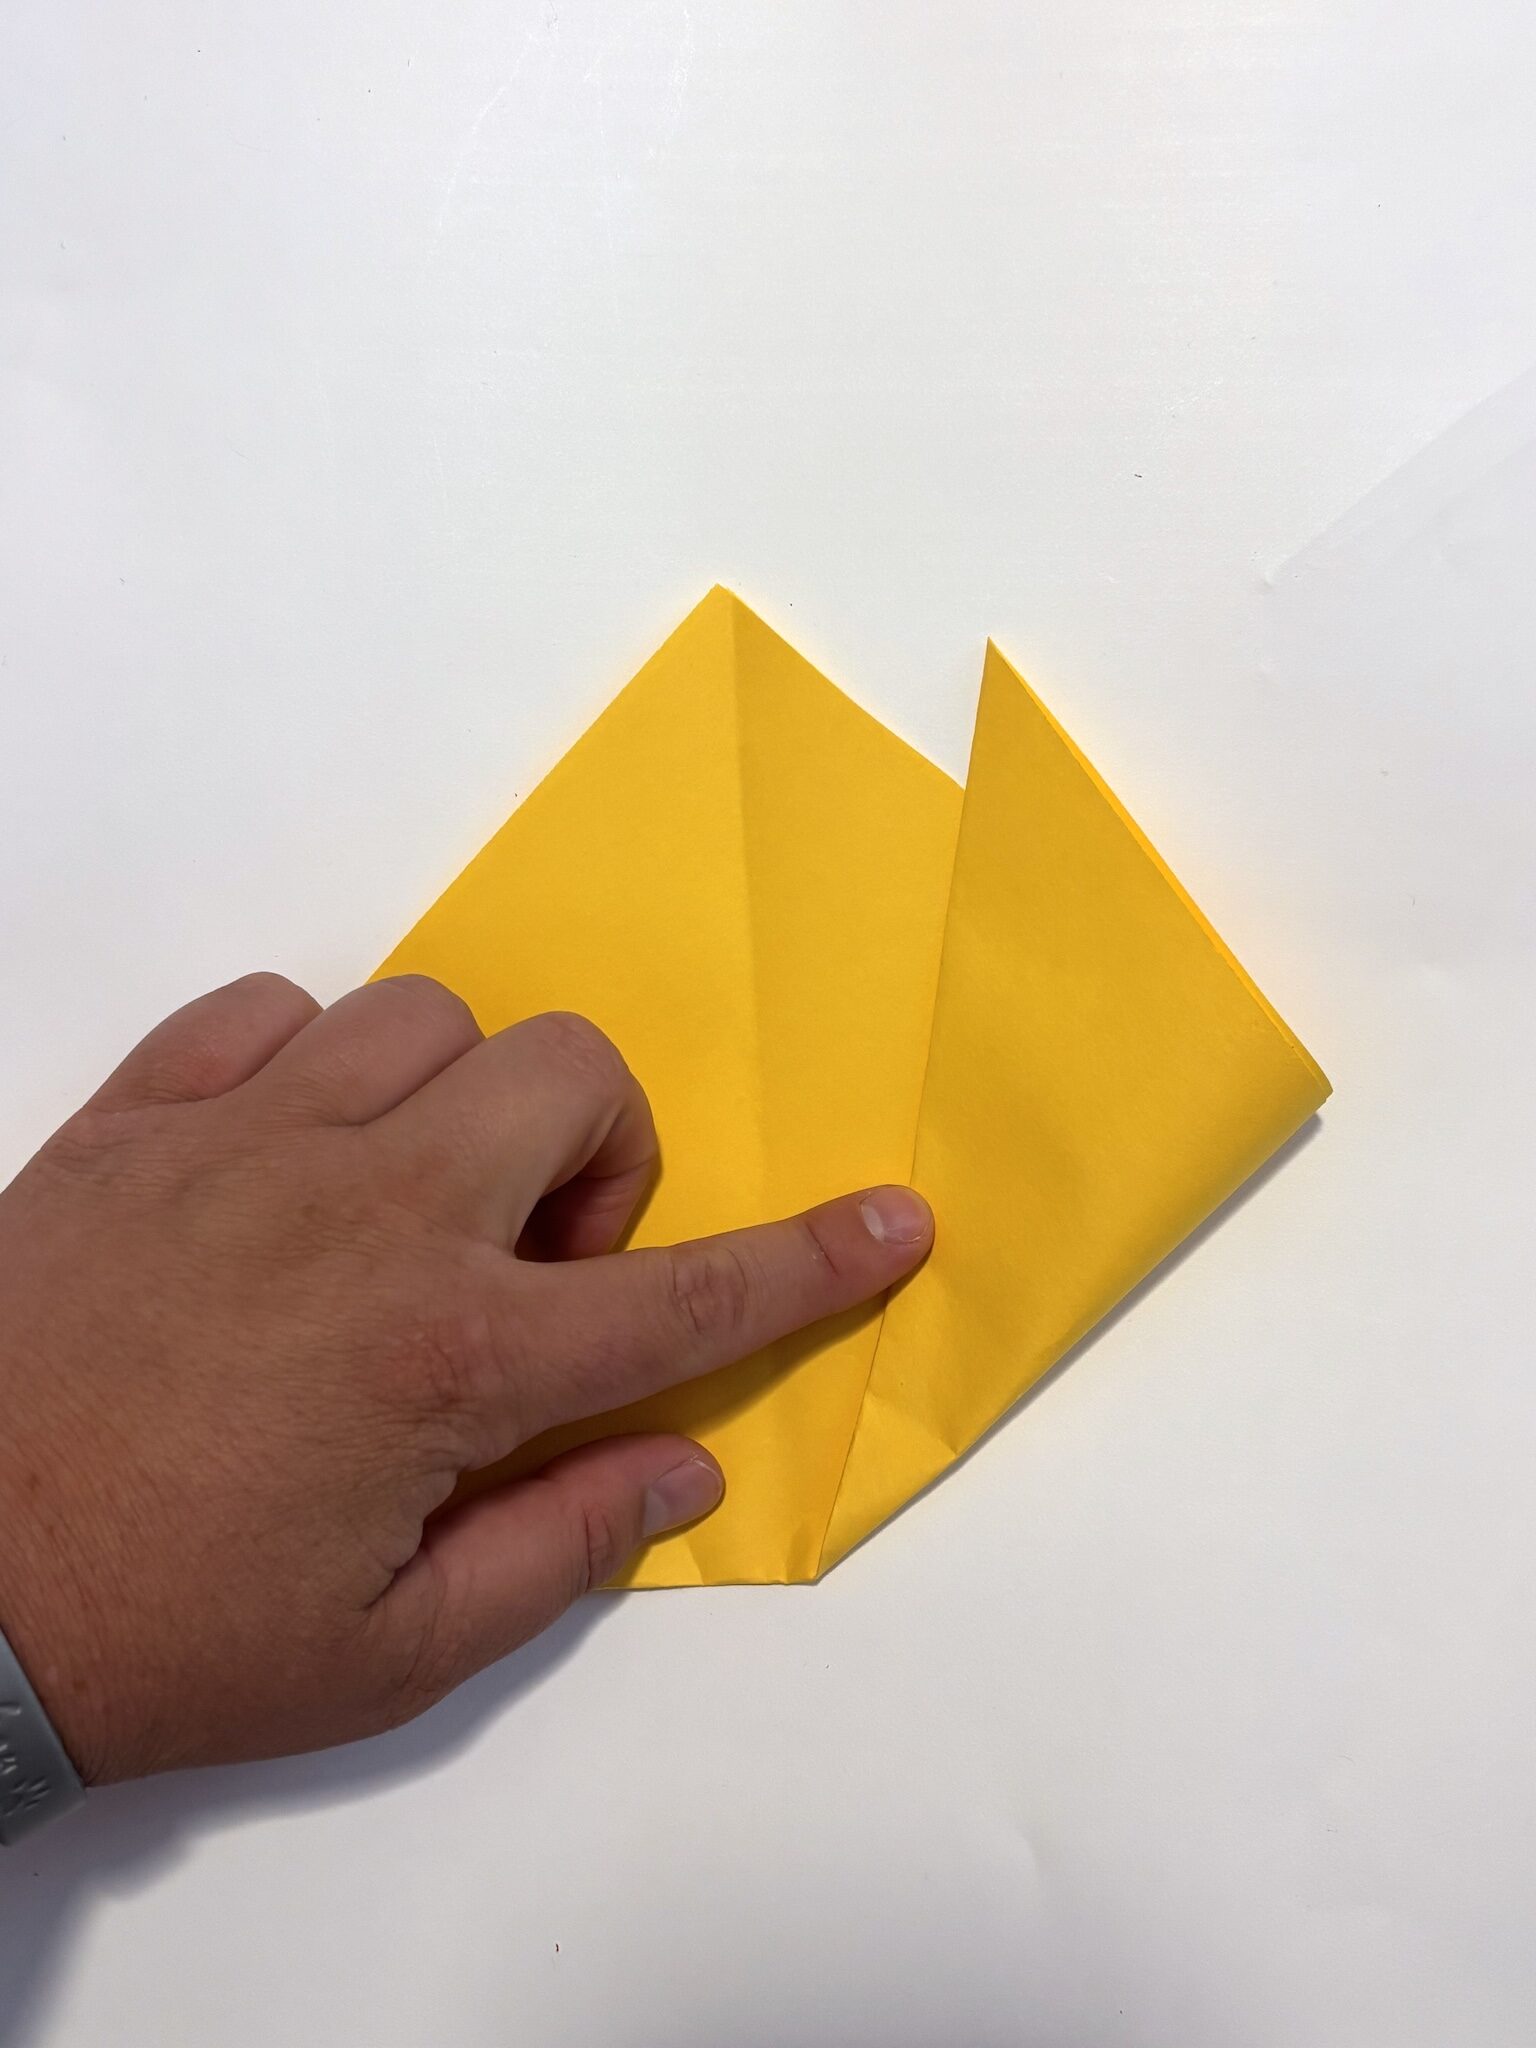
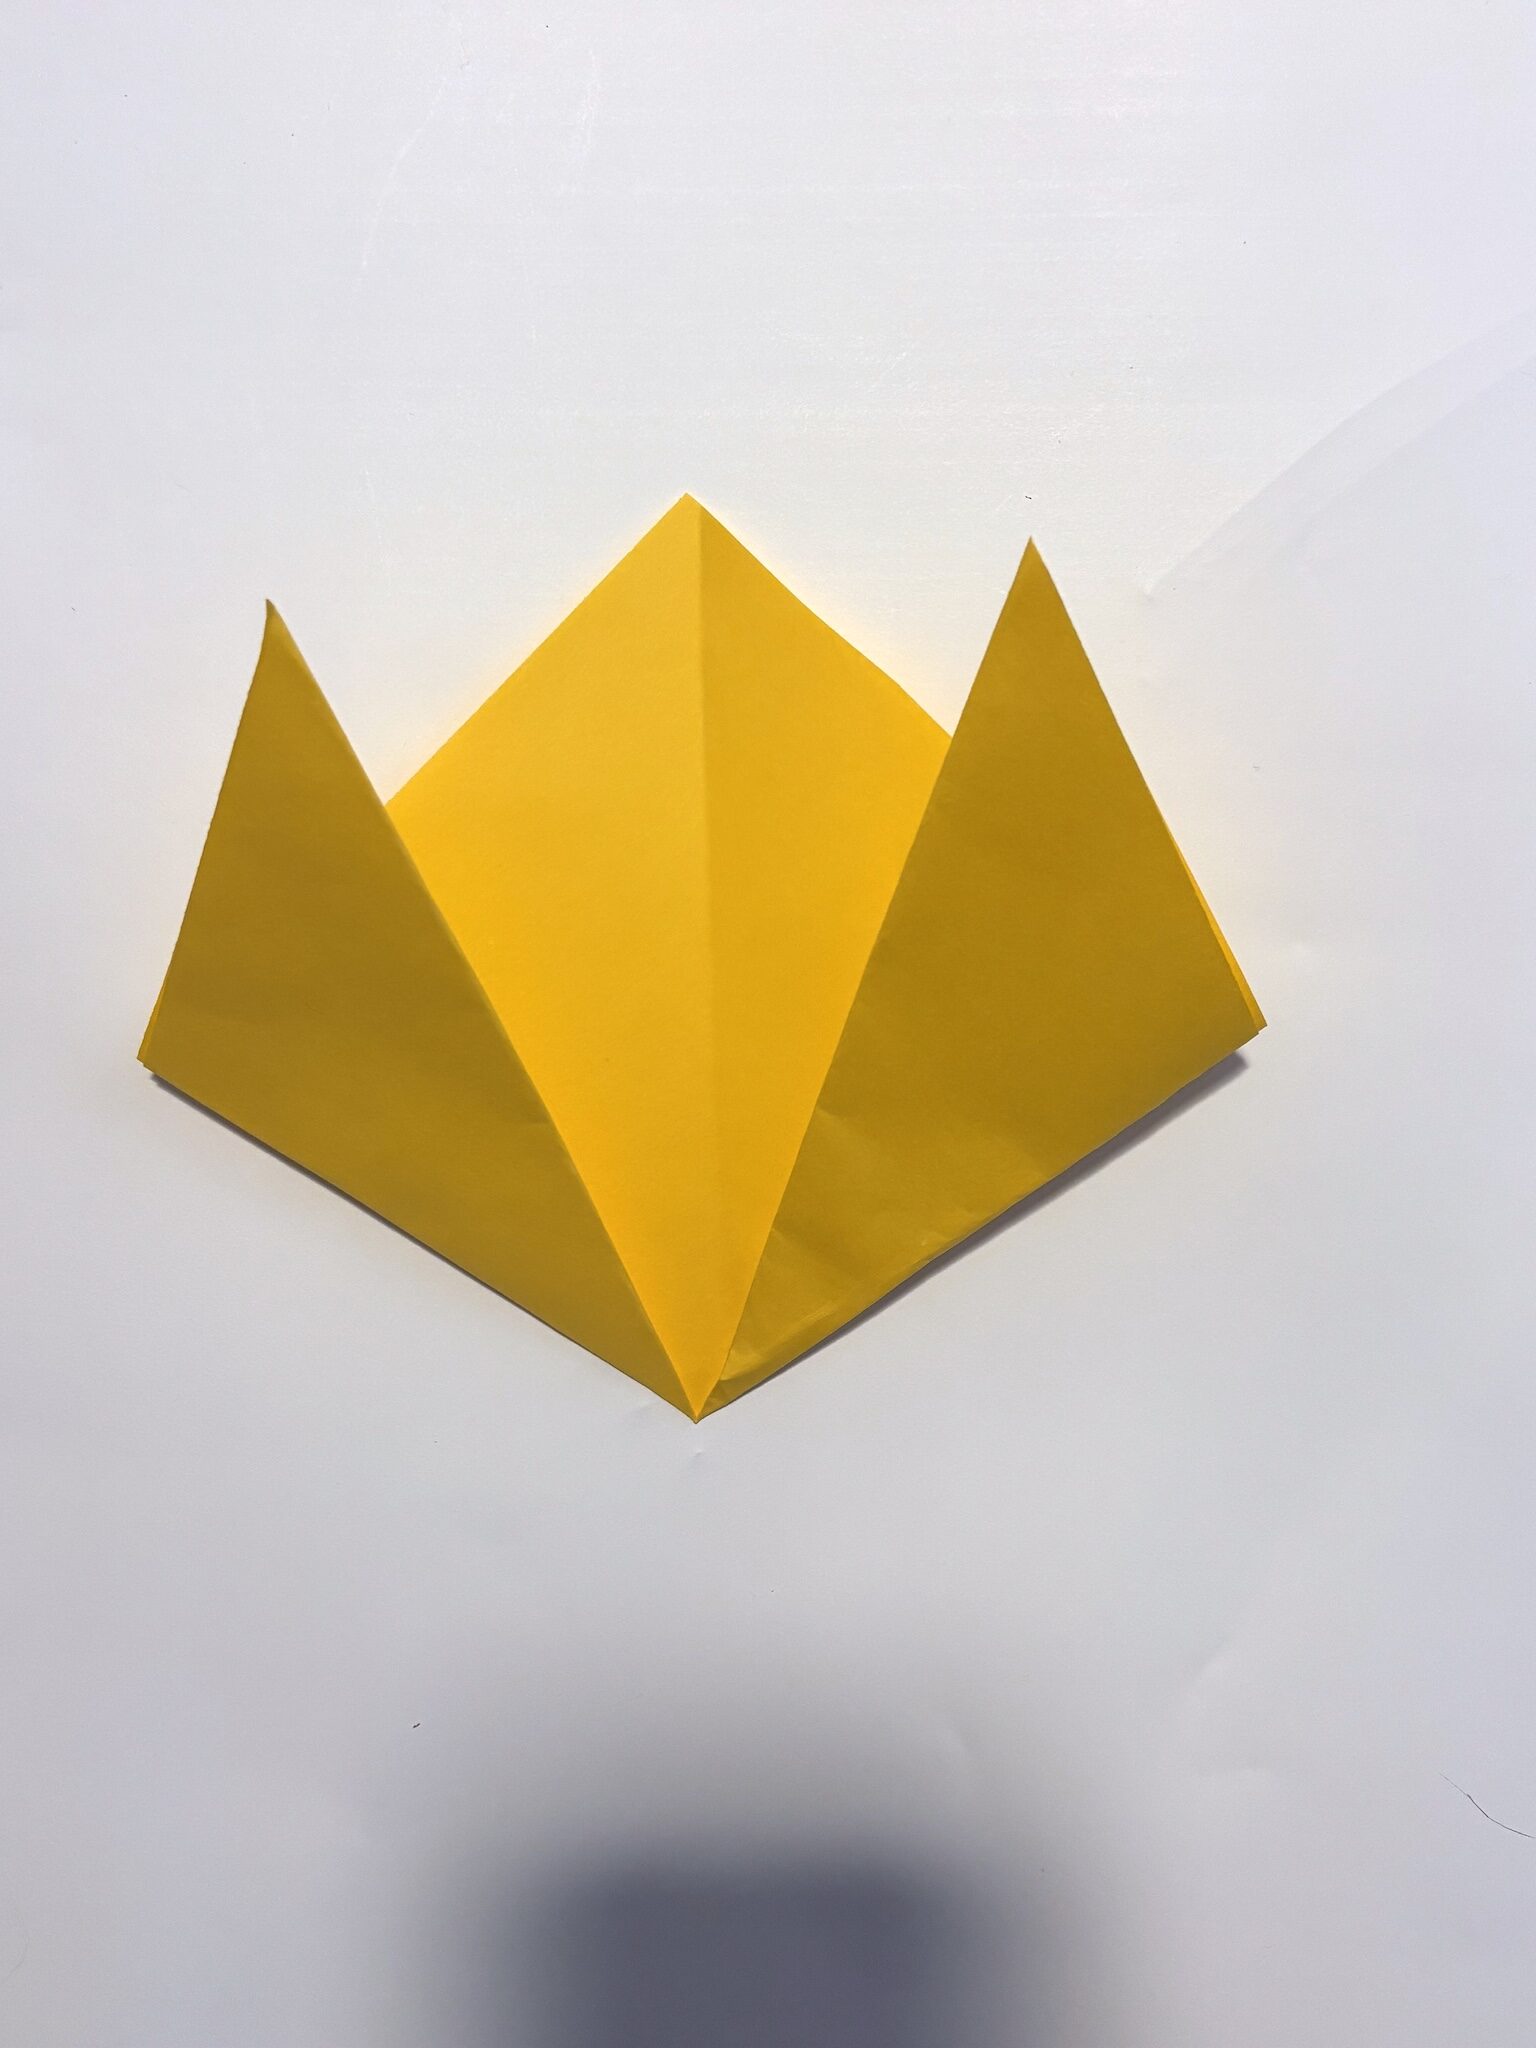
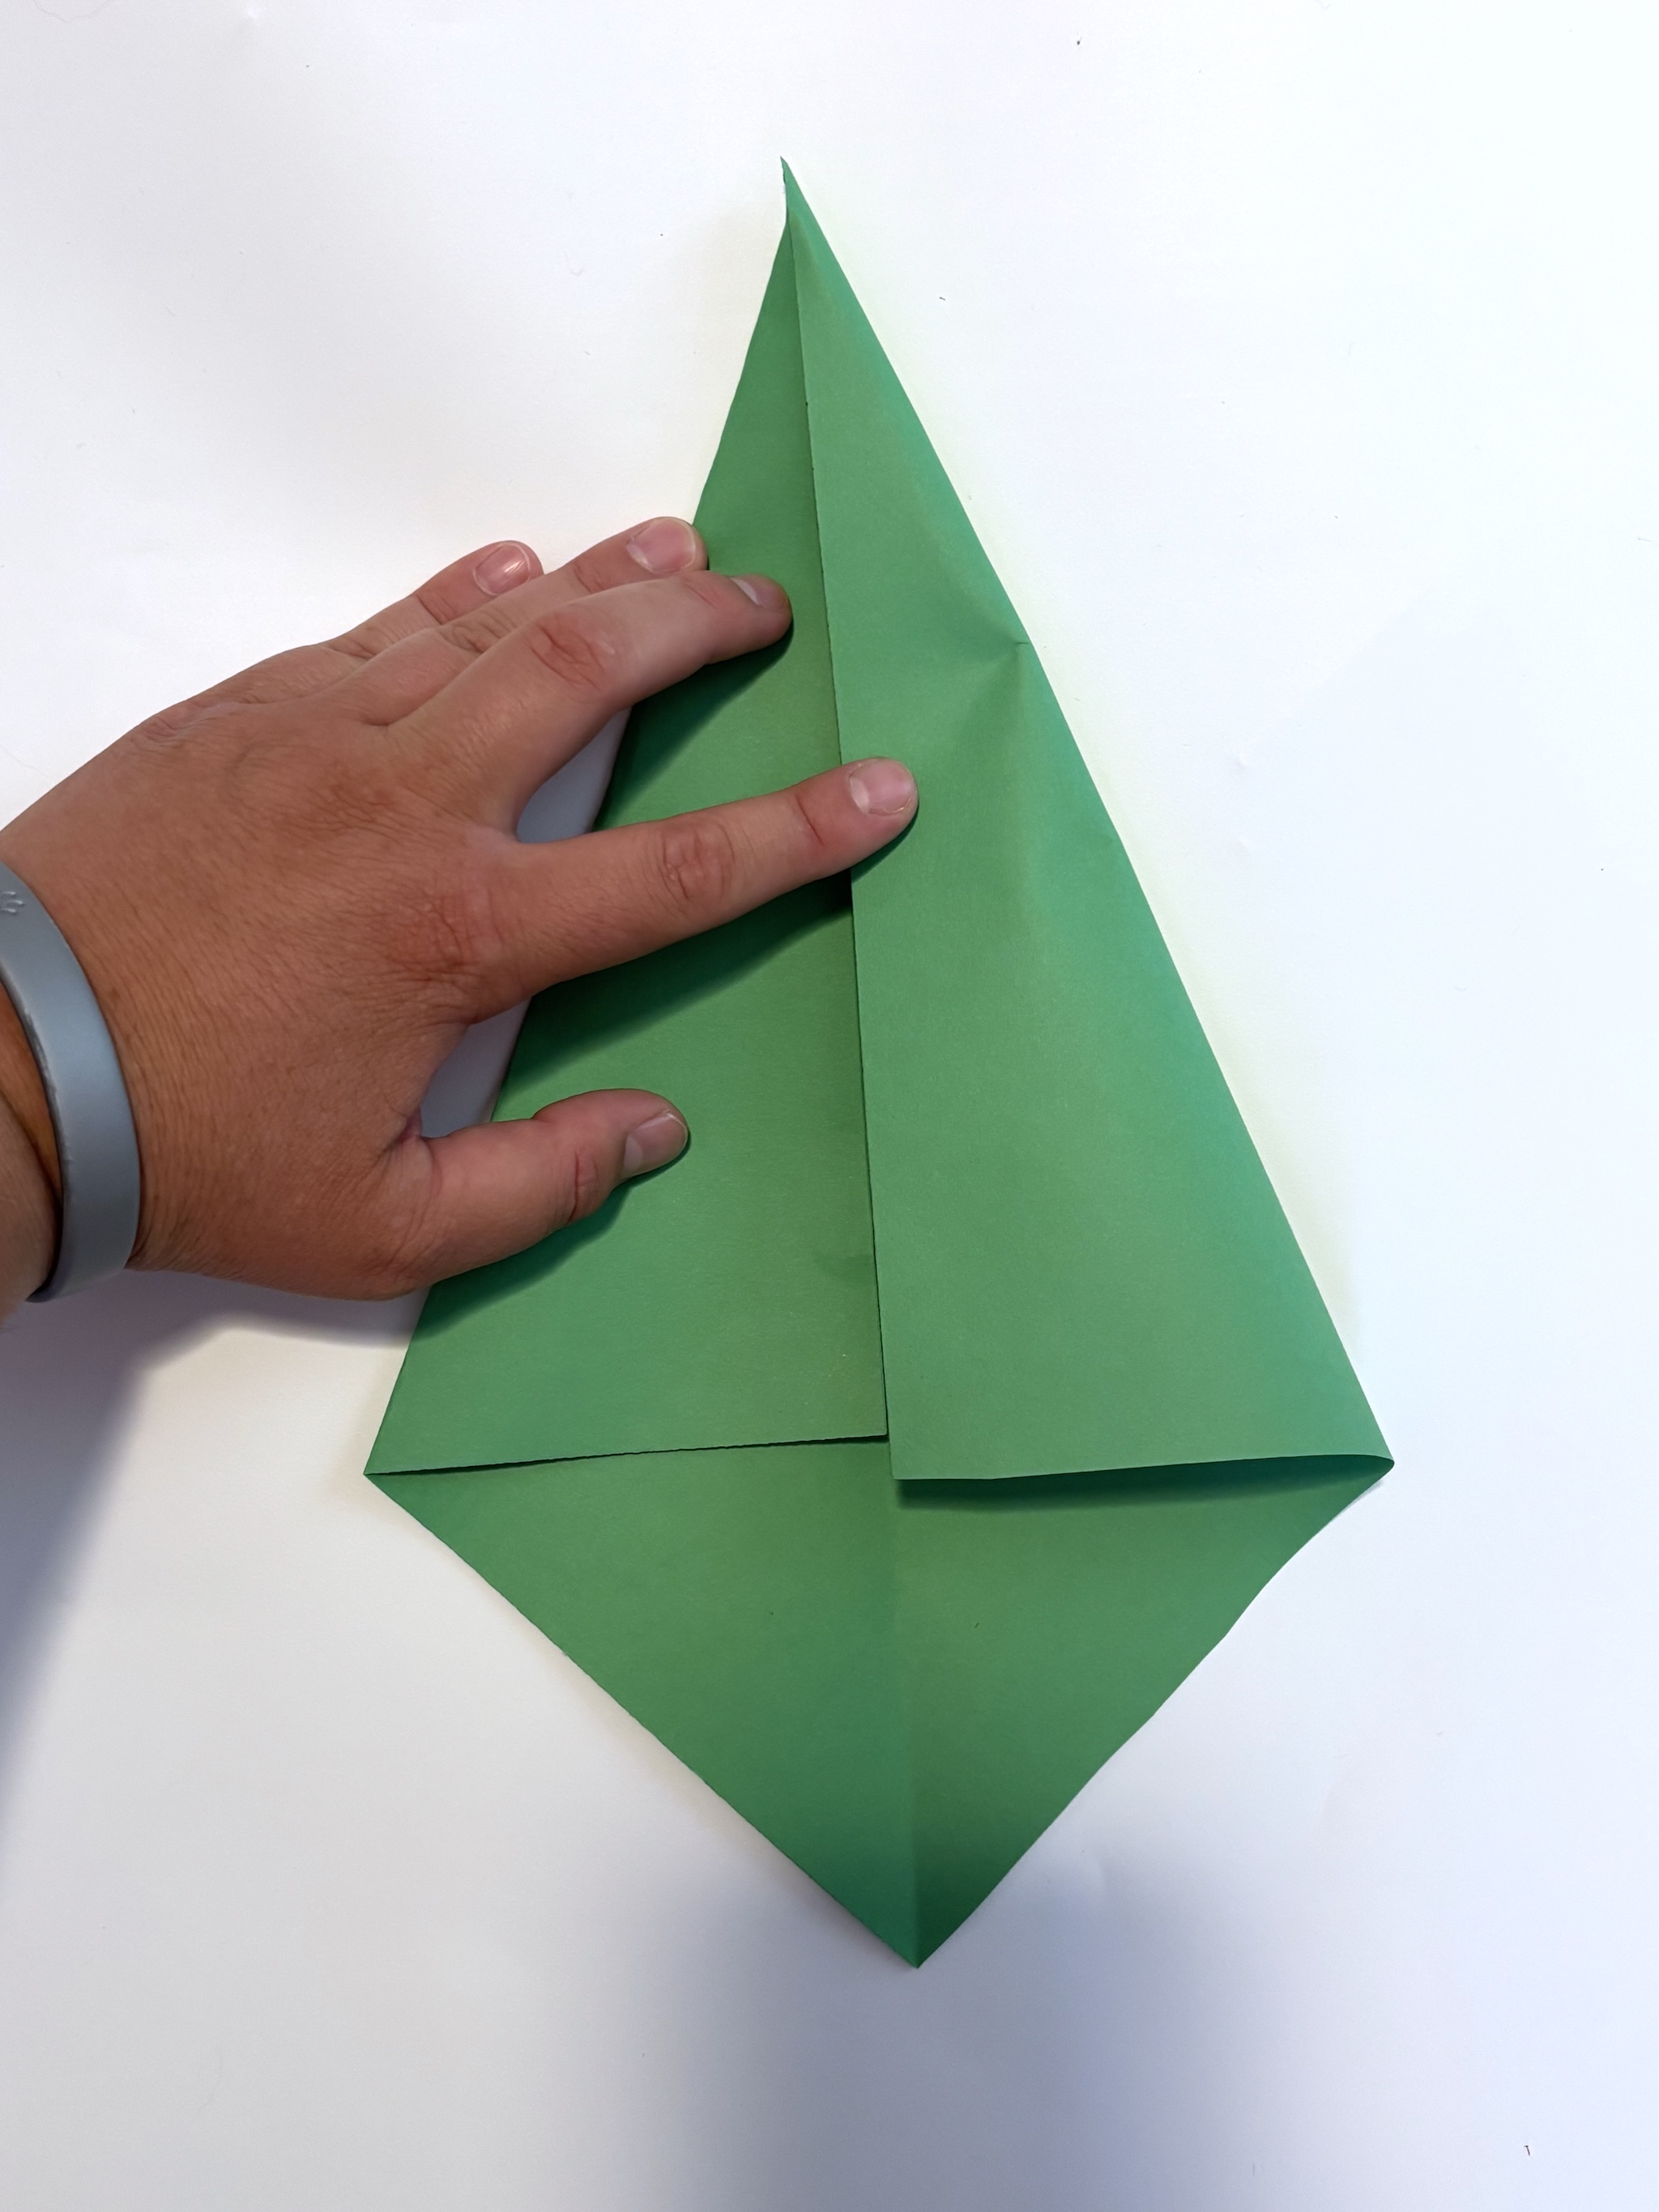
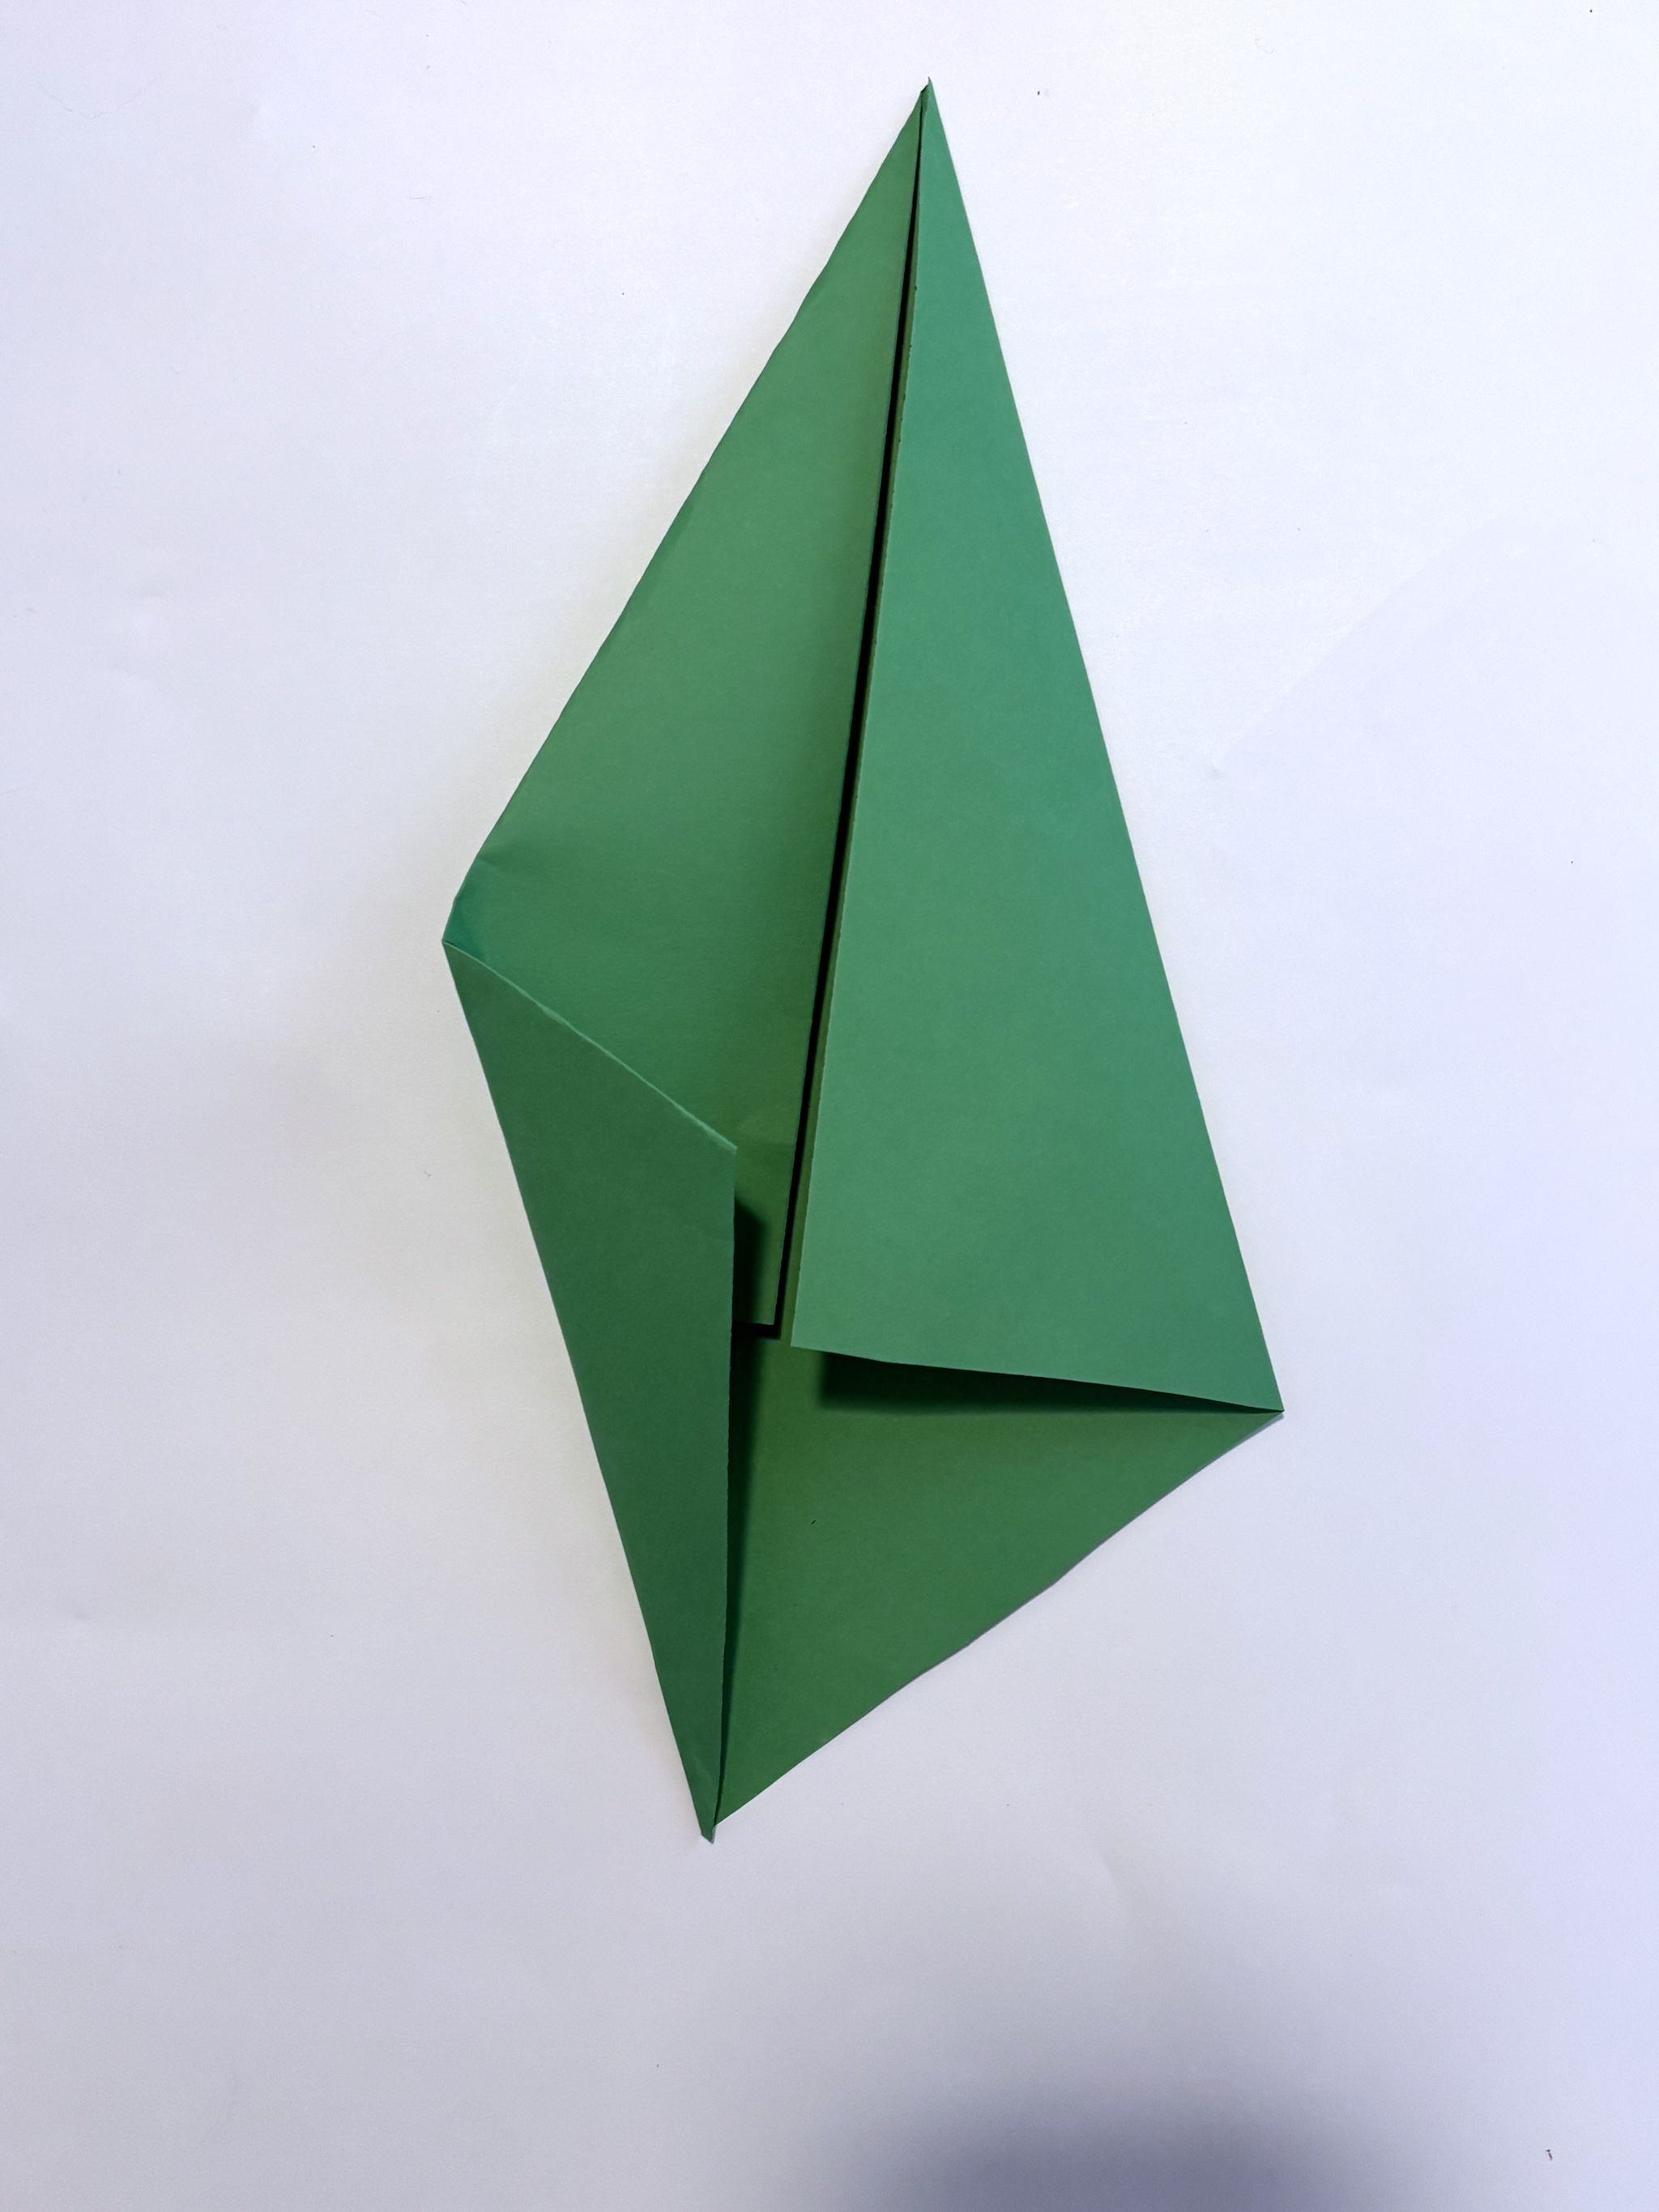
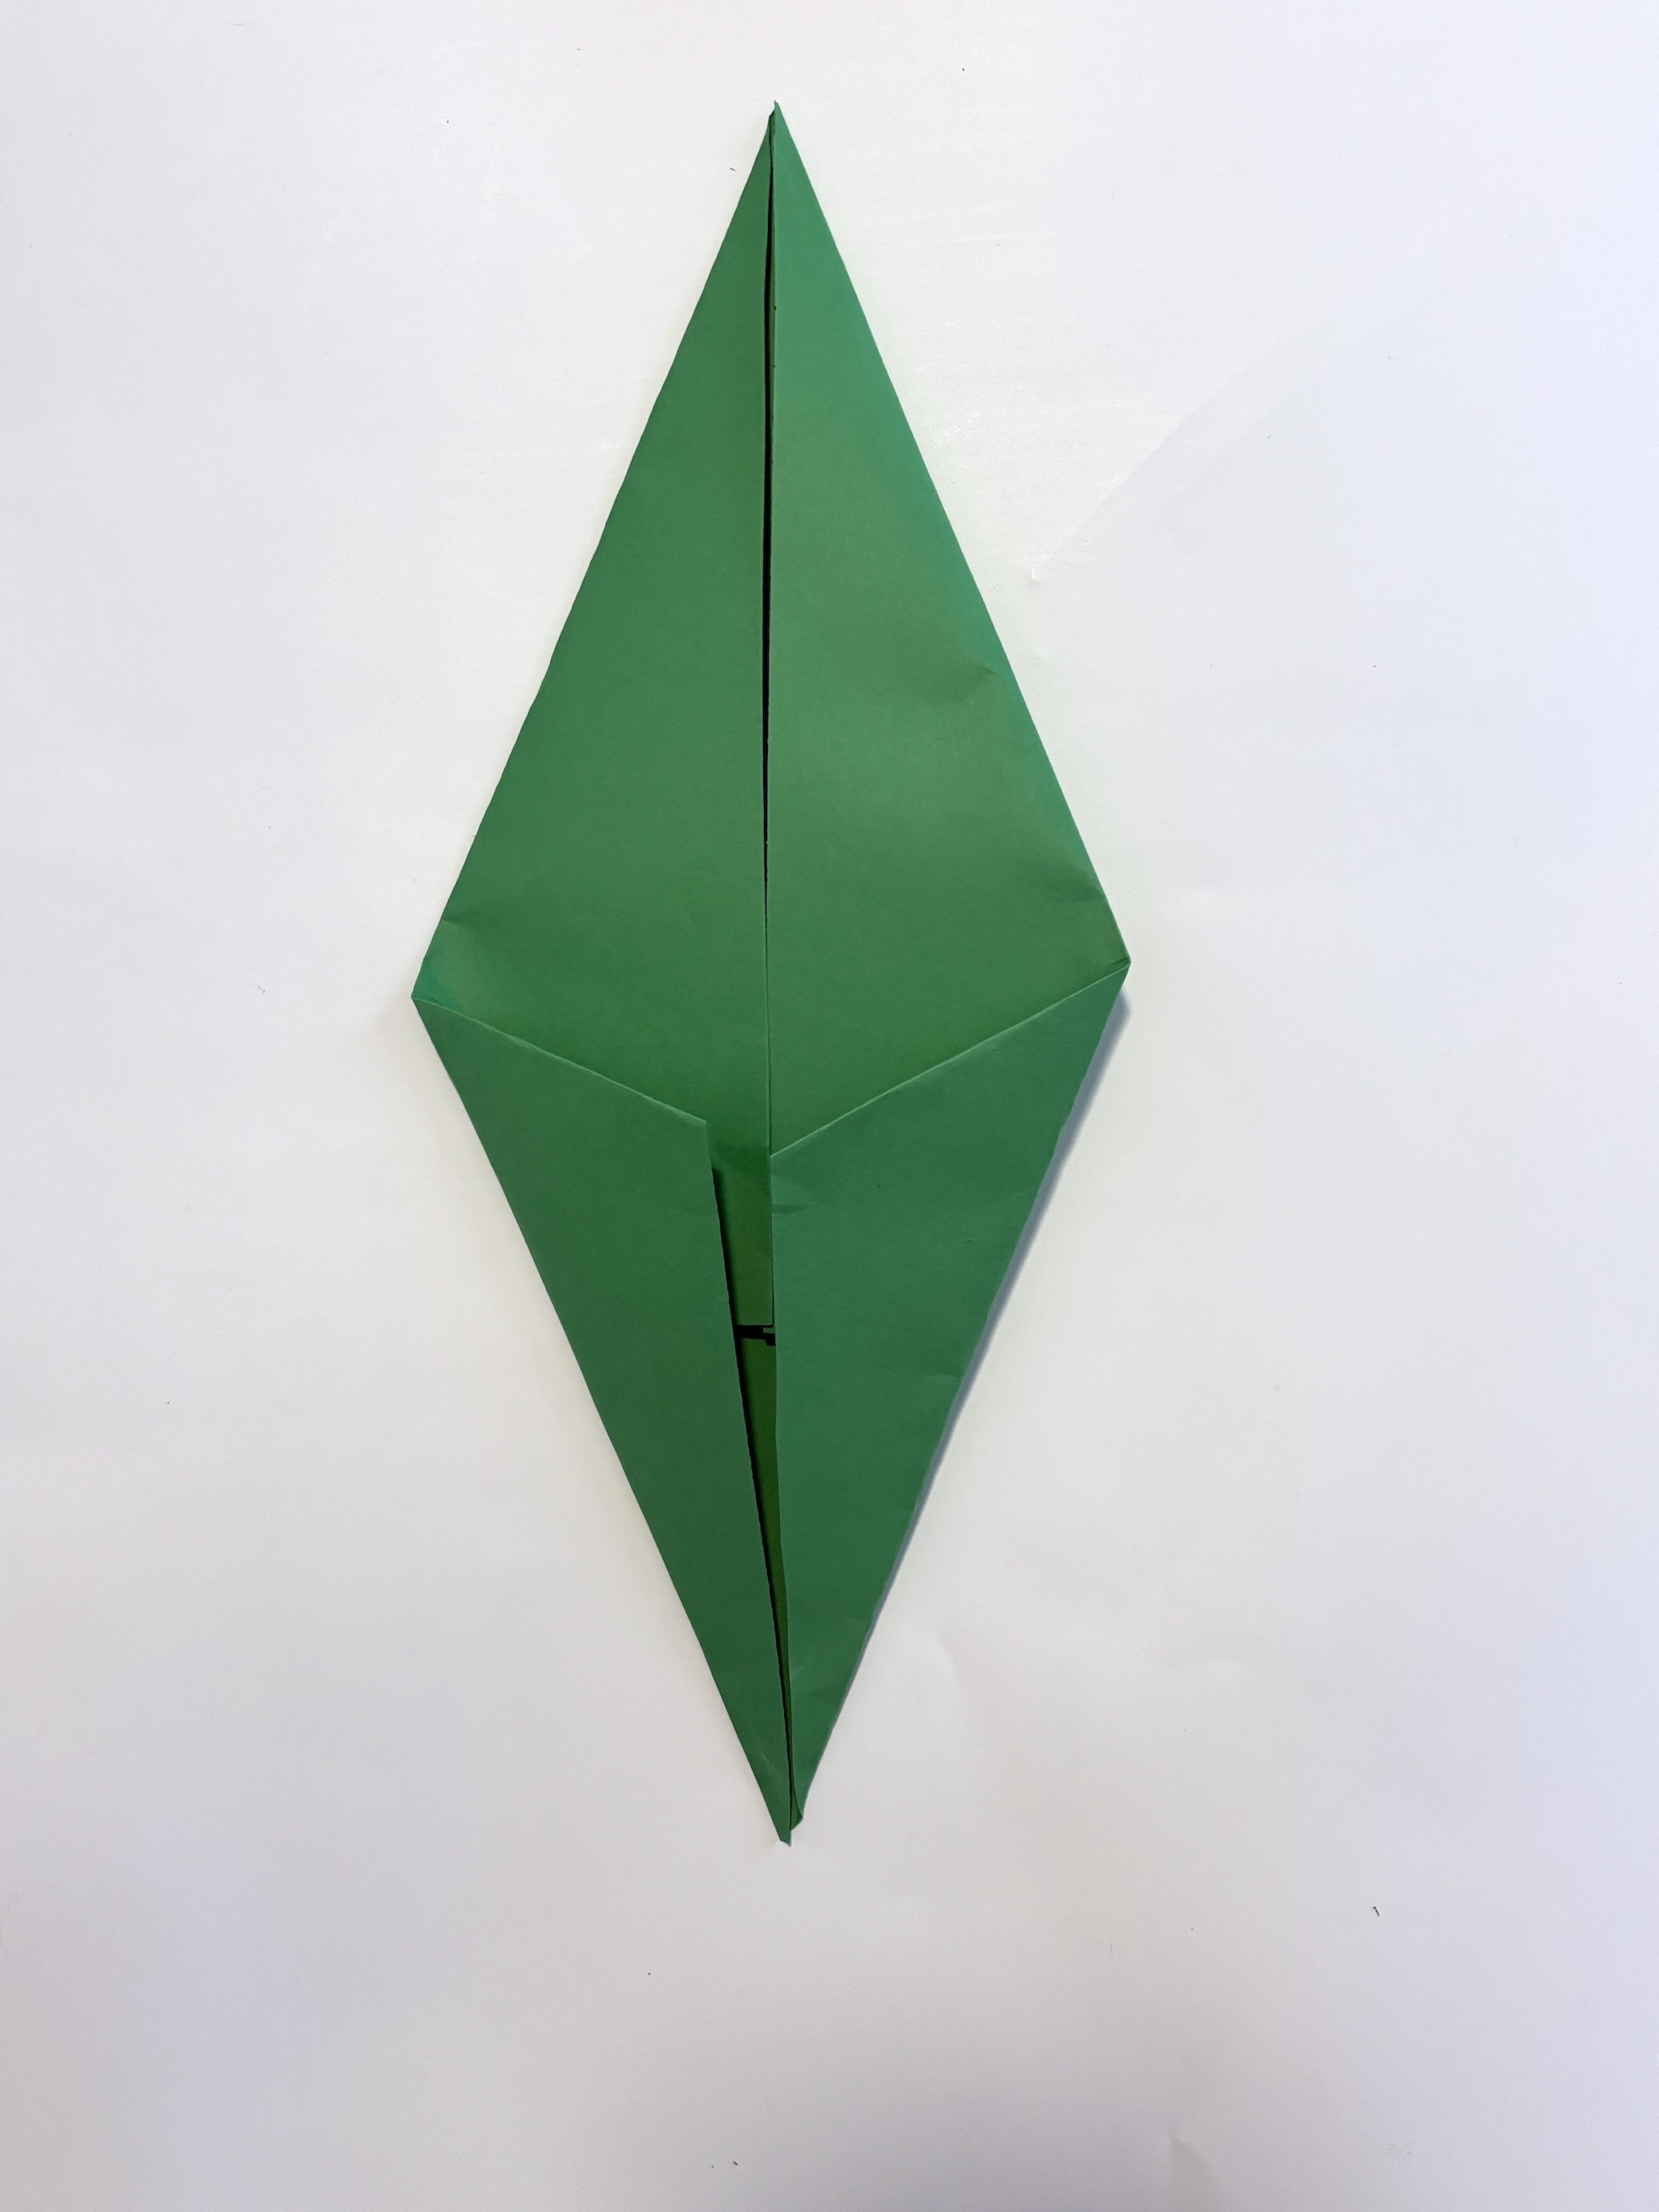
5. Fold one corner of the triangle up towards the top point. The line of this fold should connect with the middle crease, creating about a 30-degree angle.. Repeat this step on the other side of the triangle.
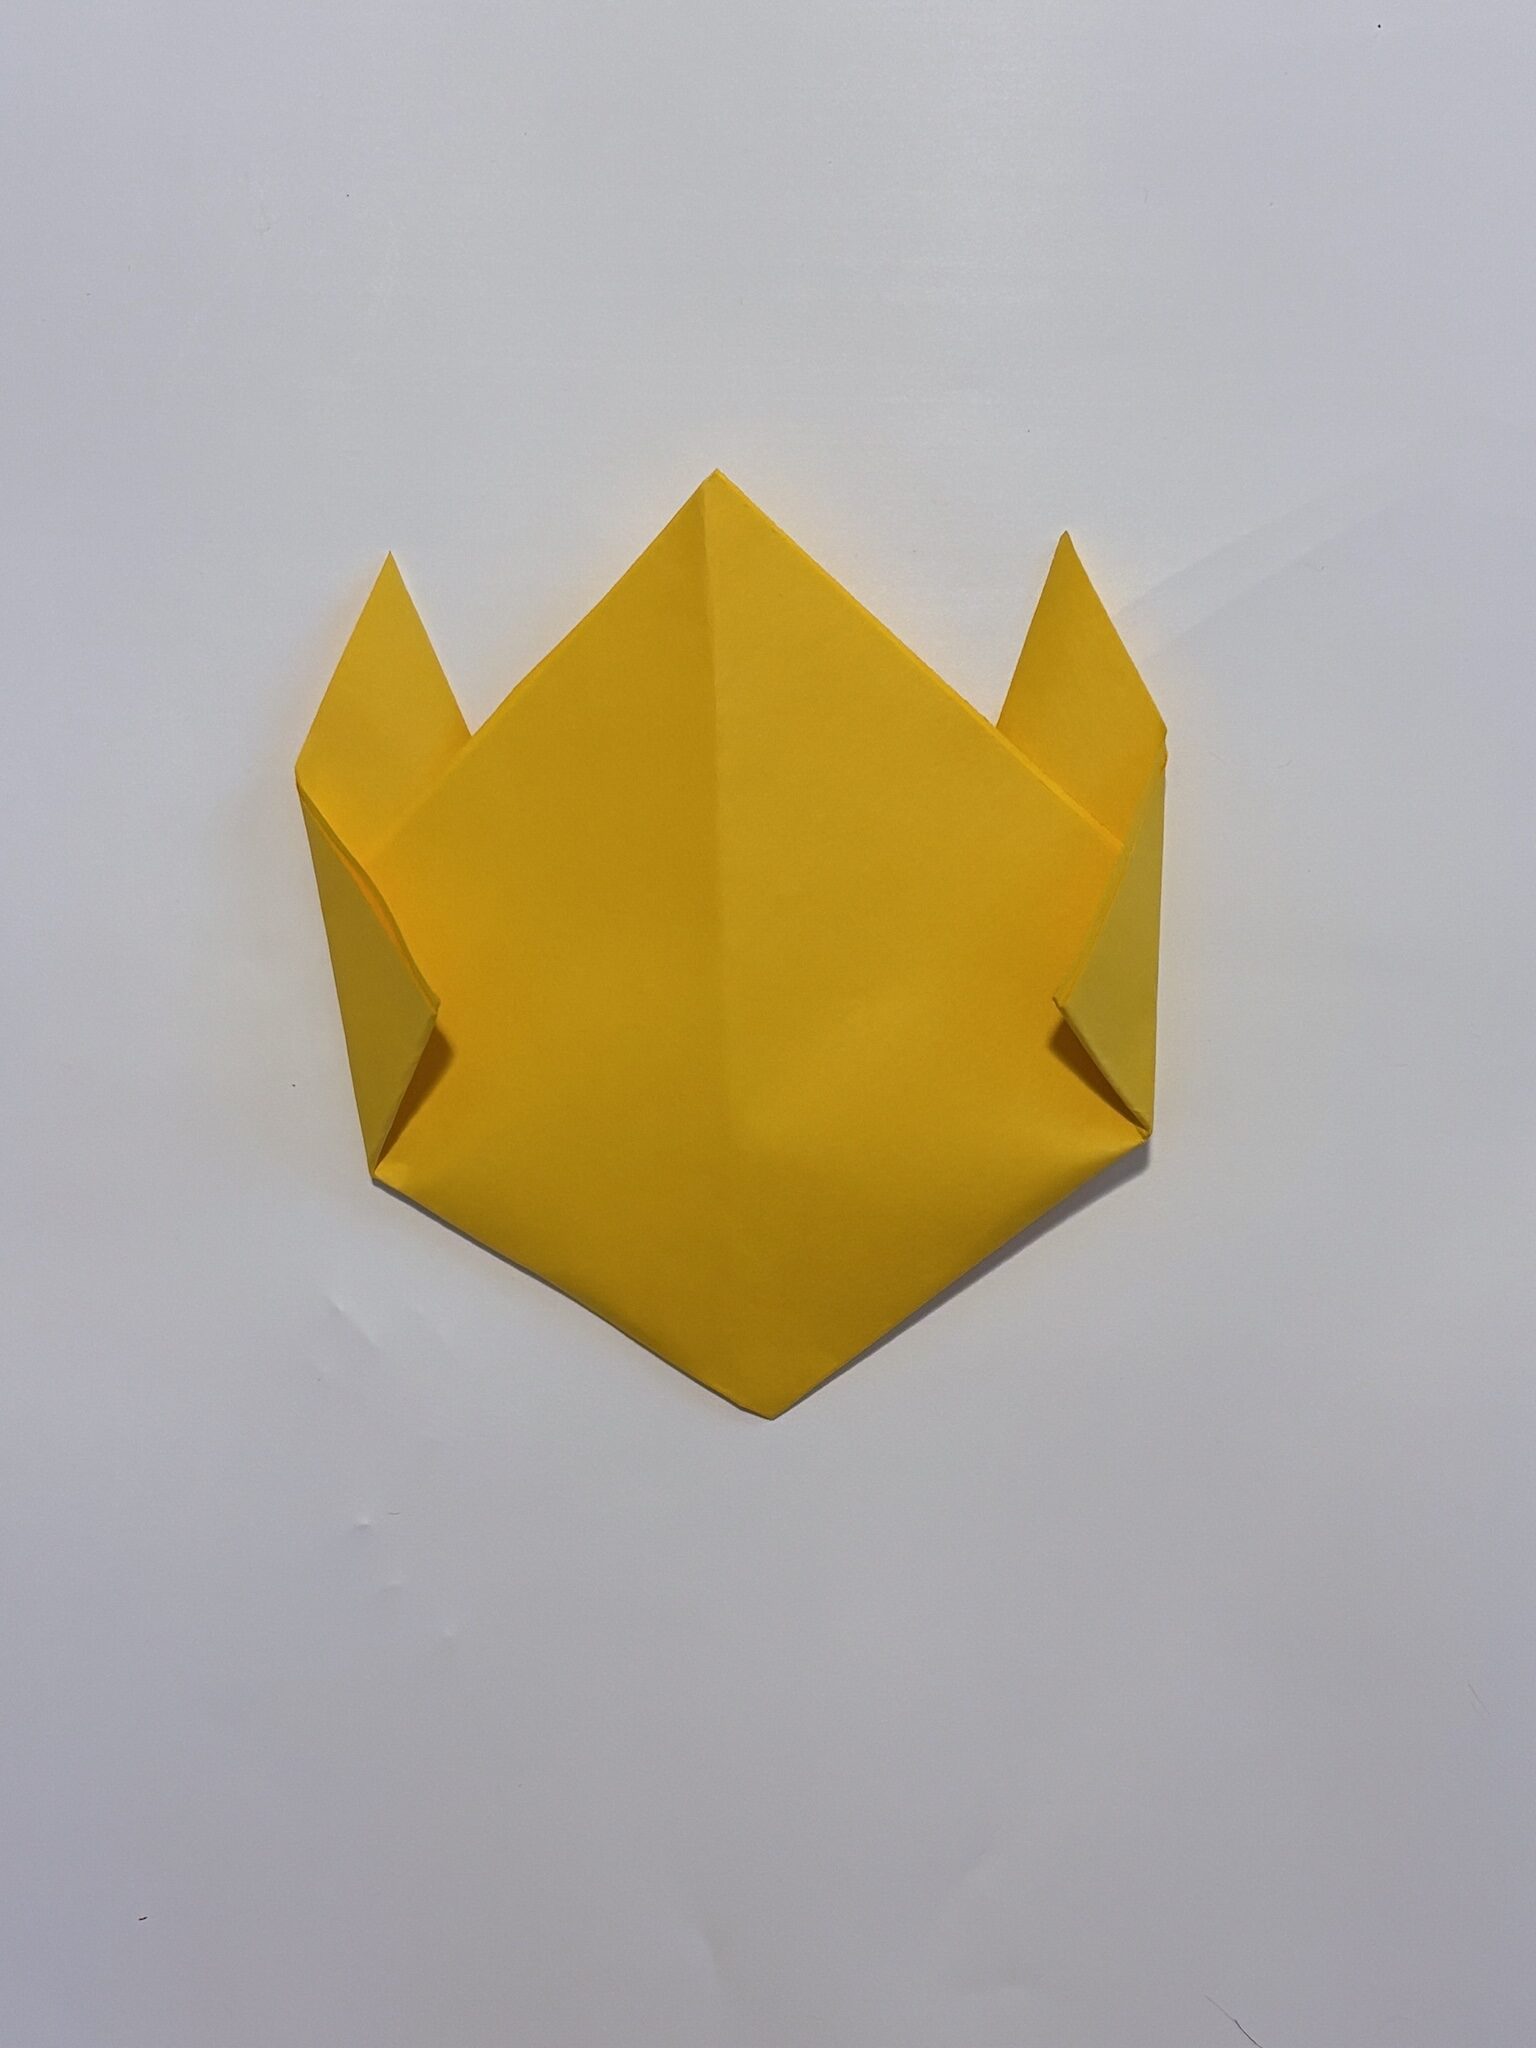
6. Flip your paper over. Fold the two side corners towards the middle crease about one inch.
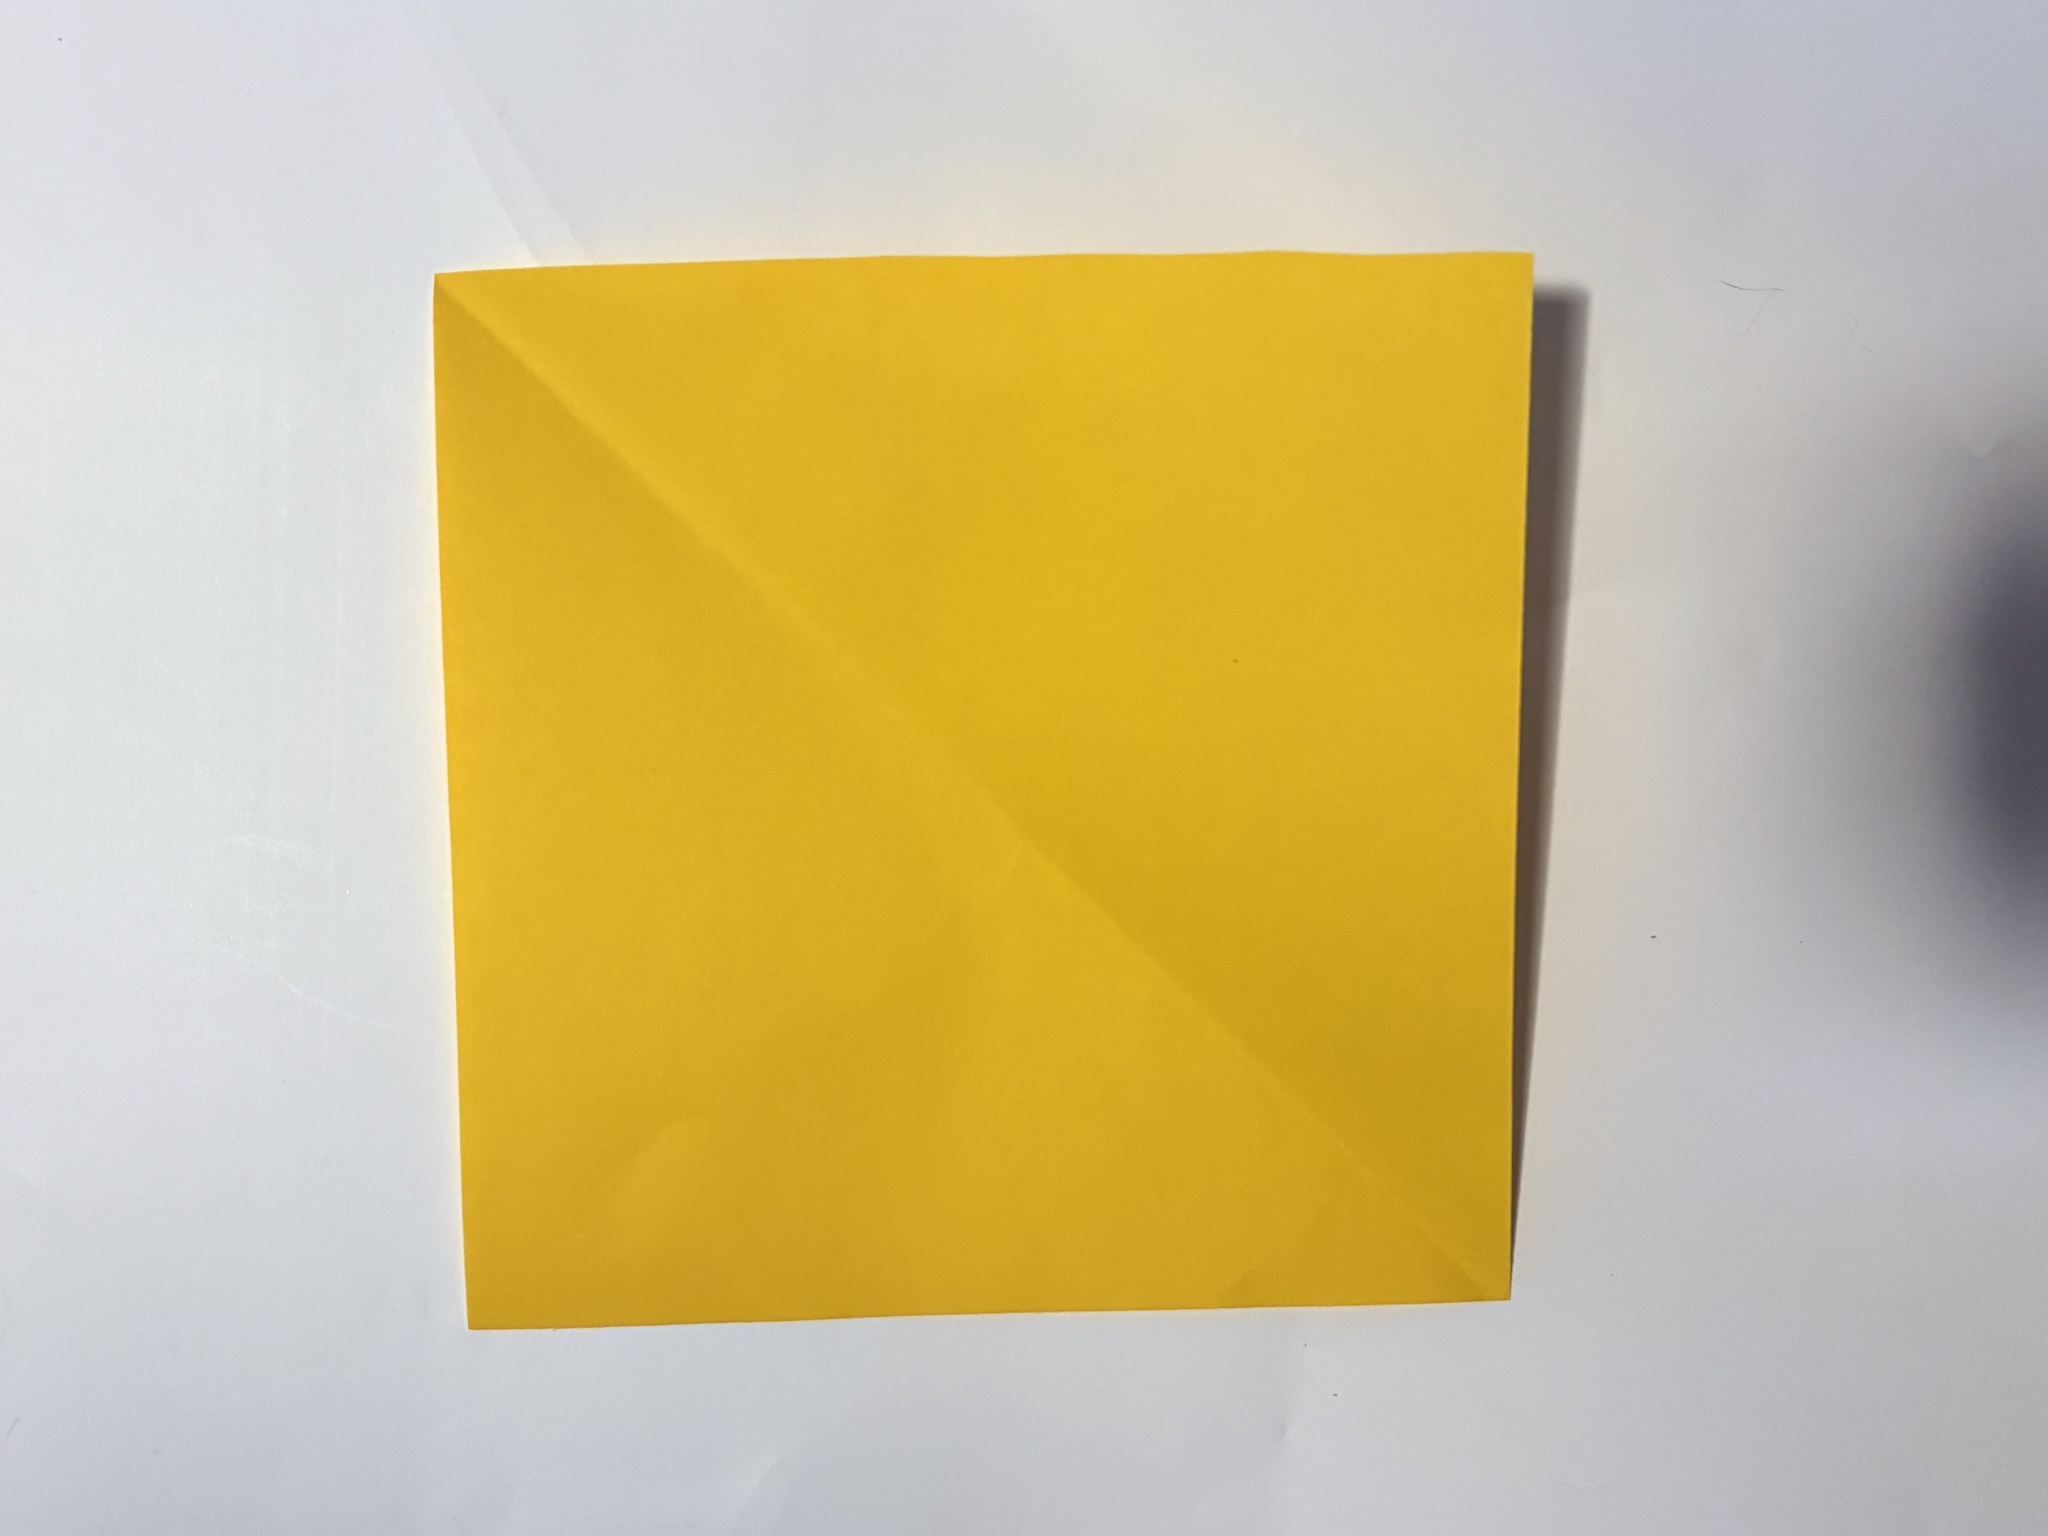
7. Now it is time to make the stem. Turn your paper into a square.
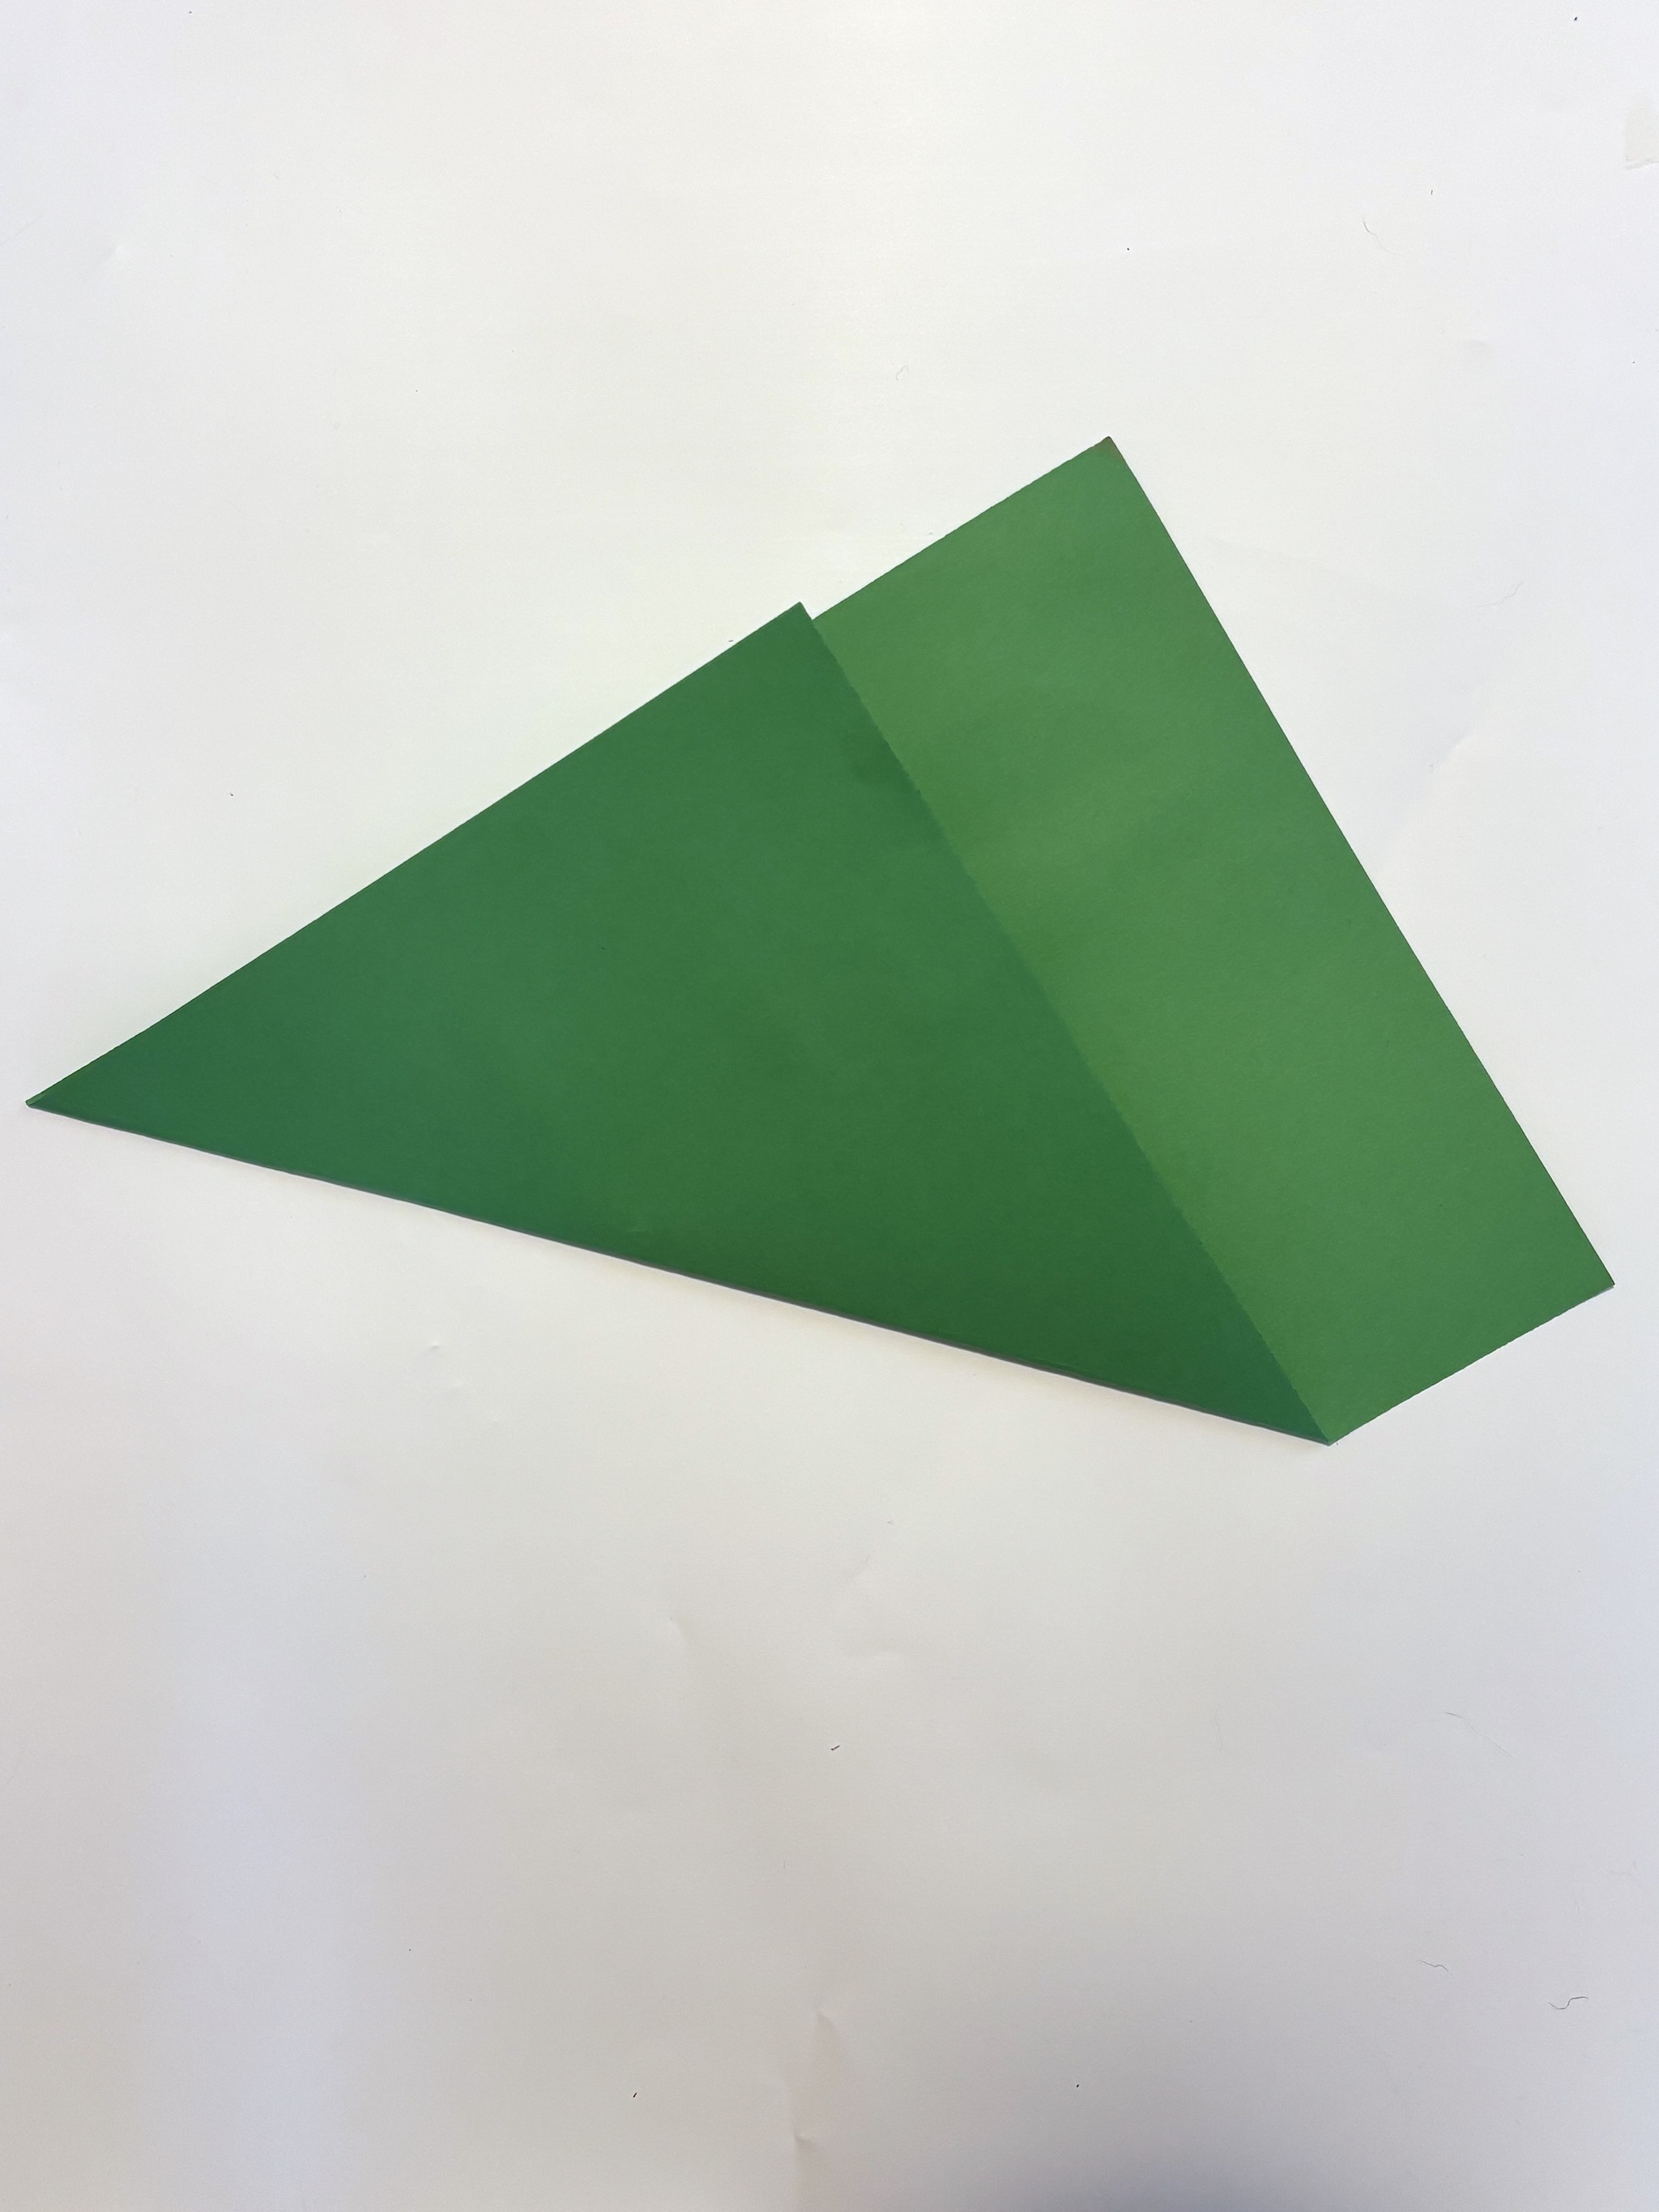
8. Make a diagonal fold connecting one corner to the other. Open the paper back up.
9. Place your paper to look like a diamond. Bring in the right corner to the middle line. Repeat this step with the left corner.
10. Fold in the short sides of paper at the bottom the same way.
11. Repeat this step one more time with the right and left corners. Folding towards the diagonal crease every time.
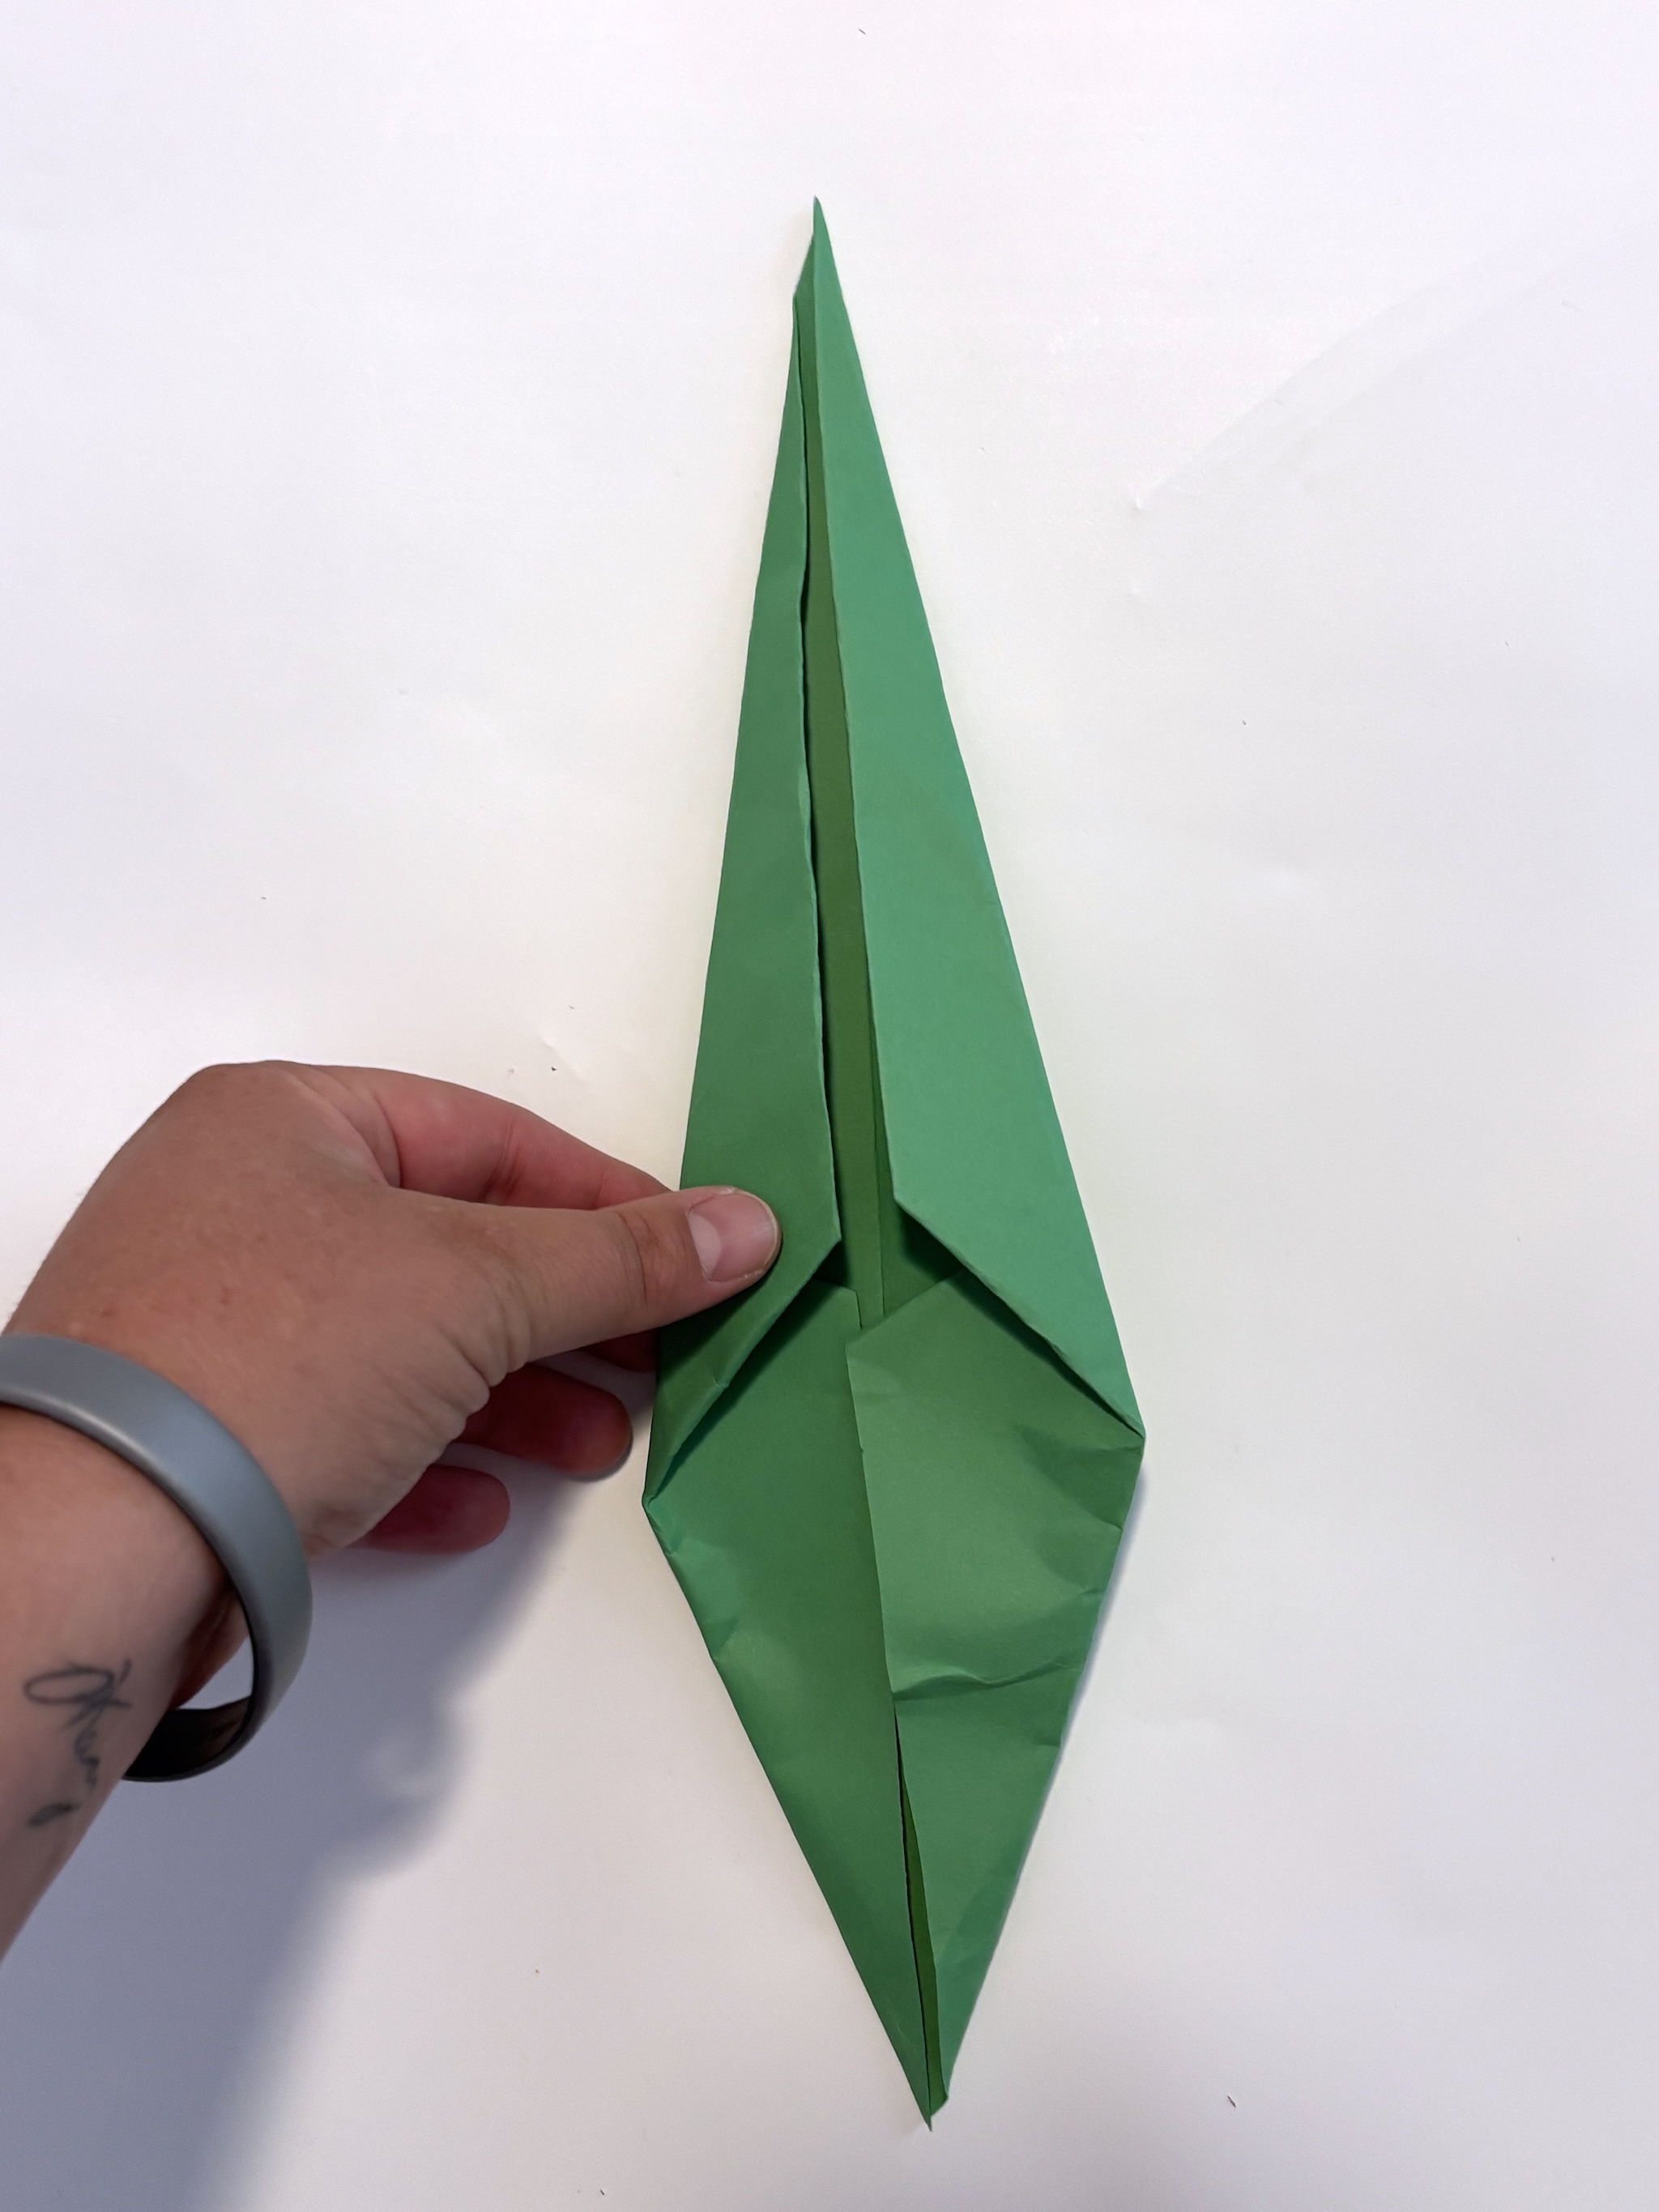
12. Fold your diamond in half from one long point to the other making a horizontal line.
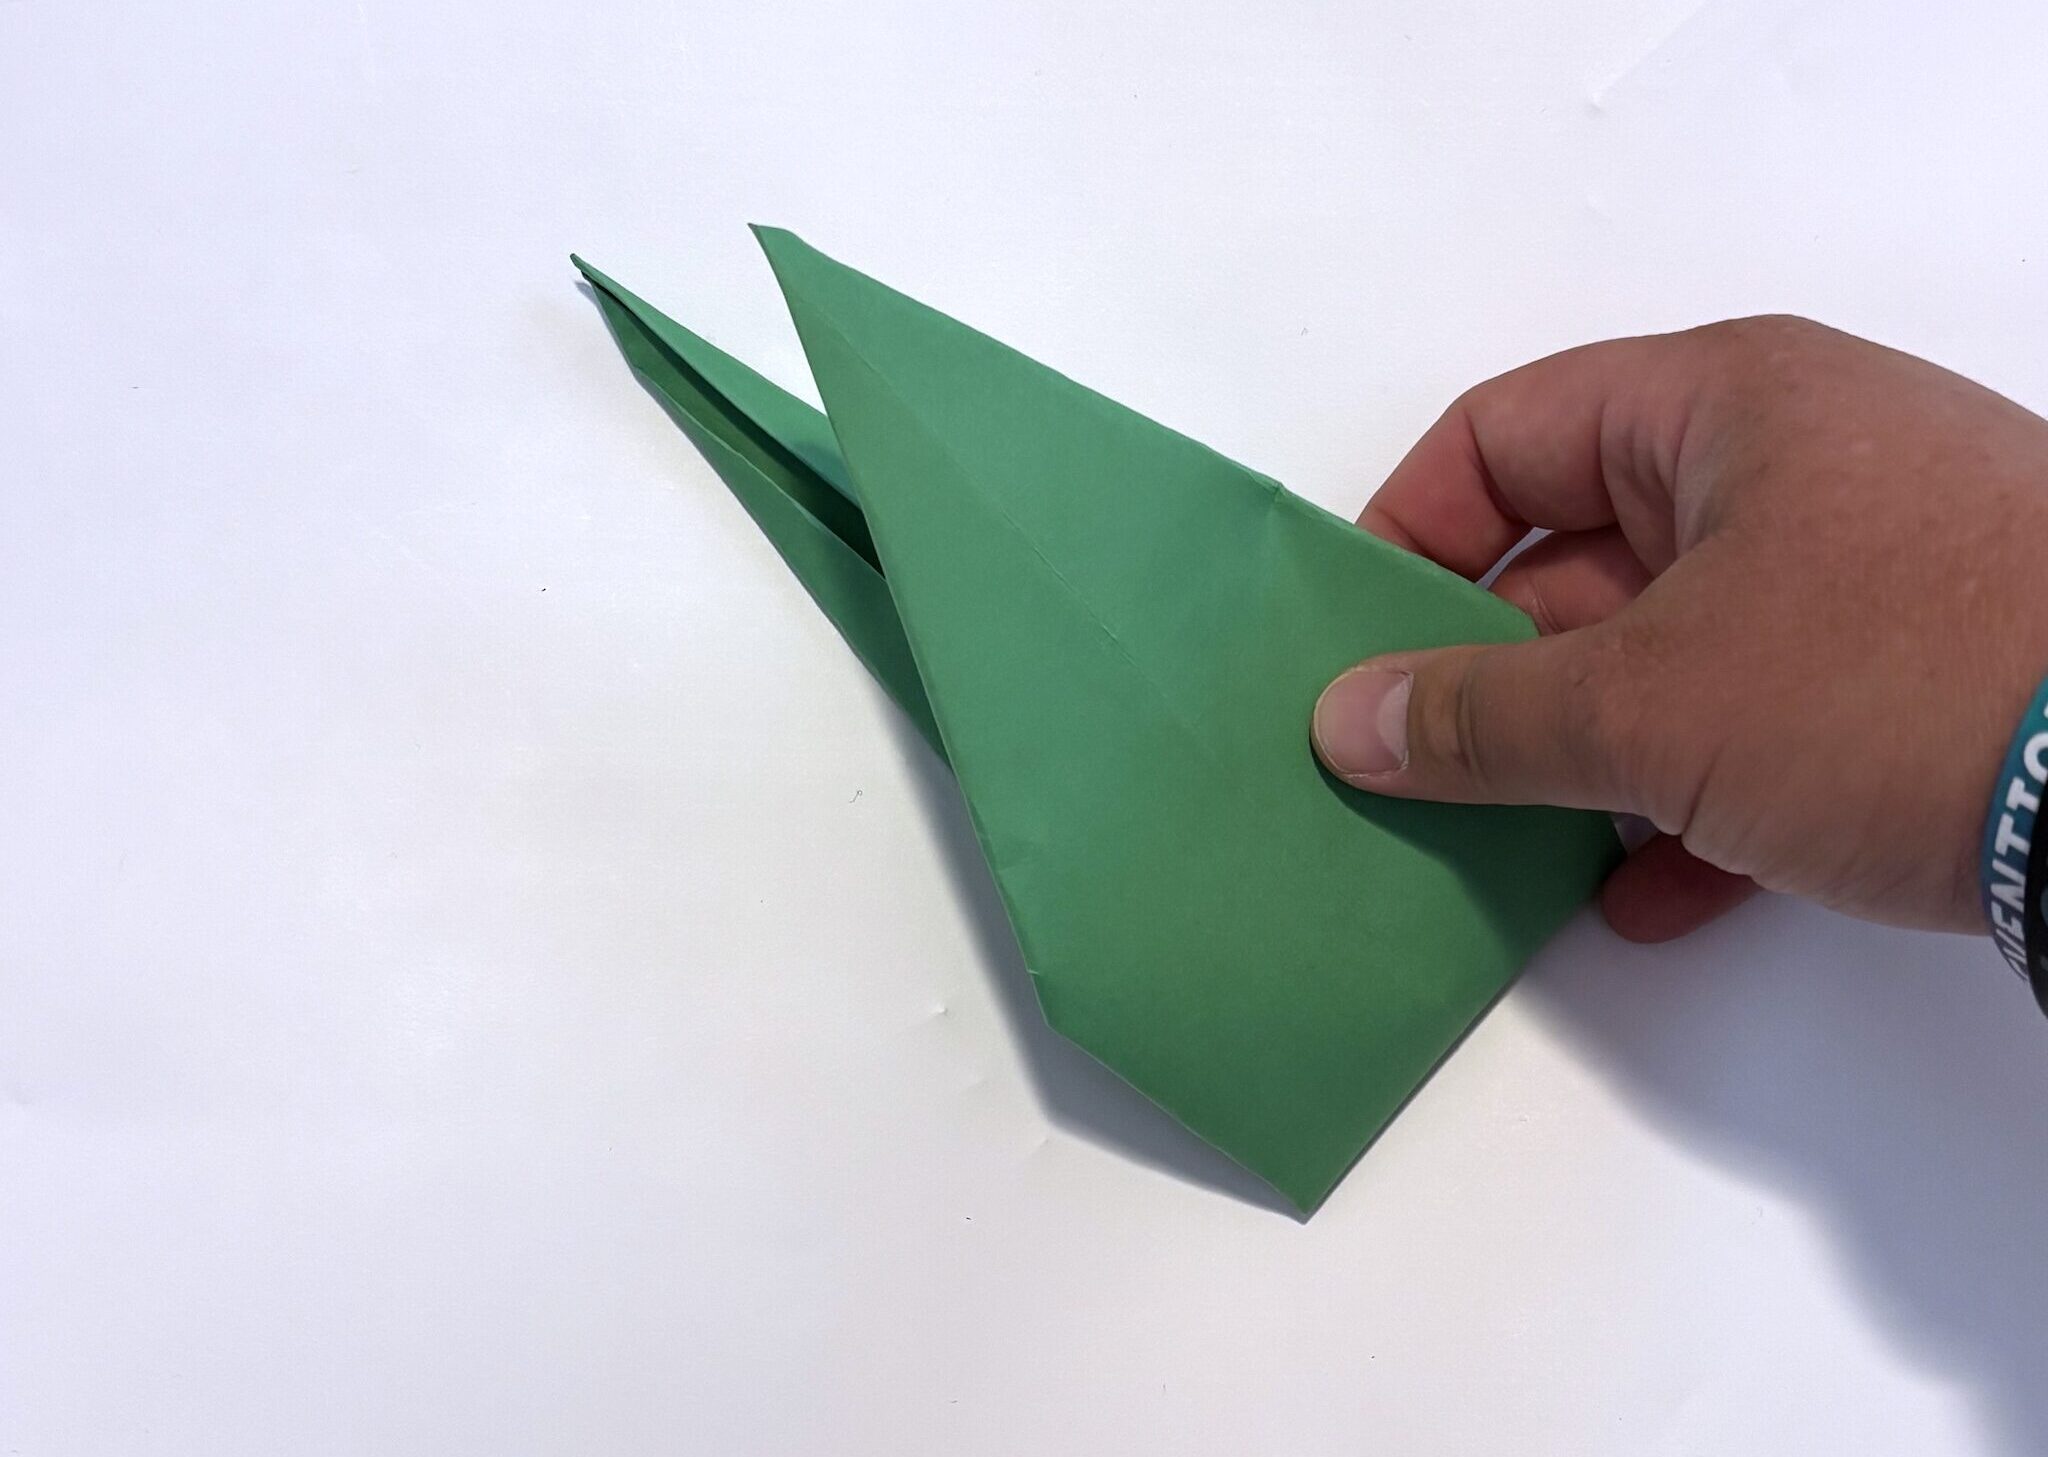
13. Fold your diamond in half again, but the opposite direction. This will create a vertical line. Make sure the smaller side of the diamond is on the inside of this fold.

14. Slightly pull the two points apart making a leaf. Press down at the bottom to crease the fold.
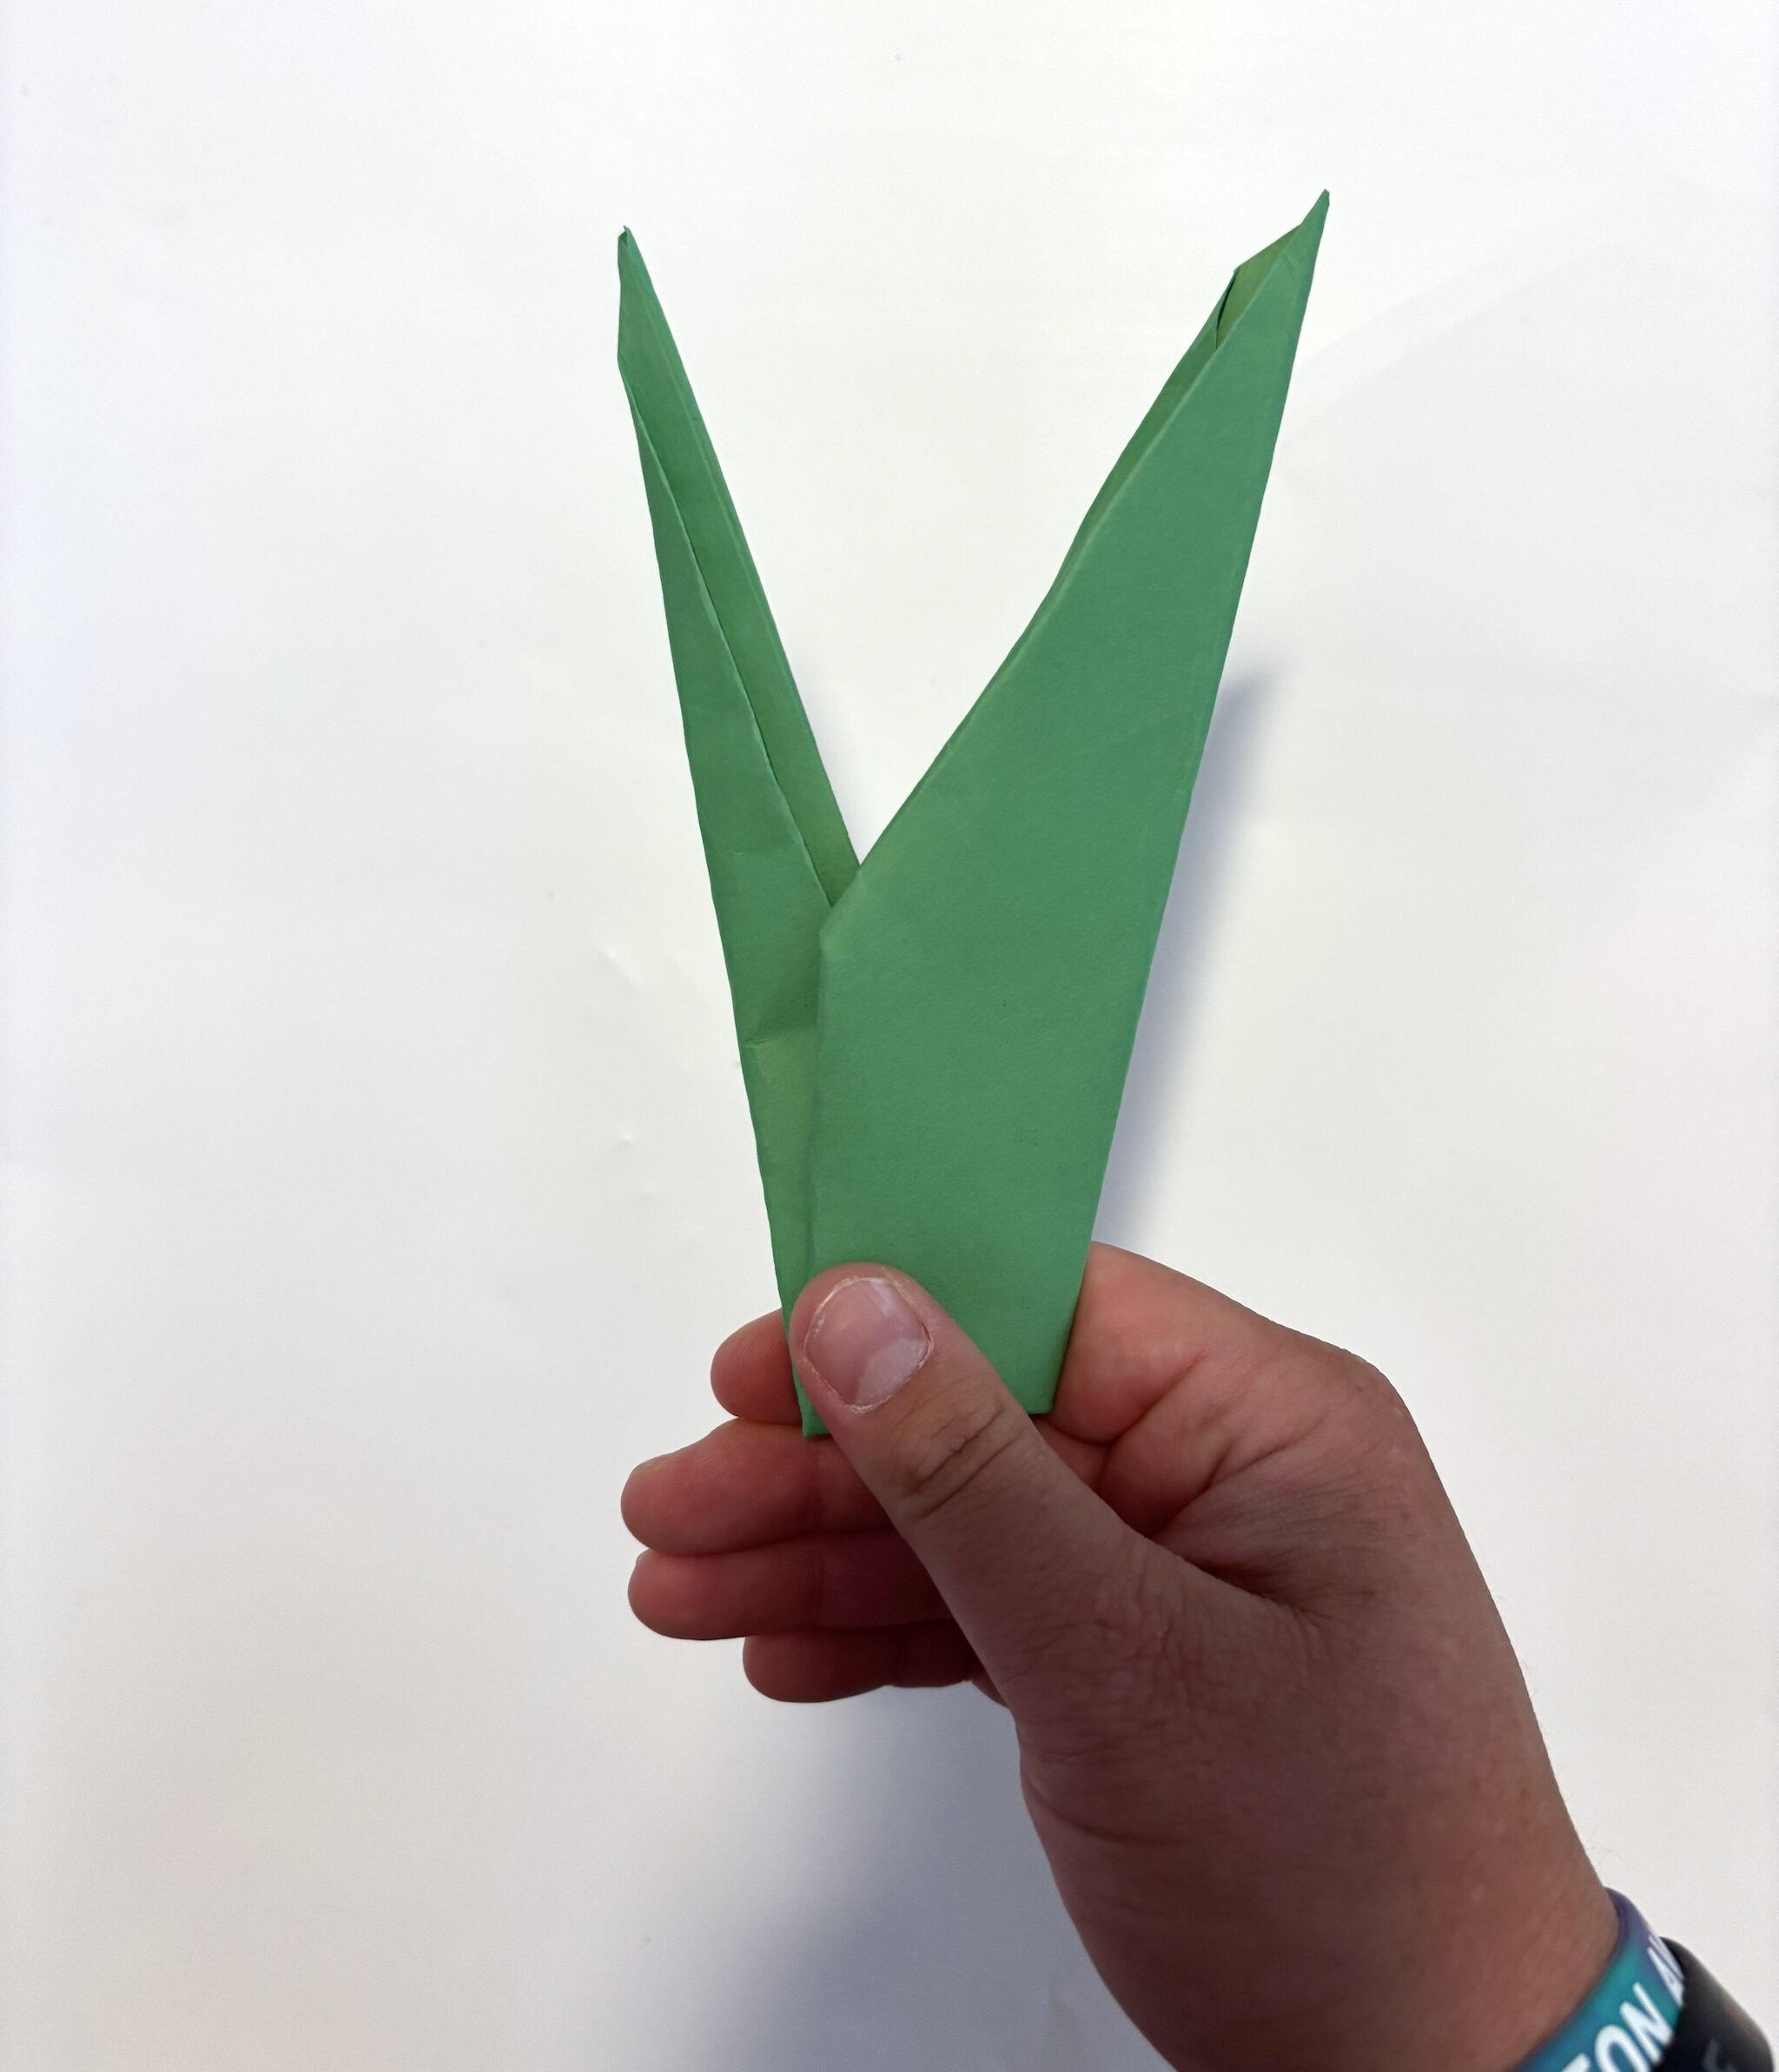
15. Attach the stem to the flower with glue or tape.
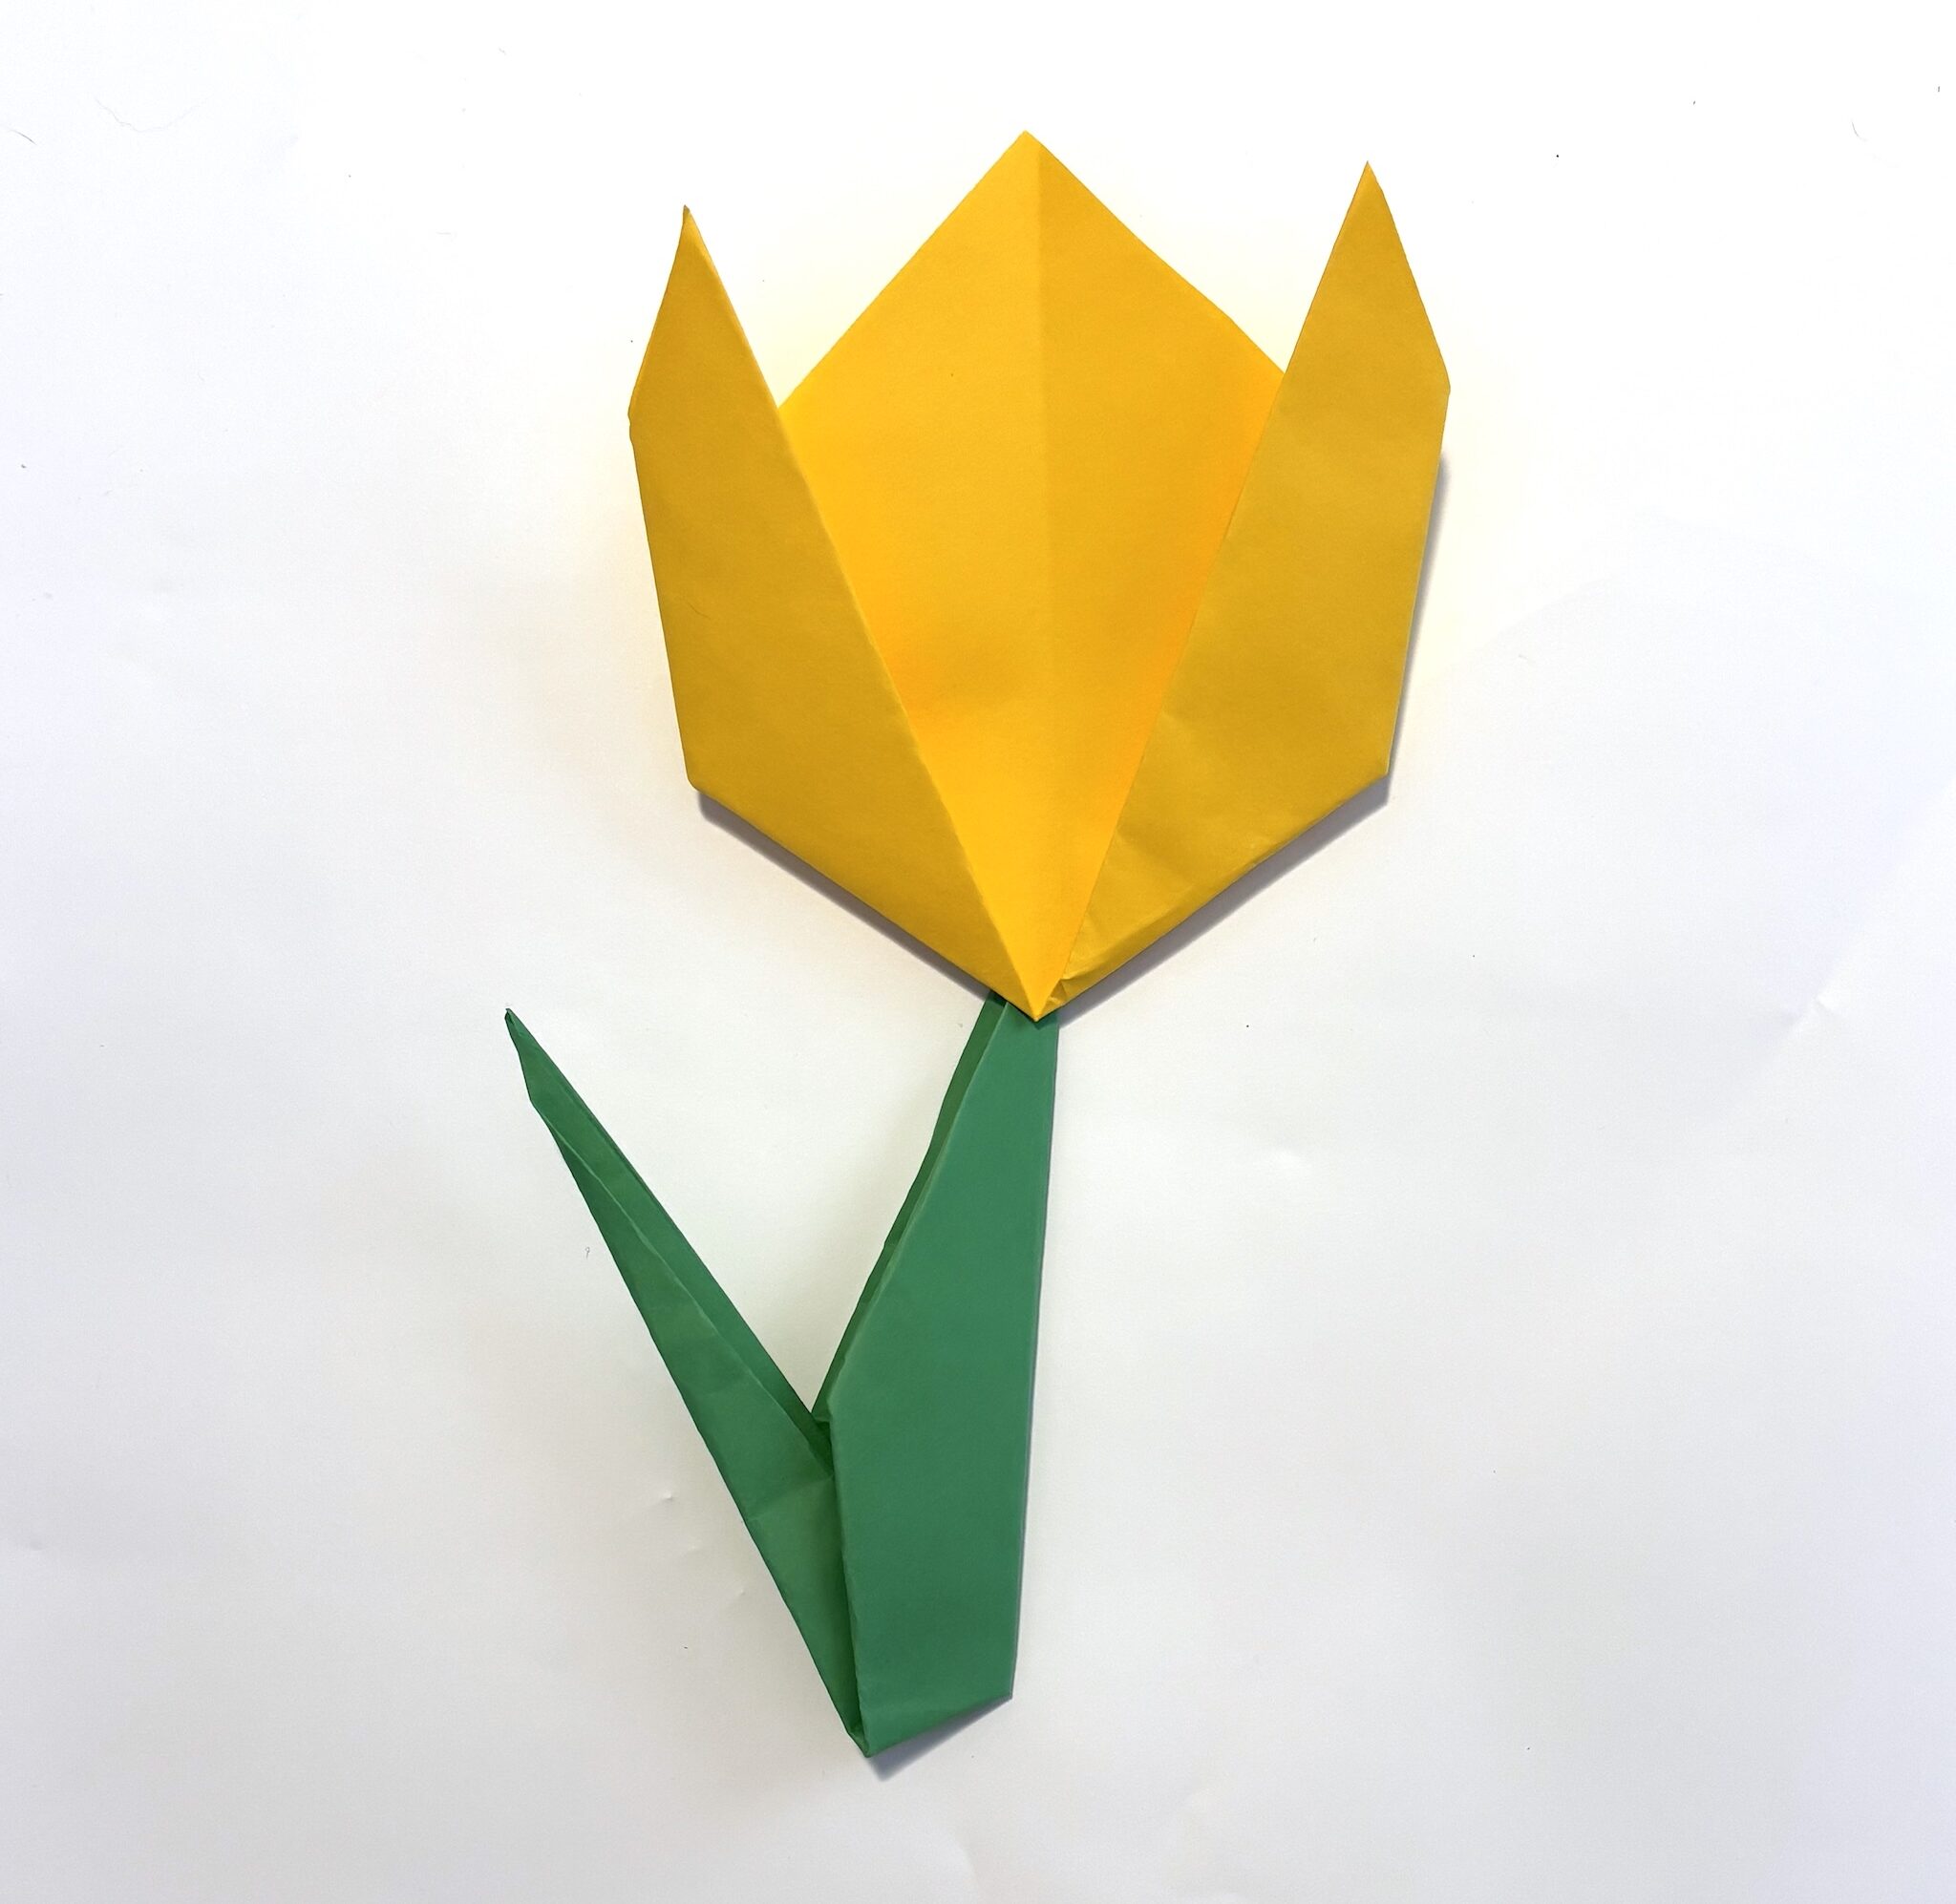
I hope you enjoyed making flowers that will last! These types of flowers can be taped along a string to create a garland, or glued to paper for a wall hanging, or just put them anywhere you want some color. You could even make a bouquet for a family member or put them in a pretty vase in your room. Remember, as you venture out in nature try your best to leave no trace.
A look to next week: Find an accessible printer or prepare for a trip to your local library!


